audi Workshop Repair Guides

Audi Workshop Service and Repair Manuals

Removing and installing needle bearing in drive plate > < Drive plate - exploded view
Removing and installing drive plate
Special tools and workshop equipment required
   
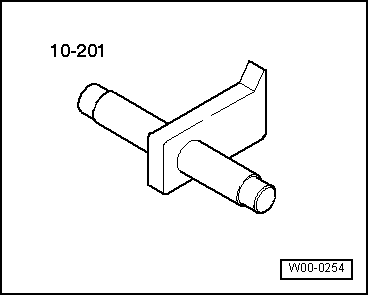
t  Counterhold tool -10 - 201-
  W00-0254
Removing
l  Gearbox removed.
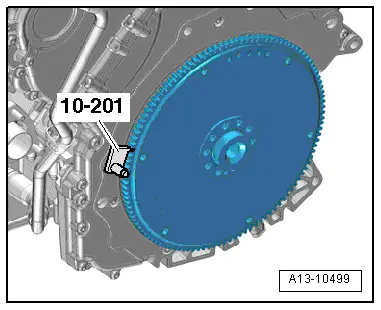
–  Insert counterhold tool -10 - 201- to slacken bolts.
  Caution
Take care not to damage outer surface of bearing flange on drive plate.
Use a multi-point socket bit with a length of at least 40 mm to slacken and tighten the drive plate bolts.
–  Remove bolts and take off drive plate.
Installing
Installation is carried out in the reverse order; note the following:
l  Tightening torque → Chapter „Drive plate - exploded view“
  Note
t  Renew bolts for drive plate.
t  On vehicles with manual gearbox, multitronic gearbox 0AW or dual clutch gearbox 0B5, a needle bearing is fitted in the drive plate. On vehicles with automatic gearbox 0B6, no needle bearing should be fitted. Before installing, check that the needle bearing is fitted. Removing and installing needle bearing in drive plate (pressing in and out) → Chapter.
–  Pay attention to dowel pin when installing drive plate.
–  Fit counterhold tool -10 - 201- the other way round to tighten bolts.
  A13-10499

Removing and installing needle bearing in drive plate > < Drive plate - exploded view