audi Workshop Repair Guides

Audi Workshop Service and Repair Manuals

Removing and installing Lambda probe 2 after catalytic converterG131 - bank 2 (left-side) > < Removing and installing Lambda probe after catalytic converterG130 - bank 1 (right-side)
Removing and installing Lambda probe 2G108 before catalytic converter - bank 2 (left-side)
Removing and installing Lambda probe 2 -G108- before catalytic converter - bank 2 (left-side)
Special tools and workshop equipment required
   
t  Lambda probe open ring spanner set -3337-
Removing
  W00-0206
–  Pull off engine cover panel (rear) -arrows-.
  A10-1515
–  Unbolt coolant expansion tank -arrows-.
–  Unplug electrical connector for coolant shortage indicator switch -F66- at bottom of expansion tank and move expansion tank to one side with coolant hoses -1-, -2- and -3- attached.
  A28-10008
–  Unplug electrical connector -2- for Lambda probe 2 -G108-.
  A24-10515
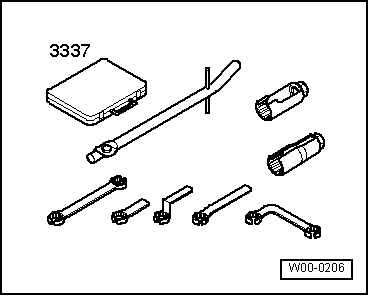
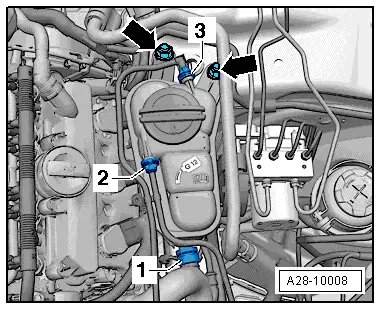
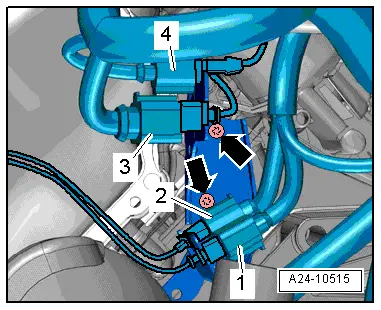
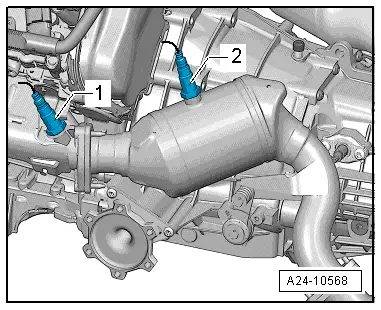
–  Unscrew Lambda probe 2 -G108--1- using tool from Lambda probe open ring spanner set -3337-.
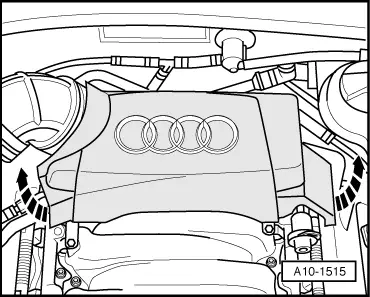
  Note
For illustration purposes, the installation position is shown with the engine removed.
Installing
Installation is carried out in the reverse order; note the following:
t  Tightening torque: refer to overview of Lambda probes → Chapter.
  Note
t  New Lambda probes are coated with an assembly paste.
t  If reinstalling the old Lambda probes, coat the threads with high-temperature paste → Electronic parts catalogue.
t  The assembly paste/high-temperature paste must not get into the slots on the Lambda probe body.
t  When installing, the Lambda probe wire must always be reattached at the same locations to prevent it from coming into contact with the exhaust pipe.
t  Fit all cable ties in the original positions when installing.
  A24-10568

Removing and installing Lambda probe 2 after catalytic converterG131 - bank 2 (left-side) > < Removing and installing Lambda probe after catalytic converterG130 - bank 1 (right-side)