audi Workshop Repair Guides

Audi Workshop Service and Repair Manuals

Exploded view of drive shaft > < Slackening and tightening bolt securing drive shaft to wheel hub
Removing and installing drive shaft
Special tools and workshop equipment required
   
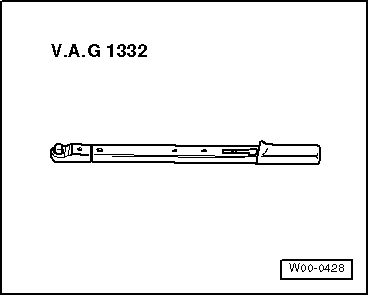
t  Torque wrench -V.A.G 1332-
  W00-0428
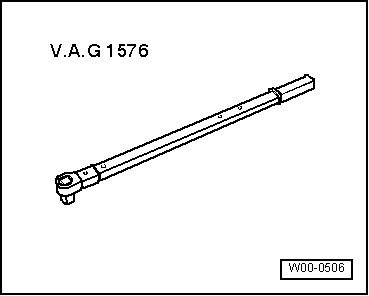
t  Torque wrench -V.A.G 1576-
Removing
–  Slacken bolt securing drive shaft to wheel hub → Chapter.
–  Remove wheel.
  W00-0506
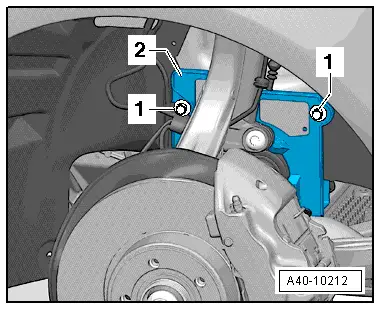
–  Unscrew nuts -1- and detach cover -2-.
  A40-10212
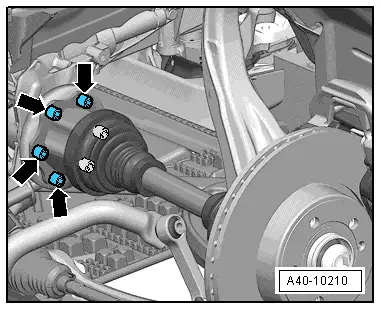
–  Remove bolts -arrows- from flange shaft on gearbox.
–  Take out drive shaft.
  A40-10210
Applies to vehicles with subframe shield:
Perform the following steps if there is not enough clearance to take out the drive shaft.
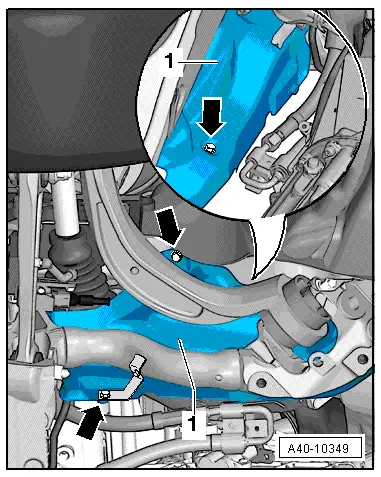
–  Remove bolts -arrows- and place subframe shield -1- to one side.
–  Detach bracket for brake hose and ABS wiring from wheel bearing housing.
  A40-10349
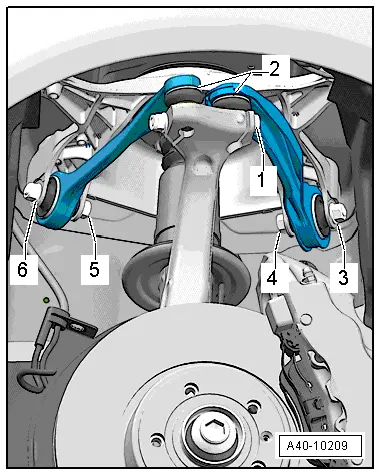
–  Separate bolt connection -1- and pull out both upper links -2- upwards.
Do not attempt to enlarge slots in wheel bearing housing using a chisel or similar.
–  Swing wheel bearing housing away to the side, and at the same time pull end of drive shaft out of wheel hub.
–  Take out drive shaft.
  A40-10209
Installing
Installation is carried out in the reverse sequence. Note the following points:
–  Fit both joint pins of upper links -2- into wheel bearing housing and insert bolt -1-.
  Note
Press down upper links as far as possible while tightening nut.
–  Tighten bolt connection -1- to specified torque.
Tightening torques → Chapter „Exploded view of wheel bearing housing, wheel bearing unit“
Tightening torques → Chapter „Exploded view of subframe, cross brace, anti-roll bar, coupling rod, subframe shield“
–  Tightening torque for securing drive shaft to flange shaft on gearbox → Chapter.
–  Fit wheel.
–  Secure wheel → Wheels and tyres; Rep. gr.44.
–  Tighten bolt securing drive shaft to wheel hub → Chapter.
  A40-10209

Exploded view of drive shaft > < Slackening and tightening bolt securing drive shaft to wheel hub