audi Workshop Repair Guides

Audi Workshop Service and Repair Manuals

Removing and installing automatic gearbox control unitJ217 > < Exploded view - end cover, automatic gearbox control unitJ217, hydraulic control unit
Removing and installing end cover
Special tools and workshop equipment required
   
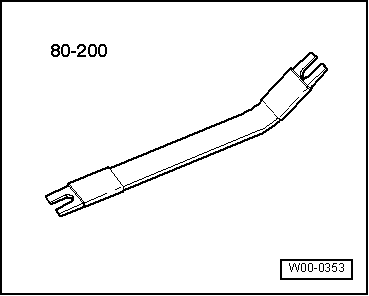
t  Removal lever -80 - 200-
  W00-0353
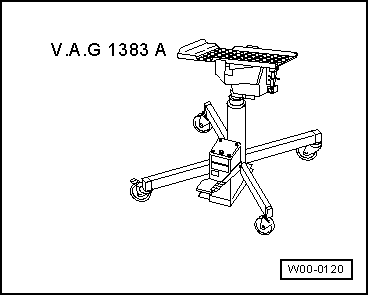
t  Engine and gearbox jack -V.A.G 1383 A-
  W00-0120
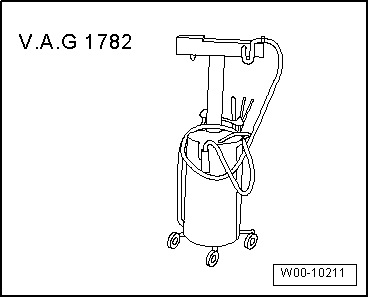
t  Used oil collection and extraction unit -V.A.G 1782-
  W00-10211
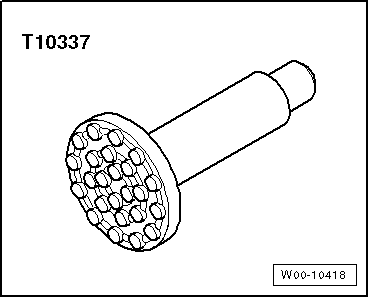
t  Gearbox support -T10337-
  W00-10418
Removing
  Note
t  Observe the general repair instructions → Chapter.
t  Rules for cleanliness when working on the automatic gearbox → Chapter.
–  Shift selector lever into position „P“.
–  Remove rear noise insulation → General body repairs, exterior; Rep. gr.66.
–  Drain off ATF → Chapter.
–  Remove tunnel cross member → Chapter.
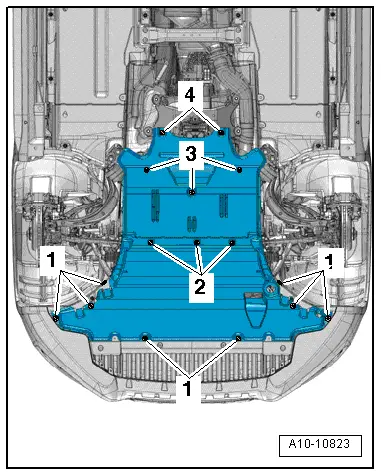
  A10-10823
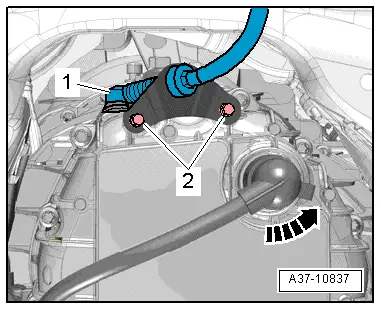
–  Use removal lever -80 - 200- to press ball socket -1- on selector lever cable off gearbox selector lever.
–  Remove bolts -2- for cable support bracket.
  Caution
The gearbox control unit (mechatronic unit) can be damaged by electrostatic discharge.
t  Before handling the electrical connector, the mechanic must discharge static by briefly touching an earthed metal object, such as vehicle earth, lifting platform or heater radiator, etc.
t  Do not touch contact pins in gearbox connector with bare hands.
–  Turn fastener anti-clockwise -arrow- and unplug electrical connector on gearbox.
  A37-10837
–  Place used oil collection and extraction unit -V.A.G 1782- below gearbox.
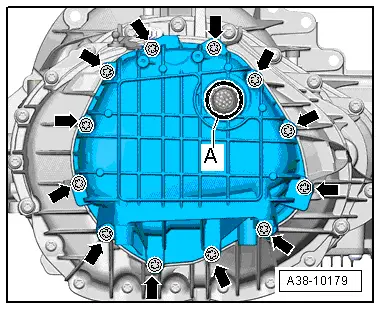
–  Remove bolts -arrows- and take off end cover.
  A38-10179
Installing
Installation is carried out in reverse sequence; note the following:
l  Tightening torques → Chapter „Exploded view - end cover, automatic gearbox control unit -J217-, hydraulic control unit“
  Note
t  Renew seals, gaskets and axial sealing elements.
t  Renew bolts for end cover.
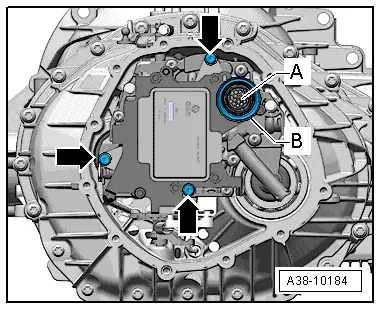
t  Do not touch pins in connector -A- with bare hands.
–  Slide new seal -B- onto connector -A- of automatic gearbox control unit -J217-, with twin lips facing outwards.
  A38-10184
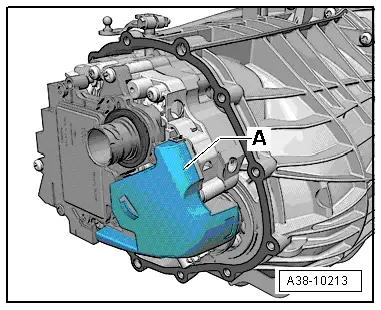
–  If fitted, attach displacer plate -A- to automatic gearbox control unit -J217-.
–  Clean sealing surfaces on gearbox housing and end cover.
–  Dowel sleeves in gearbox housing or end cover must be re-fitted in same places.
–  Place new gasket for end cover onto gearbox housing.
  Note
Make sure dowel sleeves are correctly seated.
  A38-10213
–  Fit end cover and make sure that gasket does not move out of position.
–  Check installation position of seal -A-:
l  Seal must be flush fitted (the sealing lips must not be kinked).
–  Screw in new bolts -arrows- in diagonal sequence until hand-tight and then tighten to specified torque.
  A38-10179
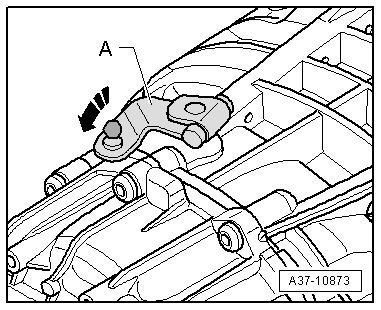
–  Shift gearbox selector lever towards the rear as far as it will go -arrow- to „P“.
  Note
Towards the rear means opposite to direction of travel.
–  Install support bracket for selector lever cable → Chapter.
–  Install gearbox support and tunnel cross member → Chapter.
–  Fill up with ATF → Chapter.
  A37-10873

Removing and installing automatic gearbox control unitJ217 > < Exploded view - end cover, automatic gearbox control unitJ217, hydraulic control unit