
A5
| Removing and installing rear splined shaft, oil seal and ball bearing for rear splined shaft |

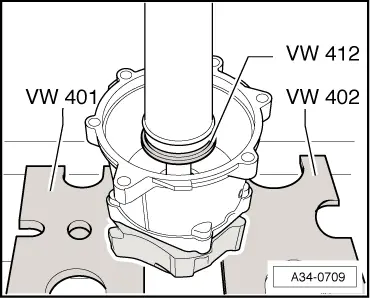
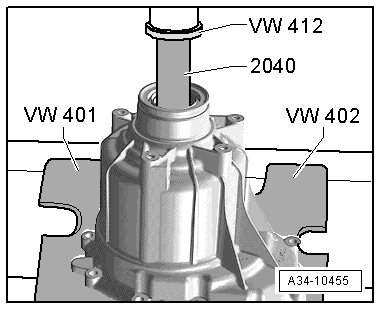
| Special tools and workshop equipment required |
| t | Thrust plate -VW 401- |
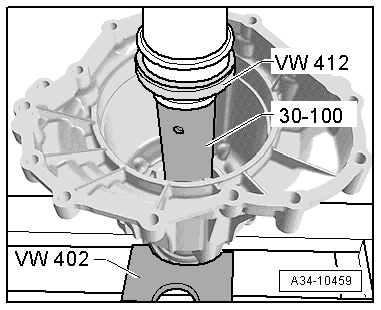
| t | Thrust plate -VW 402- |
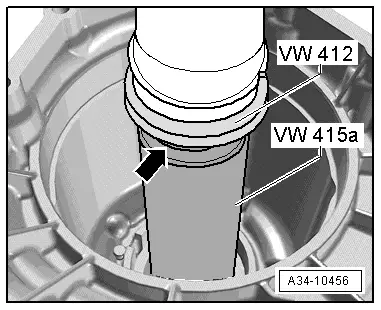
| t | Press tool -VW 412- |
| t | Drift sleeve -30 - 100- |
| t | Tube -2040- |
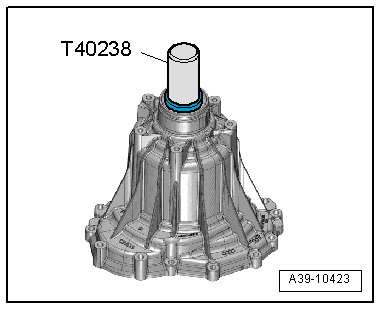
| t | Assembly tool -T40238- |
| t | Sealing grease → Electronic parts catalogue |
|
|
 Note
Note
|
|
|
|
Note
|
|
|
|
|
|
|
|
|
|
|
|
|
|