1 Series E81 130i (N52K) 3-door

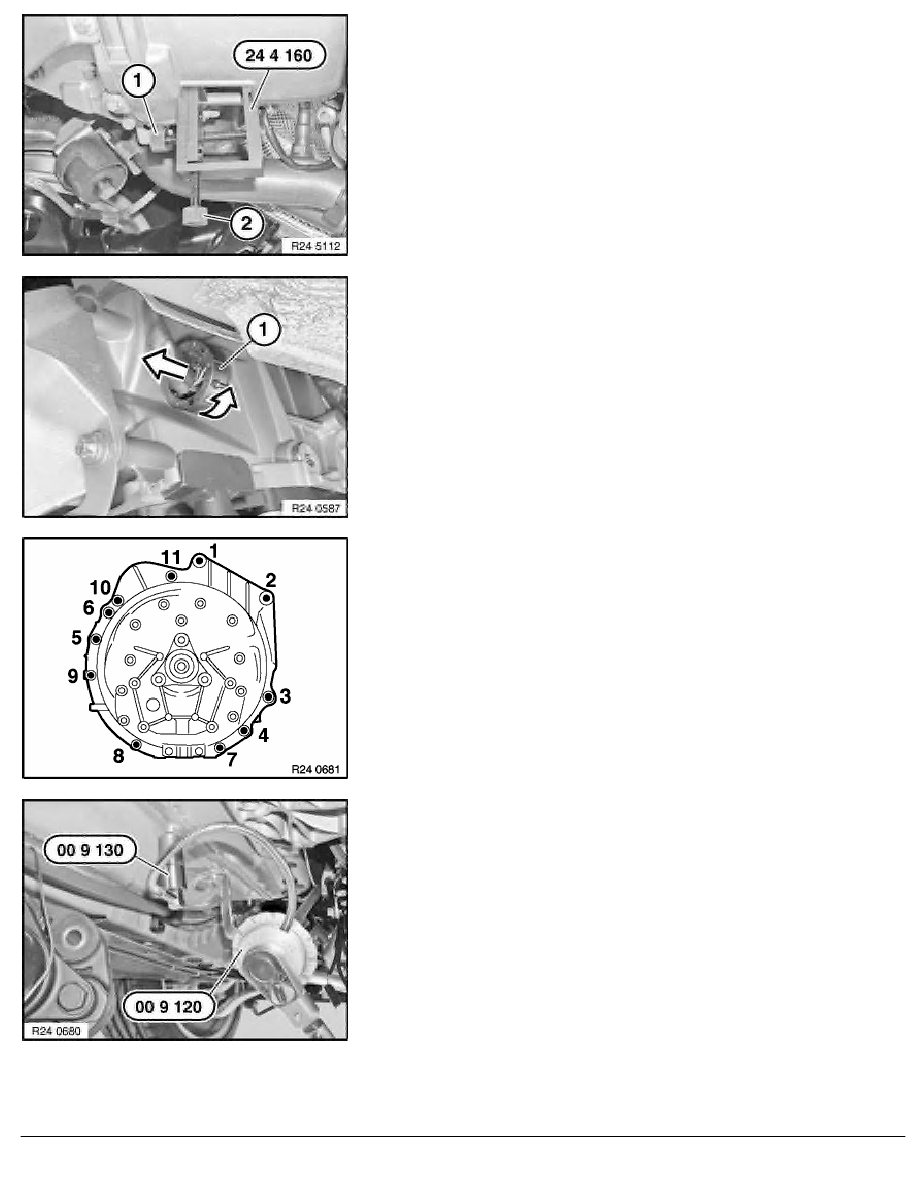
Insert special tool 24 4 160 into opening of transmission
housing and tighten down slightly with screw (1).
•
Unlock and disconnect plug (1) by turning.
•
Do not touch pins.
•
Release cable from retainers.
•
Insert special tool 24 2 390 in sealing sleeve.
Operations are described in
Notes on mechatronics
Important!
Read and comply with important note.
Release screws.
Installation:
Observe screw fastening sequence without fail.
Tightening torque, steel screws 24 00 1AZ
.
Aluminium screws must be replaced.
Tightening torque and angle of rotation, aluminium screws/bolts
24 00 2AZ
.
Installation:
Tighten down screws/bolts to specified torque.
Secure special angle of rotation tool 00 9 120 with magnet
00 9 130
to underbody and screw down blue aluminium screws/bolts in
accordance with angle of rotation.
Angle of rotation 24 00 2AZ
.
RA Removing and installing automatic transmission (GA6L45R)
BMW AG - TIS
22.01.2013 04:33
Issue status (12/2007) Valid only until next DVD is issued
Copyright
Page - 5 -
