
3 Series E36 318ti (M44) COMP
41 62 000
Removing and installing trunk lid (compact)
Note:
Engine hood was fitted and bolted in an unfinished body
shell.
Unpainted surfaces become visible after subsequent
movement.
These surfaces must be touched up with paint in the body
color.
The left and right cable on the trunk lid does not have a
connection point.
To remove the trunk lid, the left and right cable (right side with
hose for rear window spray nozzle) must be removed from the
trunk lid.
Removing and installing trim for trunk lid,
refer to 51 49 000
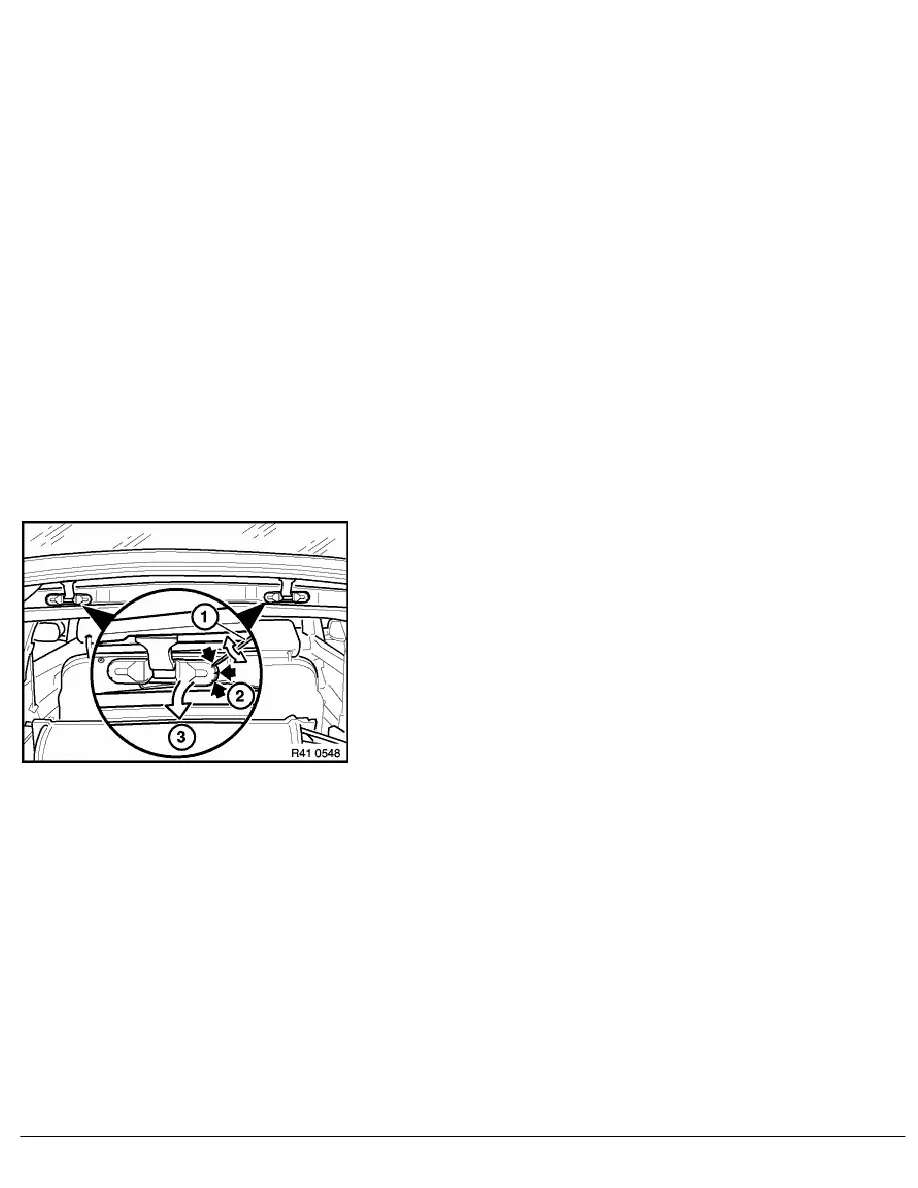
Remove left and right finisher strip.
Caution!
Do not damage paintwork.
For removal, insert appropriate screwdriver (1) in one of the slots
(2) and turn slightly.
Pull finisher strip (3) forwards to remove.
Note:
To facilitate installation of trunk lid, mark position of hinge on
trunk lid.
Prop up trunk lid then disconnect gas pressure props.
Caution!
Gas pressure props have strong tension.
RA Removing and installing trunk lid (compact)
BMW AG - TIS
07.02.2013 03:39
Issue status (12/2007) Valid only until next DVD is issued
Copyright
Page - 1 -