
3 Series E36 318ti (M44) COMP
Press rear window upwards against special tool 41 6 200 and secure with fabric adhesive tape.
1
Rear window
2
Cement bead
3
Trim at top of trunk lid
4
Trunk lid seal
5
Body flange
6
Spacer buffer
7
Fabric adhesive tape
A
Uniform
B
Gap between rear window edge and roof edge
(5.4 mm)
Caution!
Remove dirt from residual cement with Sika-Entferner 208
(Sourcing Reference: BMW Parts Service) before cement is
hard. Do not press out rear window glass again for this
purpose. Hardened cement can only be removed by machine.
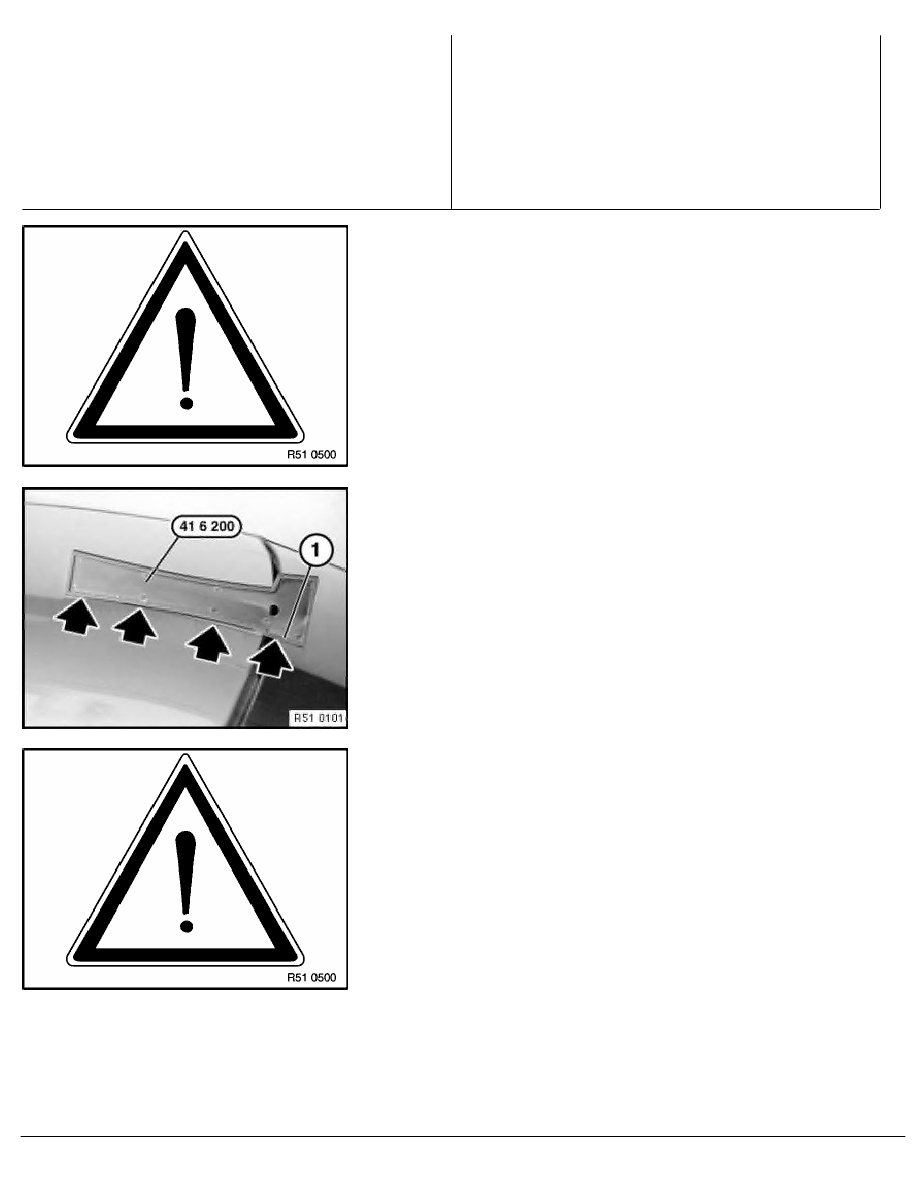
Checking height adjustment of trunk lid:
Ideal adjustment:
Special tool 41 6 200 must fit flush against roof outer skin panel
and rear window.
Fit special tool 41 6 200 (left and right over the hinge) with the
short leg (1) facing the rear window.
If necessary, adjust trunk lid.
After the hardening time, remove adhesive tapes.
Assemble car.
Note:
Leaks can be found by spraying water on the sealing lips or
with an ultrasonic leak detector (refer to BMW Parts Service)
and then eliminated by using a suitable nozzle.
RA Removing and installing rear window (compact)
BMW AG - TIS
07.02.2013 04:11
Issue status (12/2007) Valid only until next DVD is issued
Copyright
Page - 9 -