
3 Series E46 316i (M43TU) SAL
Necessary preliminary tasks:
•
Remove exhaust system.
•
Remove heat shield.
•
Release center bearing on propeller shaft.
•
Carefully lower transmission at rear slightly.
Note:
The procedure and tightening torques are described in the section
"Removing and installing transmission".
Clean surface of snap ring.
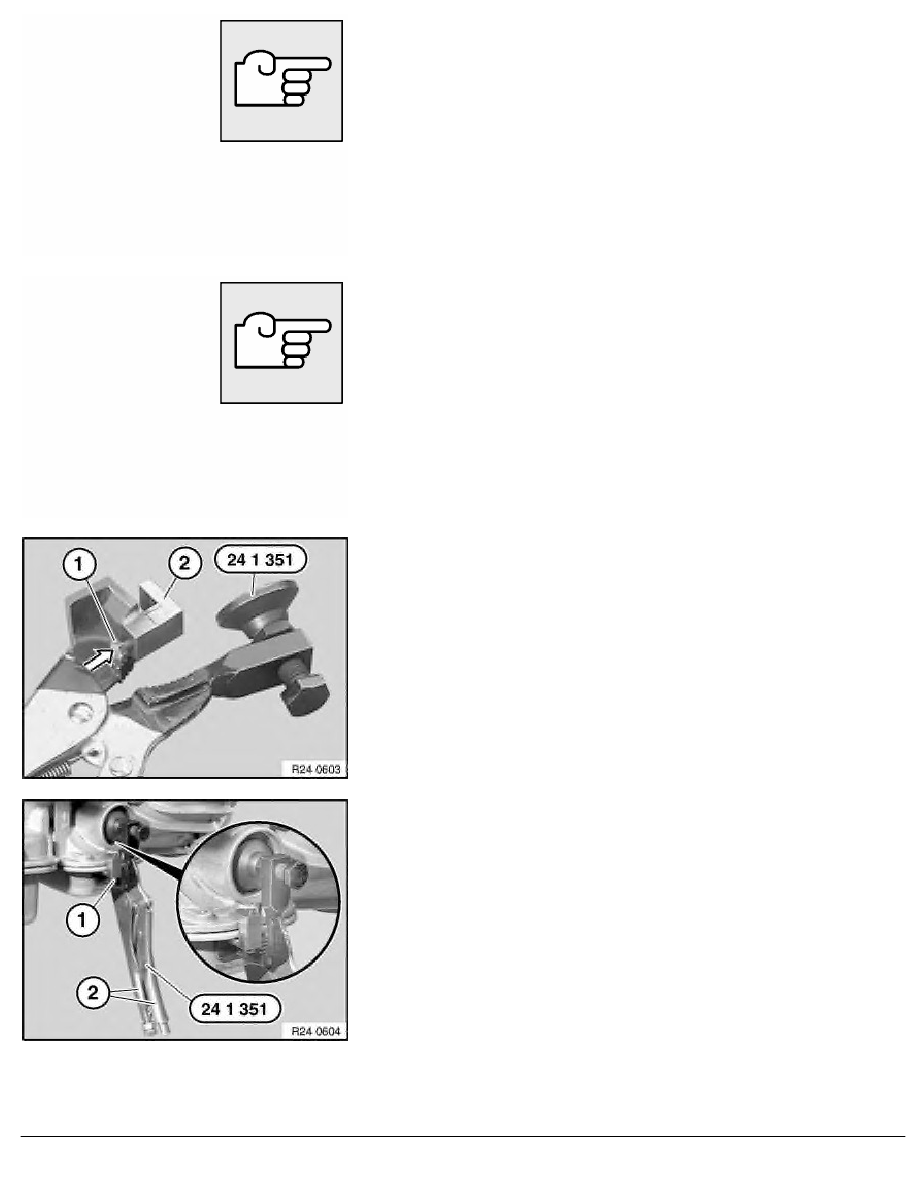
Prepare special tool 24 1 351 :
-
Unscrew screw (1).
-
Press up clamping bar (2) on screw (1).
Screw in special tool 24 1 351 partially.
Caution!
Adapt special tool to transmission.
Tighten down screw (1).
Tension special tool at handles (2) (piston is pressed in slightly,
strain is removed from snap ring).
Remove special tool.
RA Removing and installing sealing cap on working piston (A4S 310R)
BMW AG - TIS
19.01.2013 11:53
Issue status (12/2007) Valid only until next DVD is issued
Copyright
Page - 2 -