
3 Series E46 316i (M43TU) SAL
33 31 000
Removing and installing complete rear axle
carrier
Special tools required:
•
33 4 420
Necessary preliminary tasks:
•
Convertible: Remove tension struts
•
M3:Remove V-strut
•
Compact: Remove holder for emergency wheel
•
Remove propeller shaft from rear differential and tie back
•
Disengage handbrake Bowden cables from handbrake lever
and expose up to rear axle carrier
•
Remove coil springs
•
If necessary, disconnect plug connection from ride-height
sensor
•
Remove lip on both sides
•
Disconnect plug connection for pulse generator on both sides
•
Disconnect plug connection for right brake pad wear sensor.
After installation:
•
Adjusting handbrake
•
Perform chassis alignment check
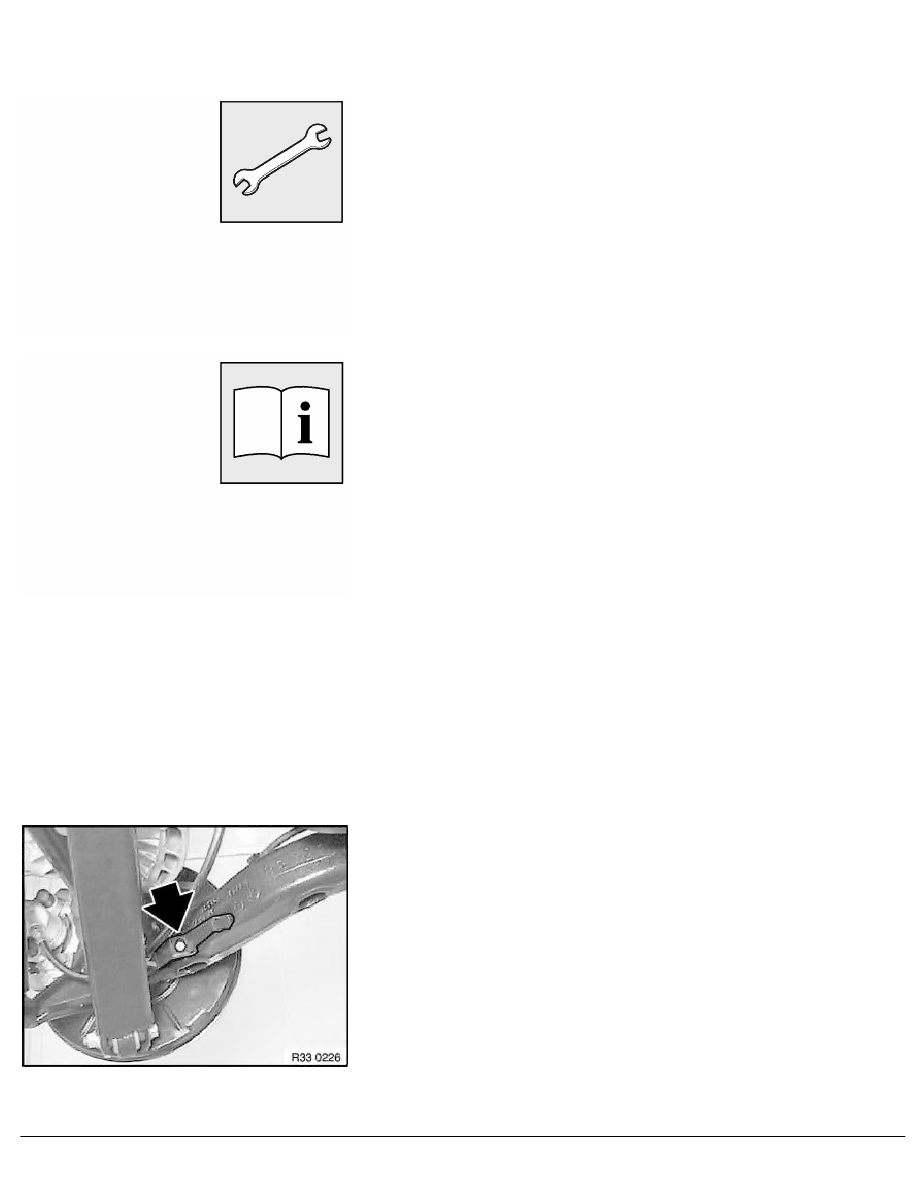
Important!
Risk of damage!
Brake hose must not be exposed to tensile loads.
Release screw and remove bracket with brake hose.
Tightening torque 34 32 3AZ
.
RA Removing and installing complete rear axle carrier
BMW AG - TIS
19.01.2013 13:05
Issue status (12/2007) Valid only until next DVD is issued
Copyright
Page - 1 -