
3 Series E46 316i (M43TU) SAL
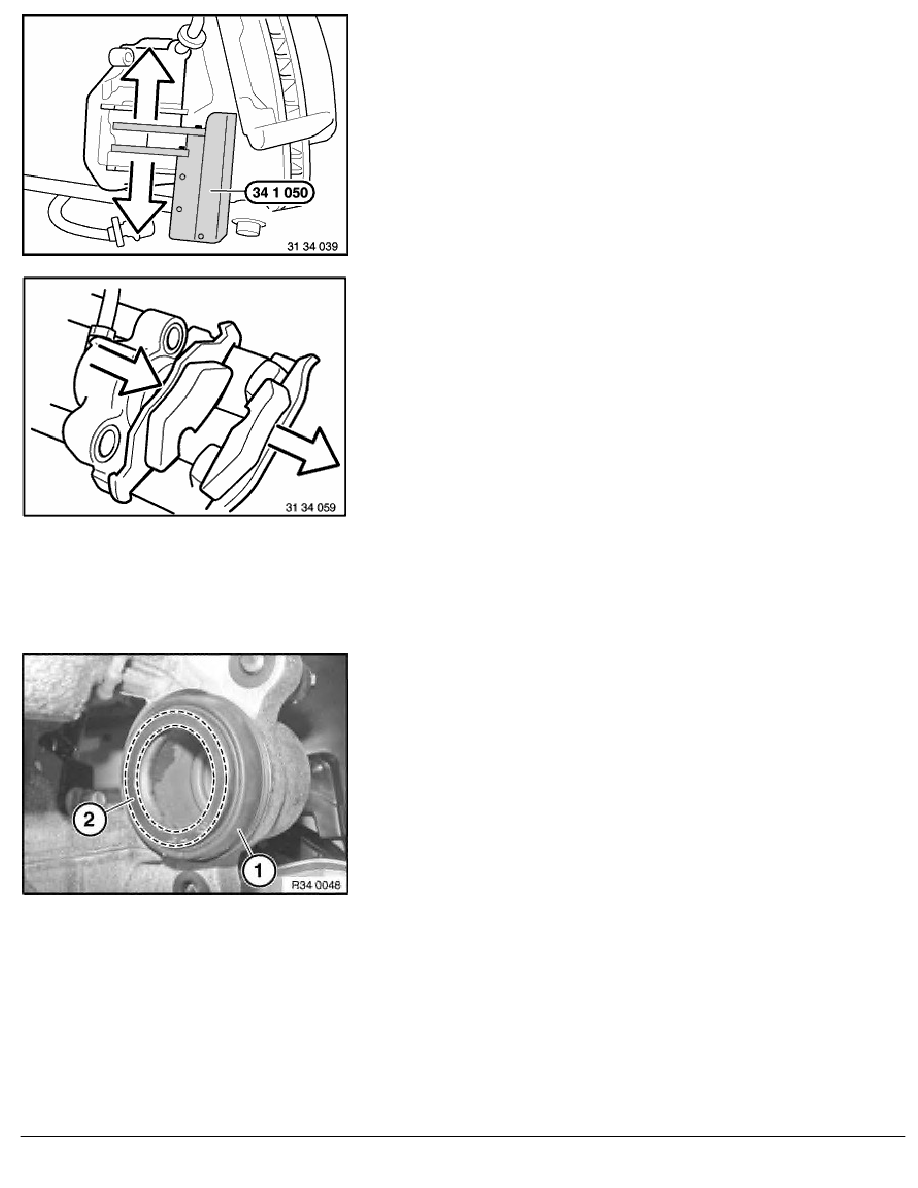
Turn piston fully back with special tool 34 1 050.
Important!
When turning back the piston, watch the brake-fluid level in
the expansion tank, as overflowing brake fluid will destroy the
paintwork.
Remove outer brake lining.
Inner brake lining is located with its spring in the piston.
Important!
Mark any worn brake linings.
In the event of one-sided brake lining wear, do not change brake
linings round.
New brake linings may only be installed if the brake disk thickness
is greater than or equal to the minimum brake disk thickness (MIN
TH).
Refer to Technical Data.
Observe minimum thickness of brake linings,
refer to Technical Data.
Clean brake linings.
Do not apply grease to brake pad backplate.
Check dust sleeve (1) for damage and replace if necessary.
Clean contact face (2) of brake piston and apply a thin coating of
anti-squeak compound.
Anti-squeak compound, refer to BMW Service Operating Fluids.
Important!
Dust sleeve must not come into contact with anti-squeak
compound as this may cause the dust sleeve to swell.
RA Removing and installing/replacing both rear disk brakes
BMW AG - TIS
19.01.2013 13:22
Issue status (12/2007) Valid only until next DVD is issued
Copyright
Page - 2 -