
3 Series E46 316i (M43TU) SAL
Caution!
Observe safety instructions when dealing with
-
activator for original BMW windshield adhesive, refer to
BMW Parts Service
-
original BMW windshield adhesive, refer to BMW Parts
Service
.
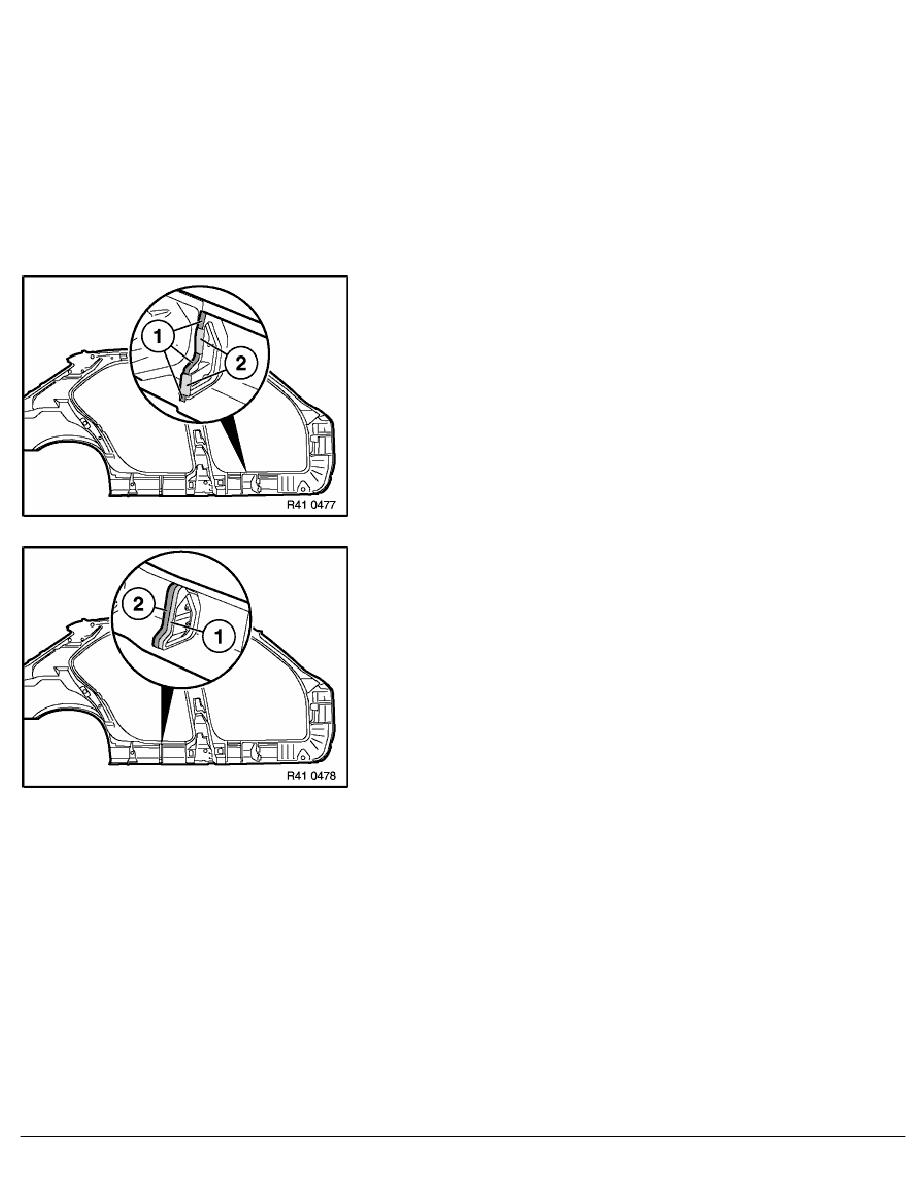
Cover for front side member:
Apply an approx. 15 mm high bead of original BMW windshield
adhesive on the contact surface of the already expanded foam
insert (1).
Caution!
Do not coat the area for plug welding (2) with original BMW
windshield adhesive!
Burn hazard!
Apply as little heat as possible during plug welding to prevent the
adhesive coat from being damaged.
Cover for rear side member:
Apply an approx. 15 mm high bead of original BMW windshield
adhesive on the contact surface of the already expanded foam
insert (1).
Caution!
Do not coat the area for plug welding (2) with original BMW
windshield adhesive!
Burn hazard!
Apply as little heat as possible during plug welding to prevent the
adhesive coat from being damaged.
Lightly sand the contact surface of the front and rear expanded
foam insert of the side member cover with coarse sandpaper (50 -
100 grain).
Clean the contact surface of the front and rear expanded foam
part with activator for original BMW windshield adhesive.
RA Installing cavity bulkhead cover for side member
BMW AG - TIS
19.01.2013 14:10
Issue status (12/2007) Valid only until next DVD is issued
Copyright
Page - 2 -