
3 Series E46 316i (M43TU) SAL
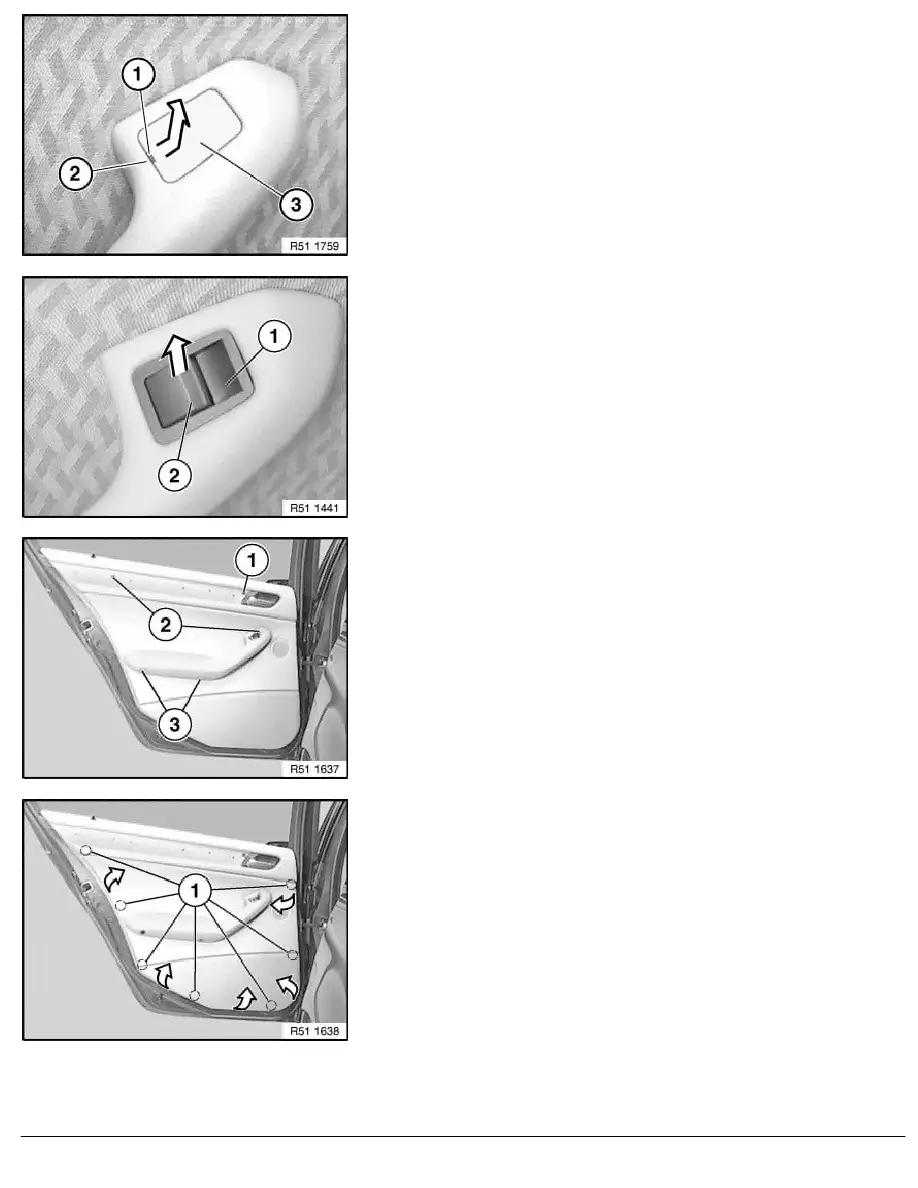
Version without power windows and with removal opening (1):
Note:
When removing trim (2), do not damage lining (3) with
screwdriver.
-
Carefully insert a regular screwdriver approx. 1 mm into
removal opening (1) of trim (2).
-
Press trim (2) forwards and lift out towards top.
Version with power windows:
If necessary, lever out rocker switch (1) at rocker (2),
disconnect plug connection and
remove rocker switch (1).
Release screws (1).
Installation:
Screw (1) is longer than the others.
Tightening torque 51 22 6AZ.
Lever out trims (3), release screws underneath and screws (2).
Installation:
Tightening torque 51 42 1AZ.
Unclip clips (1) of door trim panel with special tool 00 9 317
(trim panel wedge).
RA Removing and installing rear left or right door trim panel
BMW AG - TIS
19.01.2013 15:04
Issue status (12/2007) Valid only until next DVD is issued
Copyright
Page - 2 -