
3 Series E46 318i (M43TU) TOUR
Clean connection points.
Remove scrap metal.
Straighten and grind connection points.
Note:
To facilitate installation of the tail panel, the jointing sequence
has been changed for this repair operation.
The necessary adaptation tasks are described below.
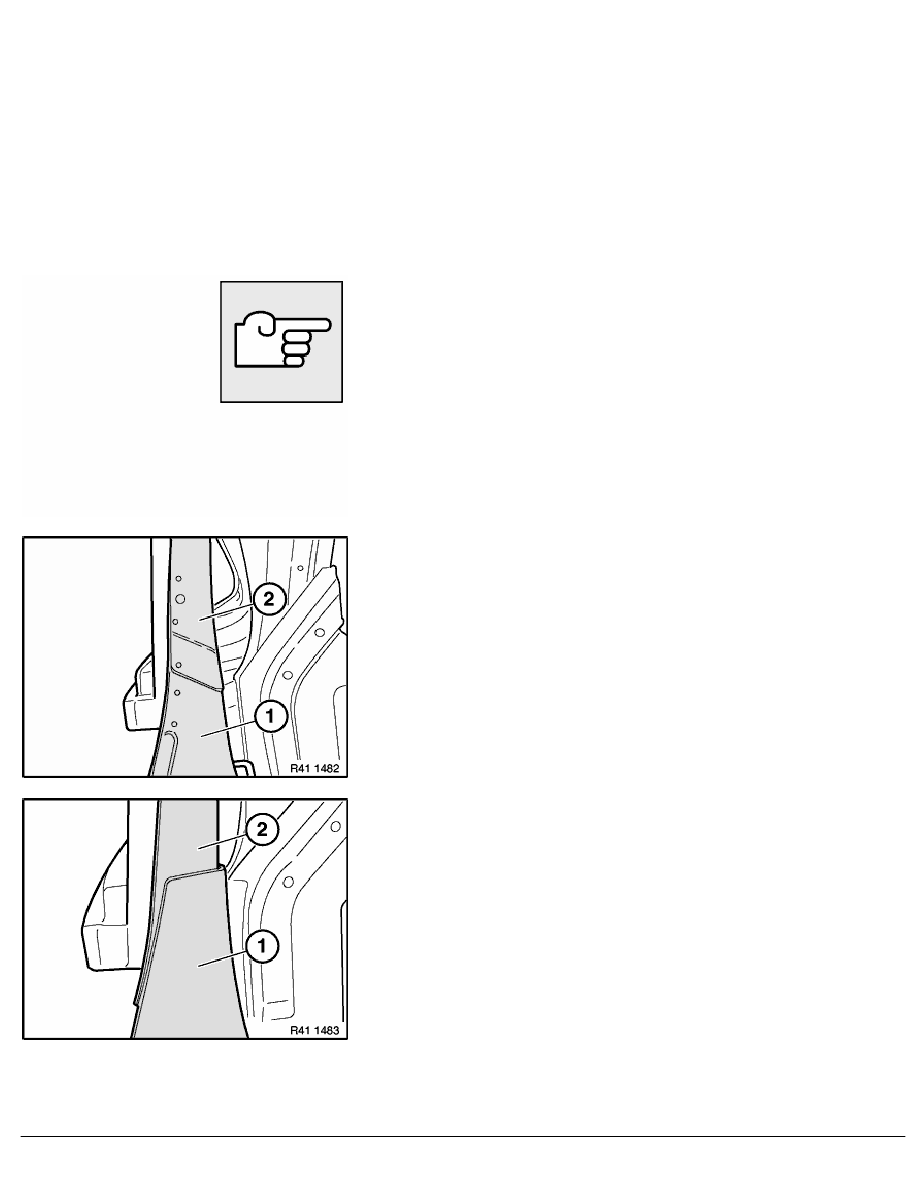
Jointing sequence of series:
1 = Tail panel
2 = D-pillar in area of water drain
D-pillar (2) is above tail panel (1).
Jointing sequence of repair work:
1 = Tail panel
2 = D-pillar in area of water drain
Tail panel (1) is above D-pillar (2).
RA Replacing tail panel (E46 Touring)
BMW AG - TIS
11.02.2013 21:35
Issue status (12/2007) Valid only until next DVD is issued
Copyright
Page - 3 -