
3 Series E46 M3 (S54) COUPE
Preparation of adhesive flanges on new part:
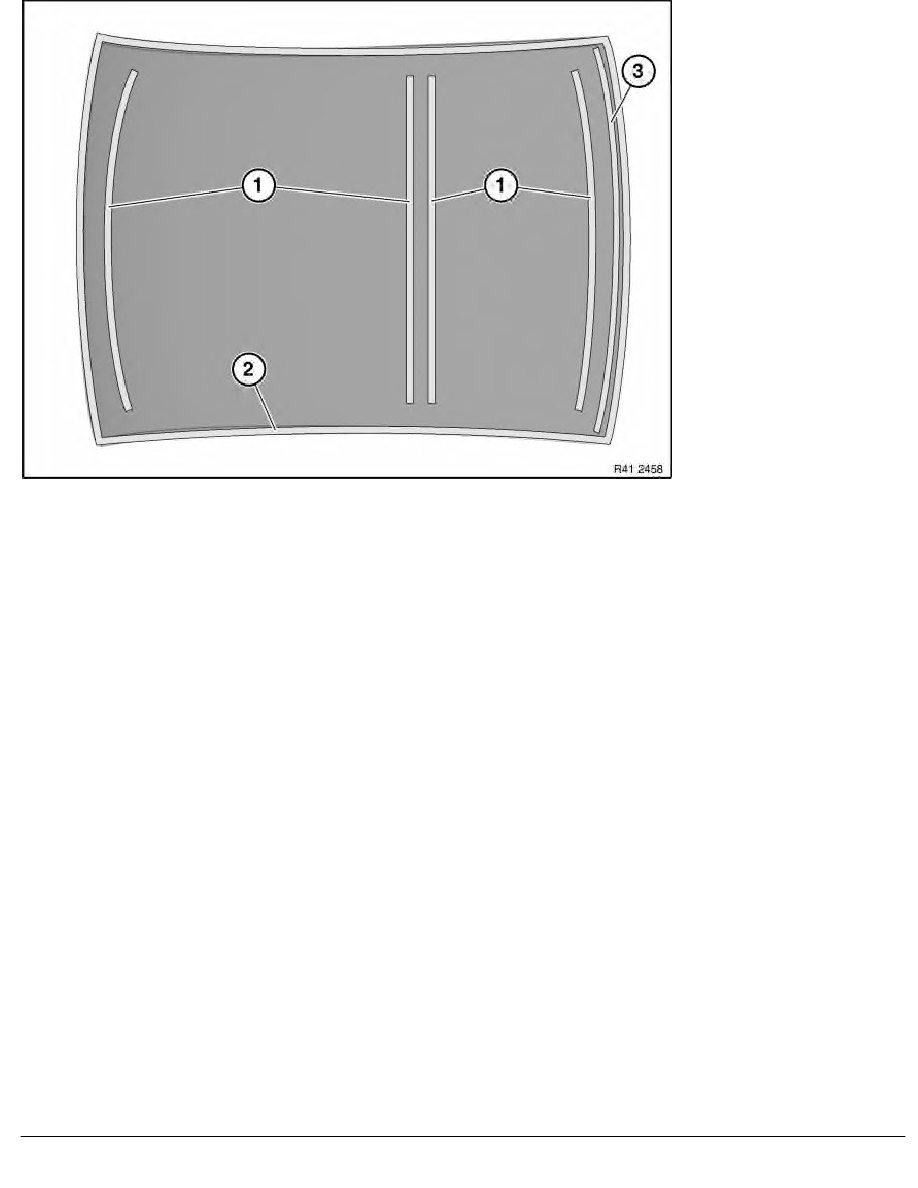
1.
Roughen in areas (2 and 3) with grinding pad.
2.
Clean in areas (1 to 3) with spirit.
Preparation of adhesive flanges on car:
1.
Clean in areas (1 to 3) with spirit.
Important!
Adhesive cartridges must be at room temperature (15-25
°
C) when they are used.
Read and comply with adhesive manufacturer's instructions.
It is absolutely essential to follow the correct order of adhesive application!
The following steps 1 to 3 must be completed within 20 minutes !
1. Underlining in areas (1):
The position of the underlining bead is identified by a mark on the inside of the roof.
Apply window adhesive in a triangular shape to inside of roof (width 8
±
2 mm, height 10
±
2 mm)
2. Structure adhesive (contained in clamping fixture set 41 3 000 ) on CFK roof in areas (2) and (3):
Apply adhesive in a bead shape along outside edge of roof (bead width 5-8 mm).
Apply a second bead parallel to the first in area (3).
Only one wide adhesive bead (dia. approx. 8 mm) is applied to the windshield adhesive flange.
RA Replacing roof outer skin (CFK roof version)
BMW AG - TIS
16.02.2013 19:45
Issue status (12/2007) Valid only until next DVD is issued
Copyright
Page - 3 -