
3 Series E92 316i (N43) COUPE
Position special tool from rear on rivet head in cavity.
Note:
Make sure collecting tray is correctly seated on rivet head.
A second person will be needed to help hold the special tool on
the rivet head during the driving-out operation.
Drive out stem with hammer and 6 mm punch.
Carefully feed special tool out of body so that rivet head does not
fall out of collecting tray.
Note:
If the rivet falls out of the collecting tray into the side frame when
the special tool is fed out, this area must be generously filled with
foam.
For details of procedure for filling cavities with foam, see further
work steps.
Use cavity sealant (refer to BMW Parts Service) for foam filling.
Cavity foam (refer to BMW Parts Service) can also be used if
necessary.
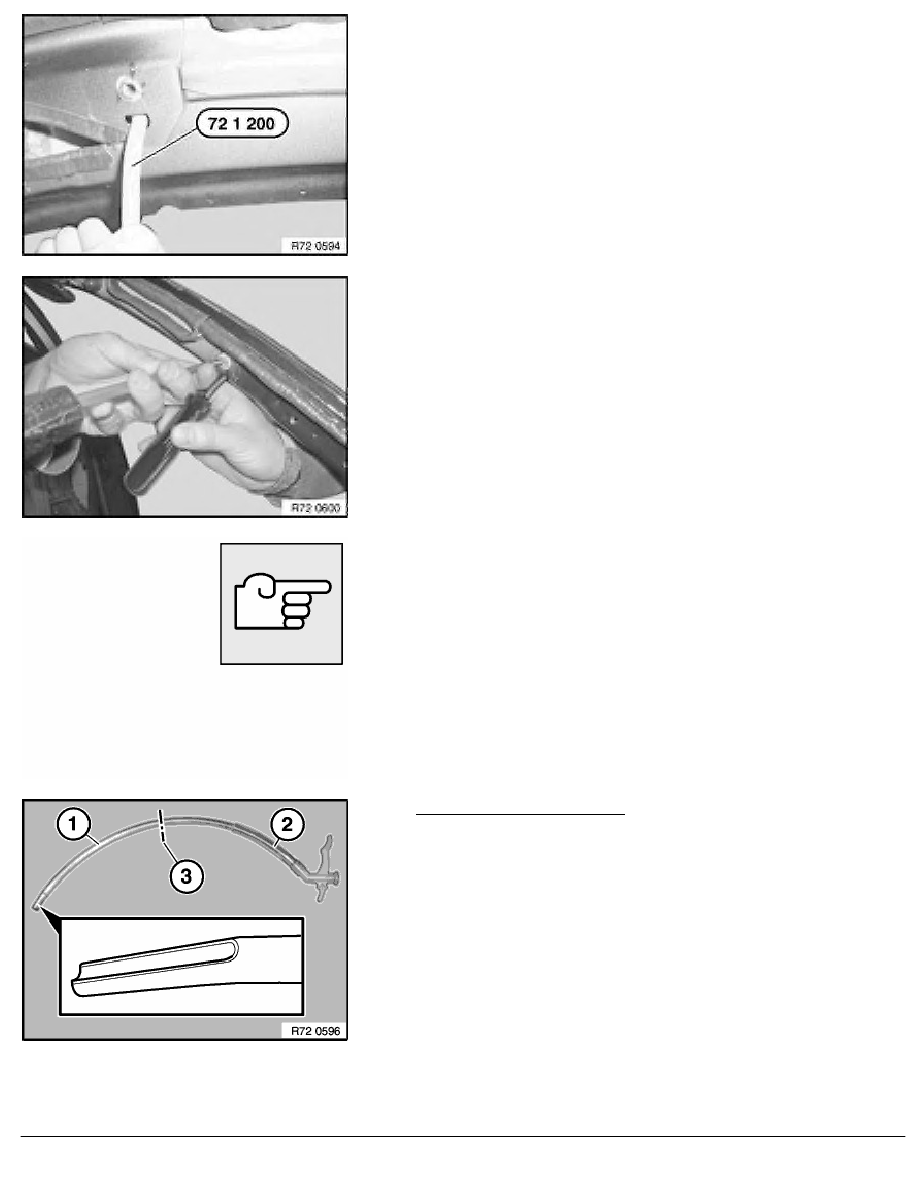
Preparing tube for foam can:
Slide tube (1) at least 6 cm into tube (2).
Cut end of tube (1) at an angle.
Apply marking (3) 15 cm from end of tube.
Fit tube to foam can.
Warning!
Empty foam can completely onto cardboard and after
hardening dispose of foam and can in residual waste.
Can may burst if not completely emptied.
RA Removing and installing or replacing left or right head airbag
BMW AG - TIS
20.01.2013 17:12
Issue status (12/2007) Valid only until next DVD is issued
Copyright
Page - 6 -