
3 Series E92 335xi (N54) COUPE
Installation:
Tighten down screws/bolts to specified torque.
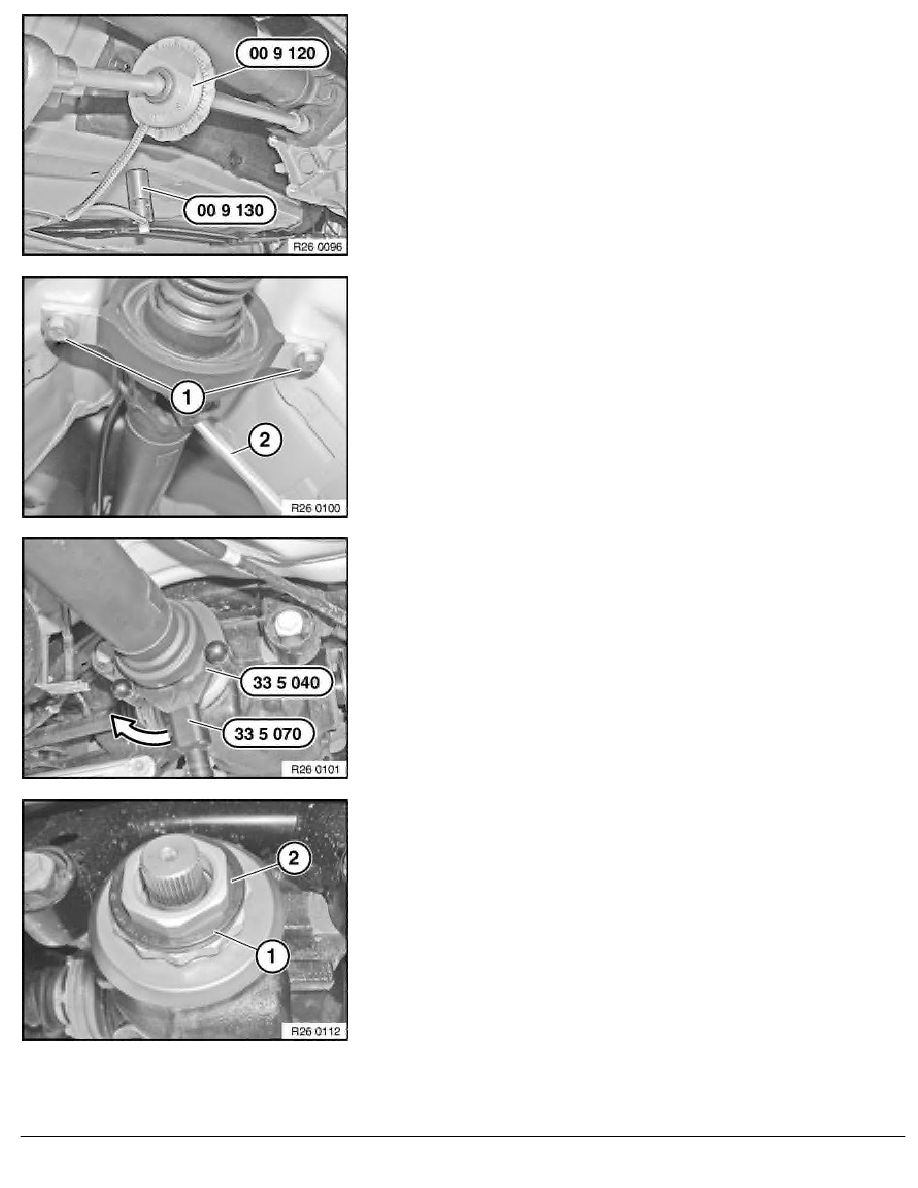
Secure special tool angle of rotation 00 9 120 with magnet
00 9 130 to underbody and continue bolting according to angle
of rotation.
Tightening torque 26 11 1AZ
.
Slacken screws (1)
Tightening torque 26 11 6AZ
.
Using a suitable tool (2), secure propeller shaft at centre
universal joint against turning.
Remove screws of centre mount fully only after opening insert nut.
Release insert nut against direction of travel in clockwise
direction with special tools 33 5 040 and 33 5 070 .
Tightening torque 26 11 15AZ
.
Important!
The bihexagonal flange nut must not be used for bracing.
Failure to comply with this instruction may result in serious
damage to the rear differential.
Remove retaining clip (1) and seal (2).
Installation:
Retaining clip and seal must be replaced.
RA Removing and installing propeller shaft (inserted) completely
BMW AG - TIS
20.02.2013 08:16
Issue status (12/2007) Valid only until next DVD is issued
Copyright
Page - 2 -