
5 Series E34 525td (M51) TOUR
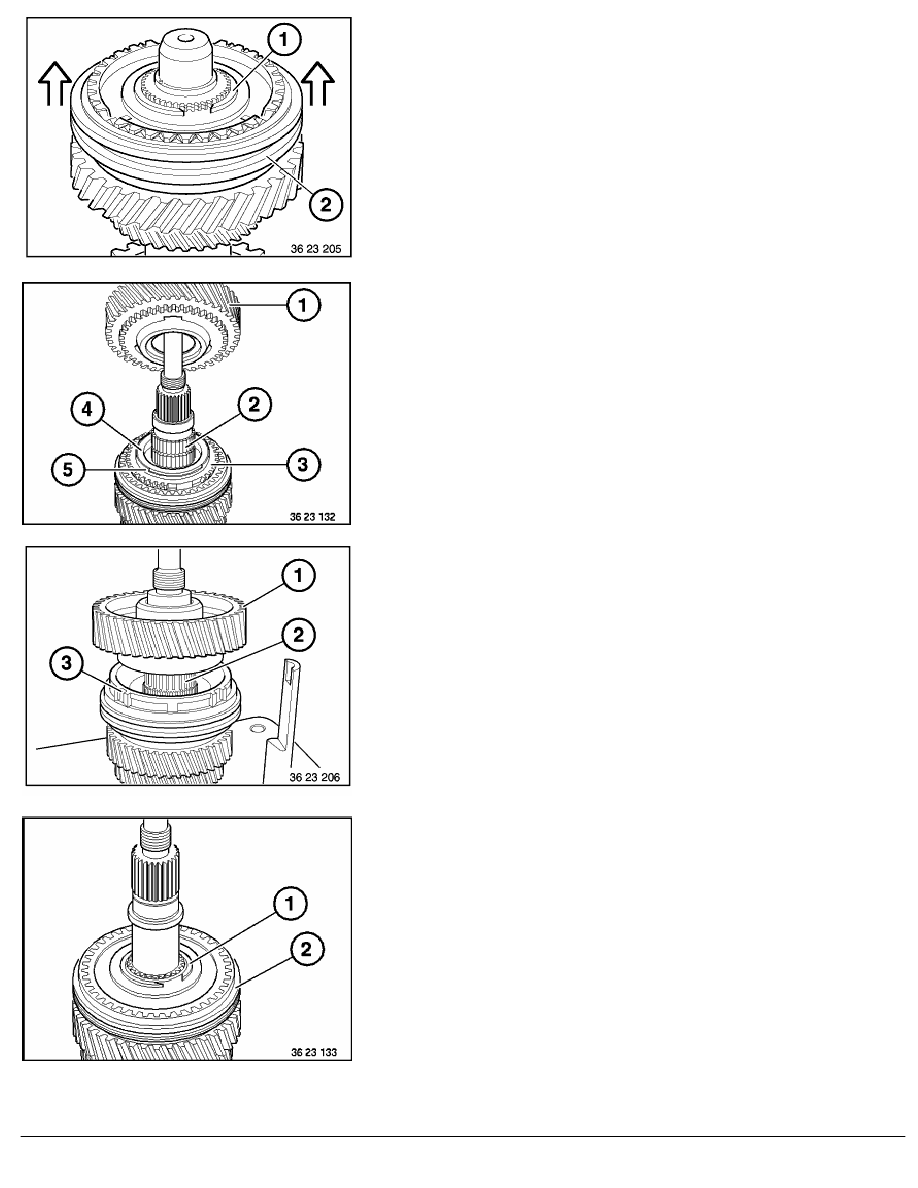
To ease assembly, insert the output shaft in special tool
23 2 400. Pull 5th/reverse gear sliding sleeve (2) off the guide
sleeve.
Caution!
Loose thrust pieces, balls and springs.
Lift out circlip (1).
Installation:
Replace circlip.
Rotate the output shaft so that the drive end faces up.
Double taper synchronization:
Remove 1st gear wheel (1), needle bearing (2), synchronizer
ring (3), taper ring (4) and friction ring (5) from the output
shaft.
Single taper synchronization:
Remove 1st gear wheel (1), needle bearing (2) and
synchronizer ring (3) from the output shaft.
Lift out circlip (1).
Pull off 1st/2nd gear sliding sleeve (2).
Caution!
Loose thrust pieces, balls and springs.
Installation:
Replace circlip (1).
RA Detaching and mounting all synchronizing devices S5D 200G/250G
BMW AG - TIS
23.01.2013 07:13
Issue status (12/2007) Valid only until next DVD is issued
Copyright
Page - 2 -