
5 Series E61 525d (M57TU) TOUR
37 12 220
Removing and installing/replacing rear active
stabilizer
Special tools required:
•
33 0 170
Important!
Adhere to the utmost cleanliness. Do not allow any dirt to
enter the hydraulic system.
Seal off pipe connections with plugs.
Note:
A light film of grease on the anti-friction bearing in no way impairs
the operational capability of the stabilizer.
In a warranty case you must always provide a fault memory
printout, even where there is no fault memory entry, with the
defective part.
Necessary preliminary tasks:
•
E61: Remove rear cross strut
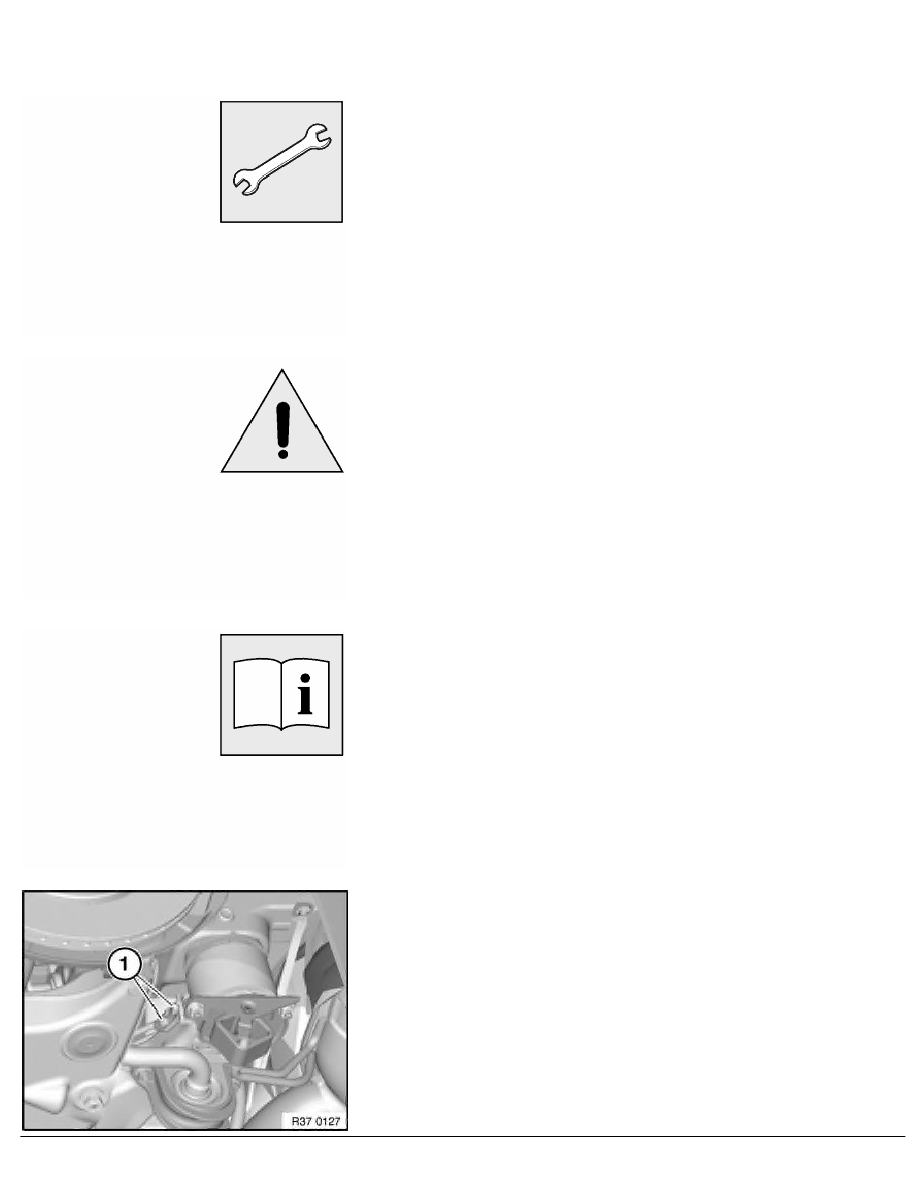
Release screws (1).
Installation:
Insert screws (1).
Align pressure lines to rear axle carrier.
Tighten down screws (1).
Tightening torque 37 14 14AZ
.
RA Removing and installing/replacing rear active stabilizer
BMW AG - TIS
11.02.2013 13:33
Issue status (12/2007) Valid only until next DVD is issued
Copyright
Page - 1 -