
5 Series E61 530i (N52K) TOUR
51 24 150
Removing and installing/replacing hydraulic
control unit for operating rear lid
(electrohydraulic/fully automatic)
Necessary preliminary tasks:
•
Move rear lid into service position
•
Remove left luggage compartment wheel arch trim
•
Remove sound insulation from inside of wheel arch
•
Have a cleaning cloth ready for escaping fluid
Important!
Follow instructions for automatic rear lid actuation
(electrohydraulic)
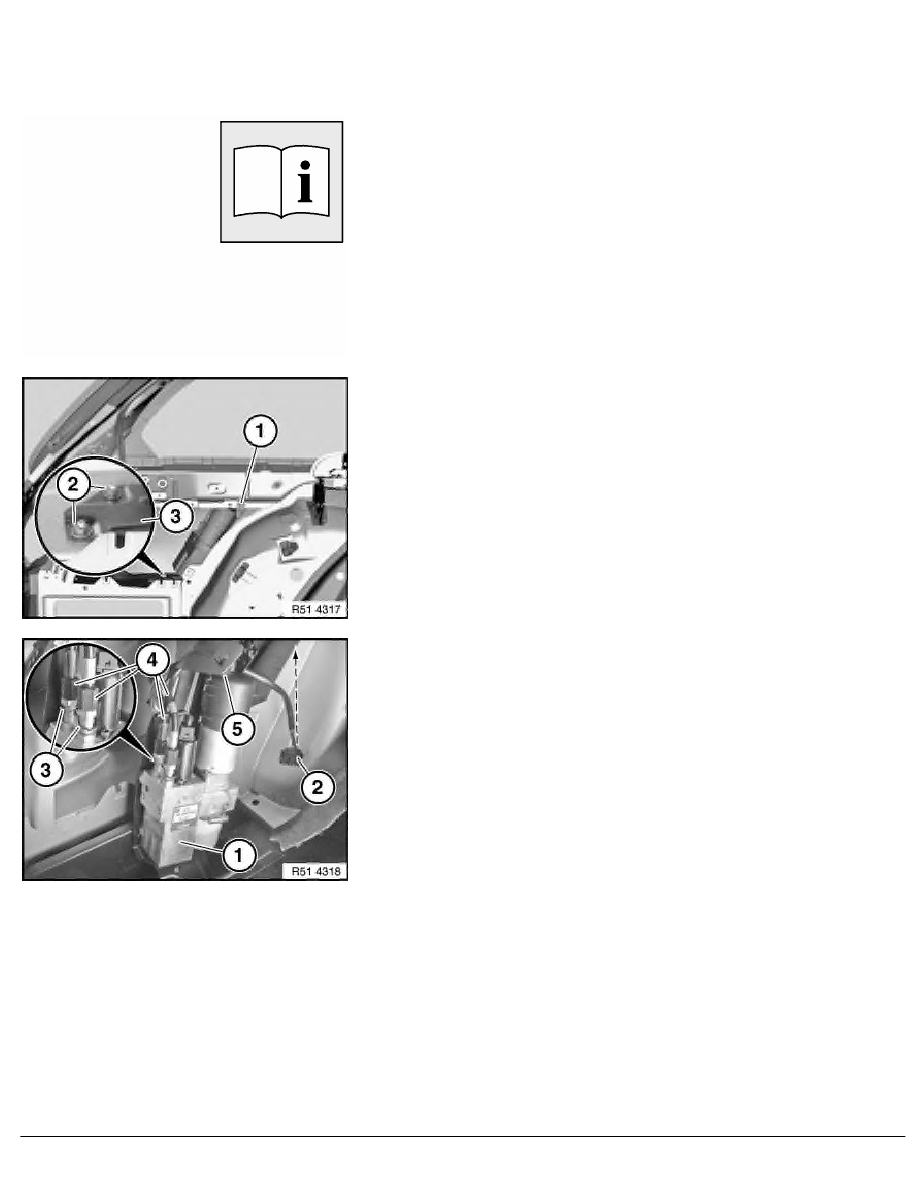
Release screw (1) and nuts (2) on bracket of hydraulic unit (3).
Unclip hydraulic lines (4) from bracket (5).
Take out hydraulic unit (1).
Disconnect hose coupling (2) (see next picture).
Detach hydraulic lines (4) upwards.
Note:
If the hydraulic unit is replaced or stays removed for an extended
period of time, protect the bores in the hydraulic unit and the hose
connections for the hydraulic cylinder against contamination.
If necessary, join hydraulic lines together.
Installation:
Check fluid level in hydraulic unit, correct if necessary.
RA Removing and installing/replacing hydraulic control unit for operating rear lid
BMW AG - TIS
18.02.2013 19:00
Issue status (12/2007) Valid only until next DVD is issued
Copyright
Page - 1 -