
7 Series E38 L7 (M73) SAL
Note:
Do not detach liner from last compensating adhesive tape
until side window is bonded.
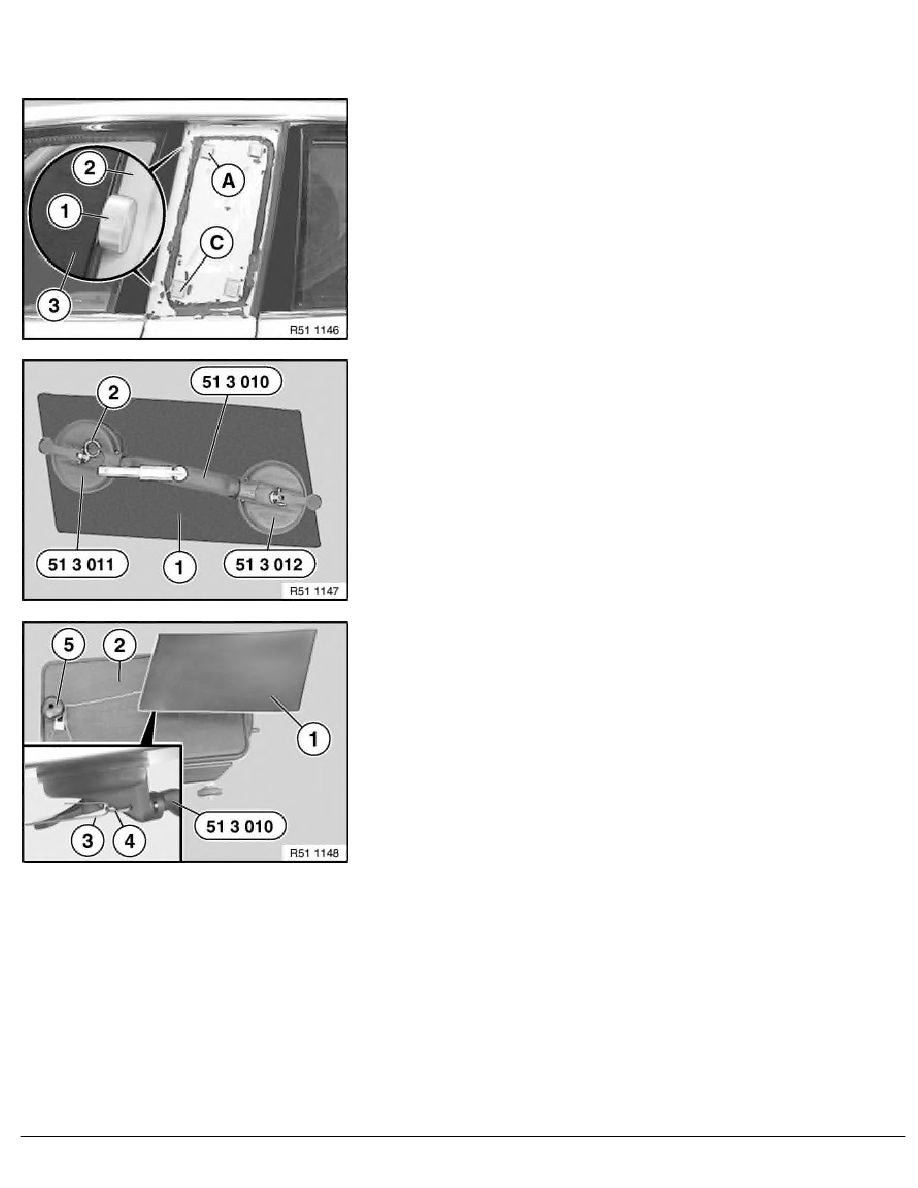
Press spacers (1) onto front door (3) and stick onto "center door"
(2), e.g. with compensating adhesive tape.
Place special tool 51 3 010 with articulated suction cup 51 3 011
and suction cup 51 3 012 against outside of side window (1).
Note:
Dampen down suction faces.
Eye (2) is for locating purposes.
Place side window (1) with special tool 51 3 010 on workshop
trolley (2).
Secure welding wire (3) in eye (4) and around handle (5).
RA Removing and installing/replacing trim (side window) on door pillar (center door
BMW AG - TIS
22.02.2013 04:55
Issue status (12/2007) Valid only until next DVD is issued
Copyright
Page - 10 -