
7 Series E38 L7 (M73) SAL
Attach connector to ITS head airbag gas generator,
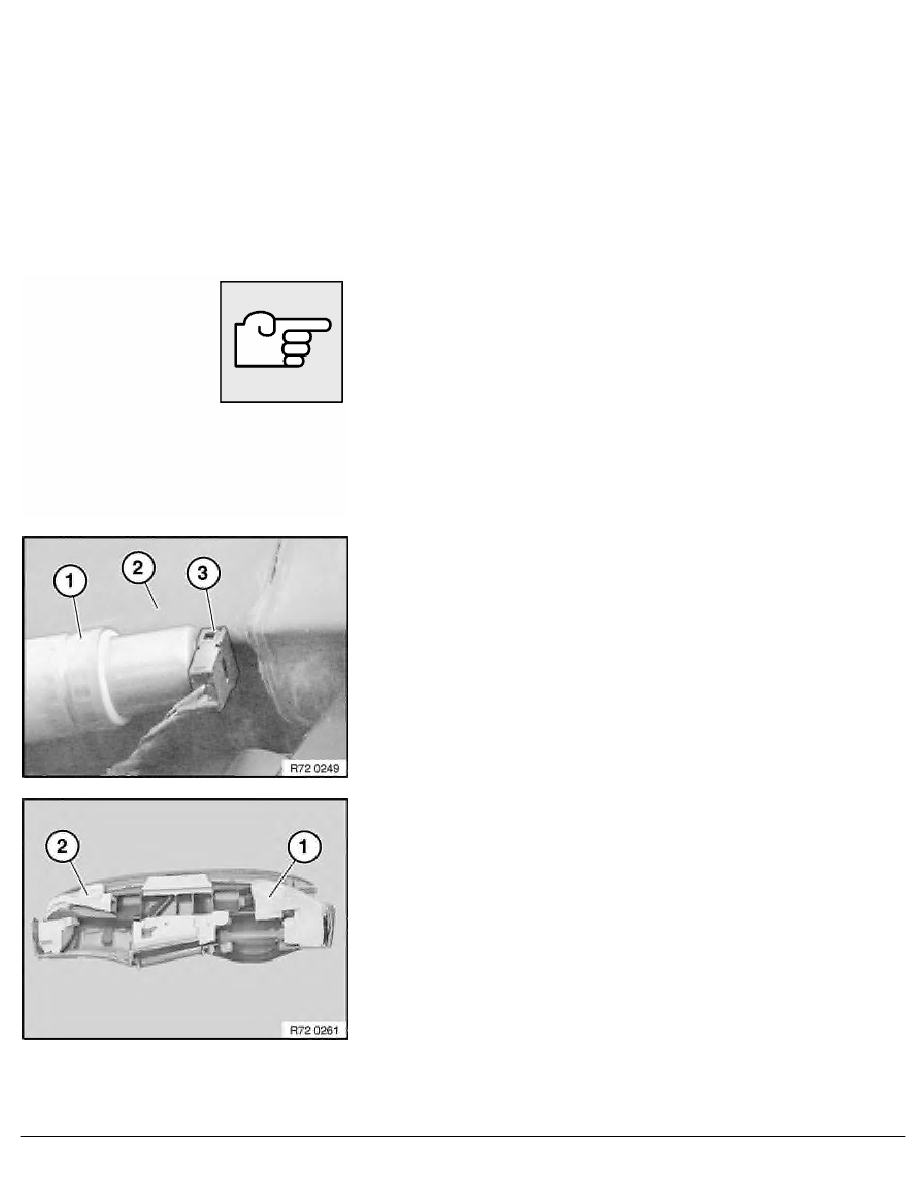
refer to 72 12 ... Unlocking/locking airbag plug connections.
Install ITS head airbag gas generator.
Use M 6 screws and washers to secure ITS head airbag gas
generator.
Length of screws depends on length of blind rivet nut.
Screw length = blind rivet nut length + thickness of holder on ITS
head airbag gas generator + thickness of washer + 3 mm.
Screws, refer to BMW Parts Service.
Use medium-strength Loctite 243 as thread locking agent.
Thread locking agent, refer to BMW Parts Service.
Installation:
Tightening Torque,
refer to 72 12 15AZ.
Installation:
Connector (3) of ITS head airbag gas generator (1) must not
rest on sound insulation (3) or be under tension.
Because of the changed installation position of the ITS head
airbag gas generator, the sound insulation of the instrument panel
trim must be reconditioned.
1 = Sound insulation for instrument panel trim with Part No. 51 48
8174821, in direction of travel, left
2 = Sound insulation for instrument panel trim with Part No. 51 48
8174828, in direction of travel, right
RA Removing and installing / replacing left or right ITS head airbag (model without
BMW AG - TIS
22.02.2013 10:19
Issue status (12/2007) Valid only until next DVD is issued
Copyright
Page - 7 -