
X Series E70 X5 4.8i (N62TU) OFFRD
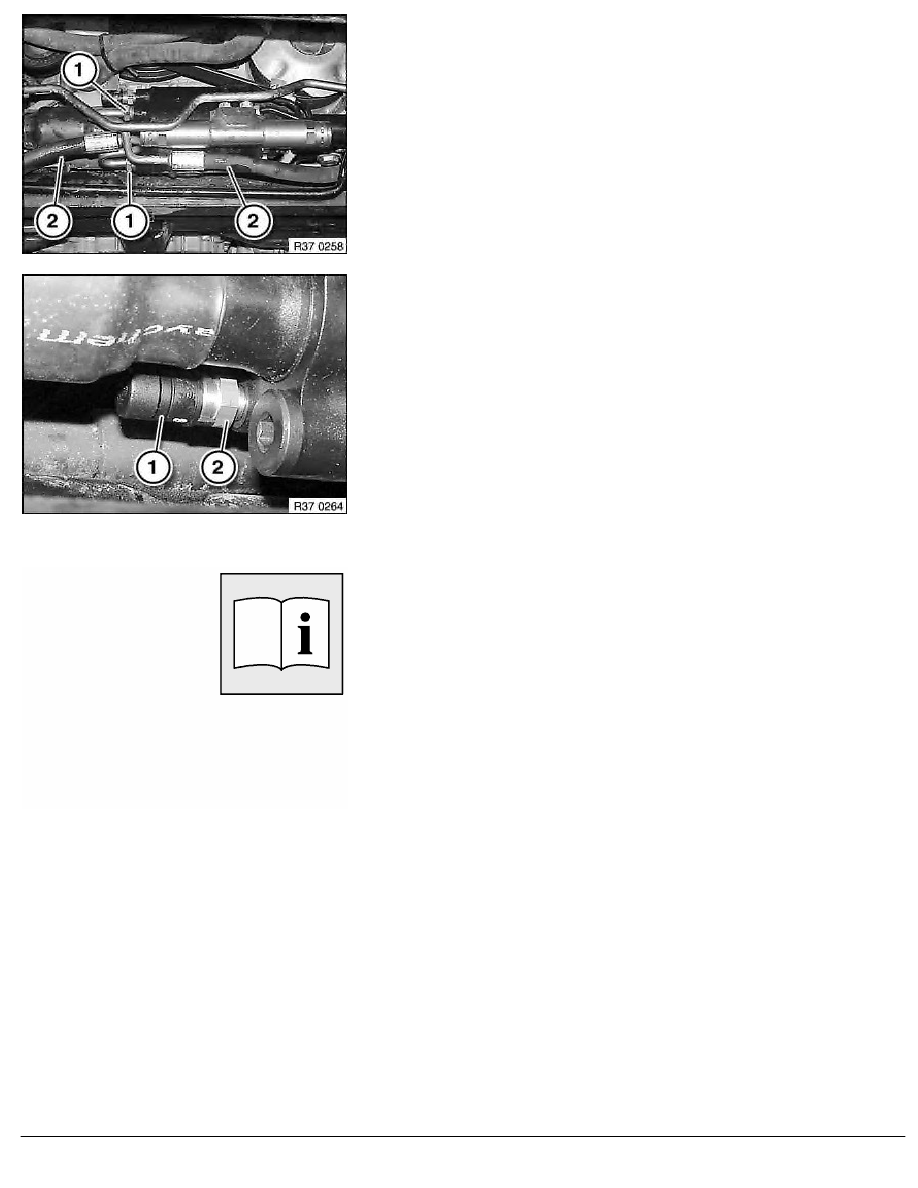
Mark installation position of control lines to oscillating motor.
Release banjo nuts (1) and remove control lines (2) from
oscillating motor.
Seal control lines (2) and connections of oscillating motor with
sealing plugs.
Installation:
Control lines are protected against being mixed up by different
thread diameters on the oscillating motor connection.
Tightening torque 37 14 18AZ
.
Note:
Pressure relief valve consists of filter cartridge (1) and fitting (2).
If necessary, stabilizer leg must be turned to facilitate removal.
Clean tool with brake cleaner.
Unclip filter cartridge (1) and release fitting (2).
Installation:
Install first fitting (2) and then filter cartridge (1).
Remove both protective caps (of red rubber with pull band).
Tightening torque 37 14 24AZ
.
After installation:
•
Fill and bleed hydraulic system
•
Check pipe connections for leaks
•
Carry out initial DYNAMIC DRIVE operation.
RA Replacing pressure relief valve for active stabilizer at front
BMW AG - TIS
08.02.2013 05:51
Issue status (12/2007) Valid only until next DVD is issued
Copyright
Page - 2 -