
Century V6-3.1L VIN J (2005)
Trim Panel: Service and Repair
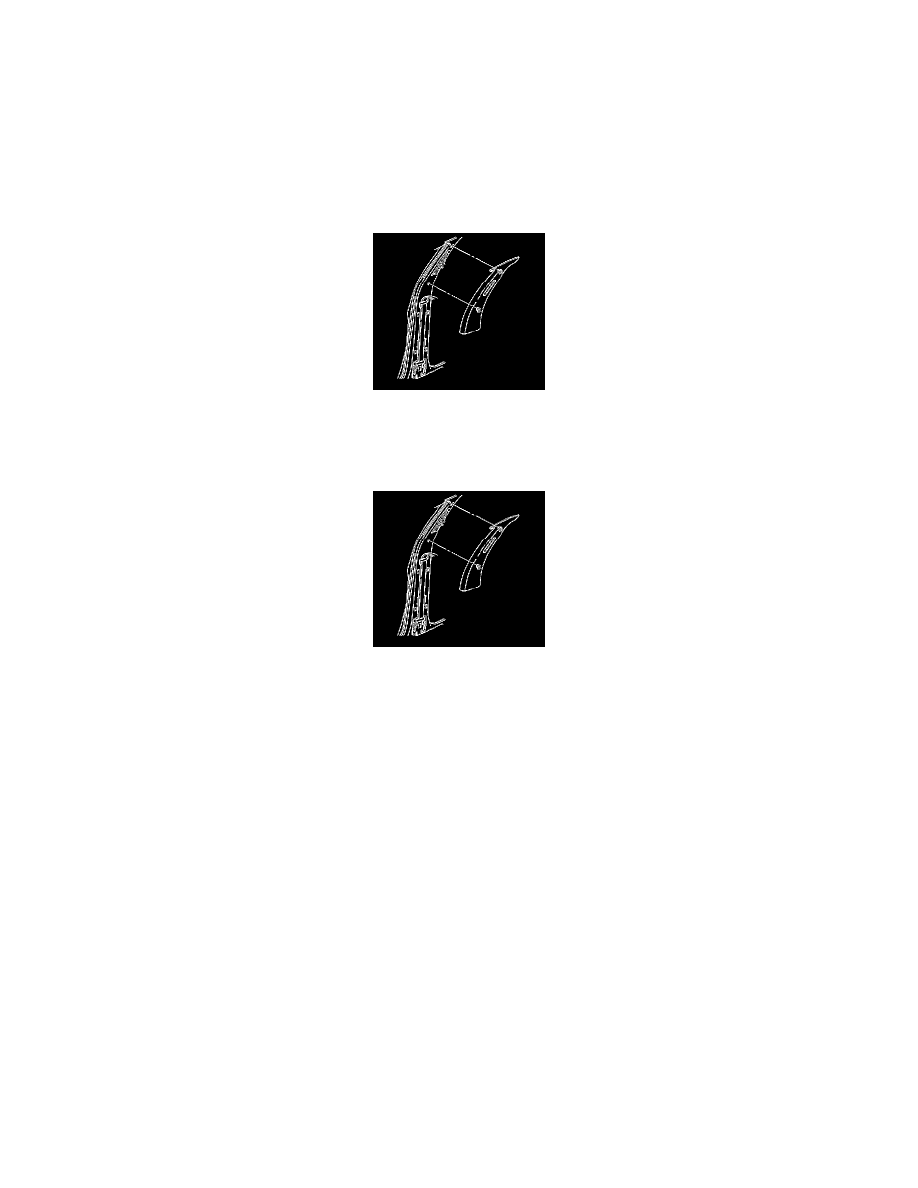
Trim Panel Replacement - Upper Center Pillar
Trim Panel Replacement - Upper Center Pillar
Removal Procedure
1. Open the guide loop attachment cover to the upper seat belt.
2. Remove the guide loop attachment nut.
3. Remove the guide loop attachment from the adjuster bracket.
4. Remove the door weatherstrip from the center pillar pinch weld flange to expose the upper trim panel.
5. Grasp the trim panel firmly with both hands. Pull the panel away from the center pillar.
Installation Procedure
1. Position the upper trim panel to the center pillar.
2. Push firmly on the trim panel in order to seat the retainers.
3. Install the guide loop attachment for the upper seat belt to the adjuster bracket.
Notice: Refer toFastener Notice in Cautions and Notices.
4. Install the attachment nut for the seat belt guide loop
Tighten the nut to 42 Nm (31 lb ft).
5. Install the door weatherstrip to the center pillar.