
Century V6-3.1L VIN J (2005)
Vacuum Brake Booster: Service and Repair
Vacuum Brake Booster Replacement (3.1L)
^
Tools Required
-
J 22805-B Power Brake Booster Holder
Removal Procedure
Caution: When replacing the power booster brake, make sure that the cruise control cable is not routed between the booster and the cowl. If
the cable is damaged or pinched, it must be replaced. Failure to do this could result in personal injury.
1. Disconnect the negative battery cable.
2. Remove the left instrument panel insulator.
3. Disconnect the stoplamp switch electrical connector from the stoplamp switch.
4. Remove the retaining clip and disconnect the brake booster pushrod from the brake pedal.
5. Partially drain the cooling system.
6. Remove the cross vehicle brace.
7. Remove the air cleaner inlet duct.
8. Relieve the fuel system pressure.
9. Disconnect the EVAP canister purge valve pipe, the fuel feed pipe and return pipe. Position them to the side.
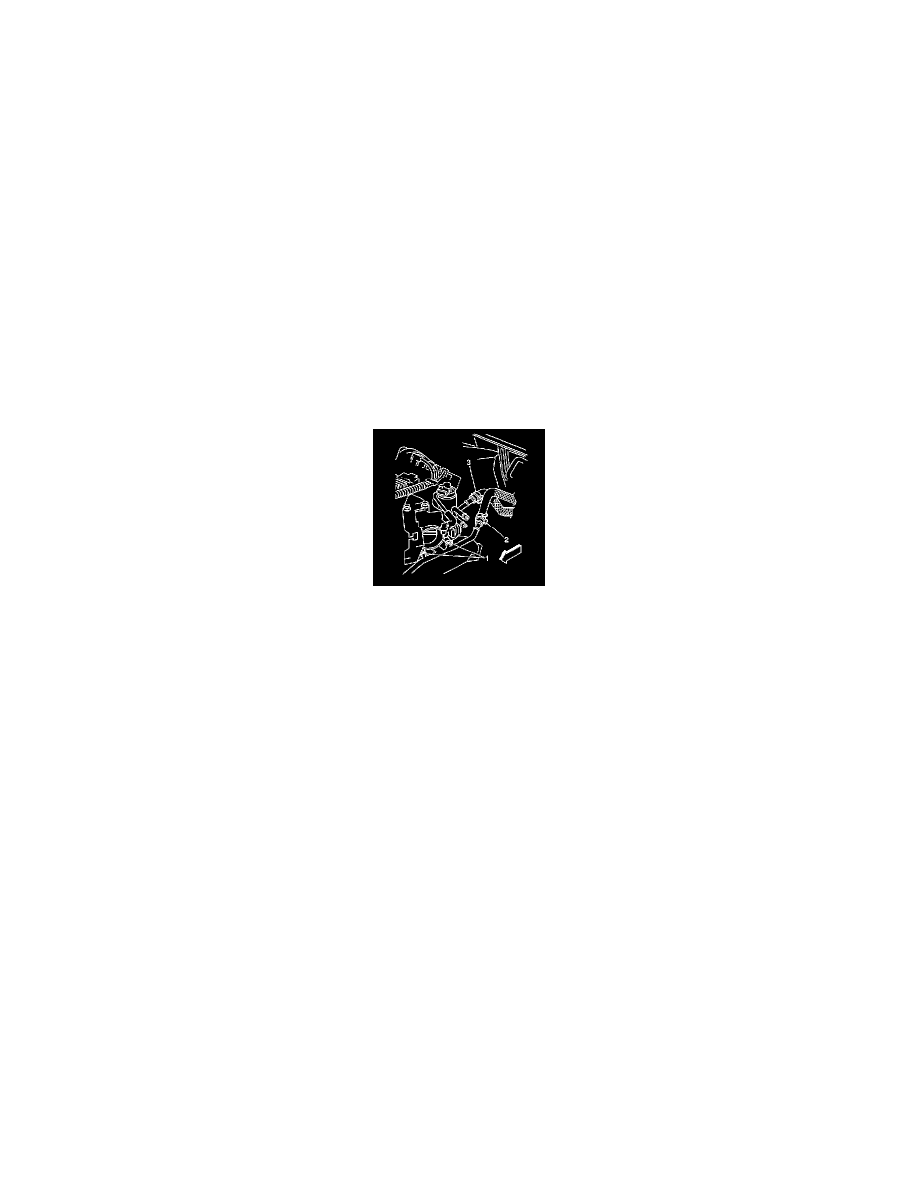
10. Disconnect the coolant outlet (2) and inlet (3) bypass hoses and position them aside.
11. Remove the heater inlet pipe.
12. Rotate the engine forward for service access.
13. Disconnect the brake fluid level sensor electrical connector from the brake fluid level sensor.
14. Important: It is not necessary to disconnect the brake pipes from the master cylinder to the BPMV.
Remove the two master cylinder retaining nuts and position the master cylinder aside.
15. Disconnect the vacuum brake booster check valve from the brake booster. Position aside the vacuum hose with the check valve as an assembly.
16. Attach the J 22805-B to the booster using the master cylinder retaining nuts.