
LaCrosse V6-3.6L (2007)
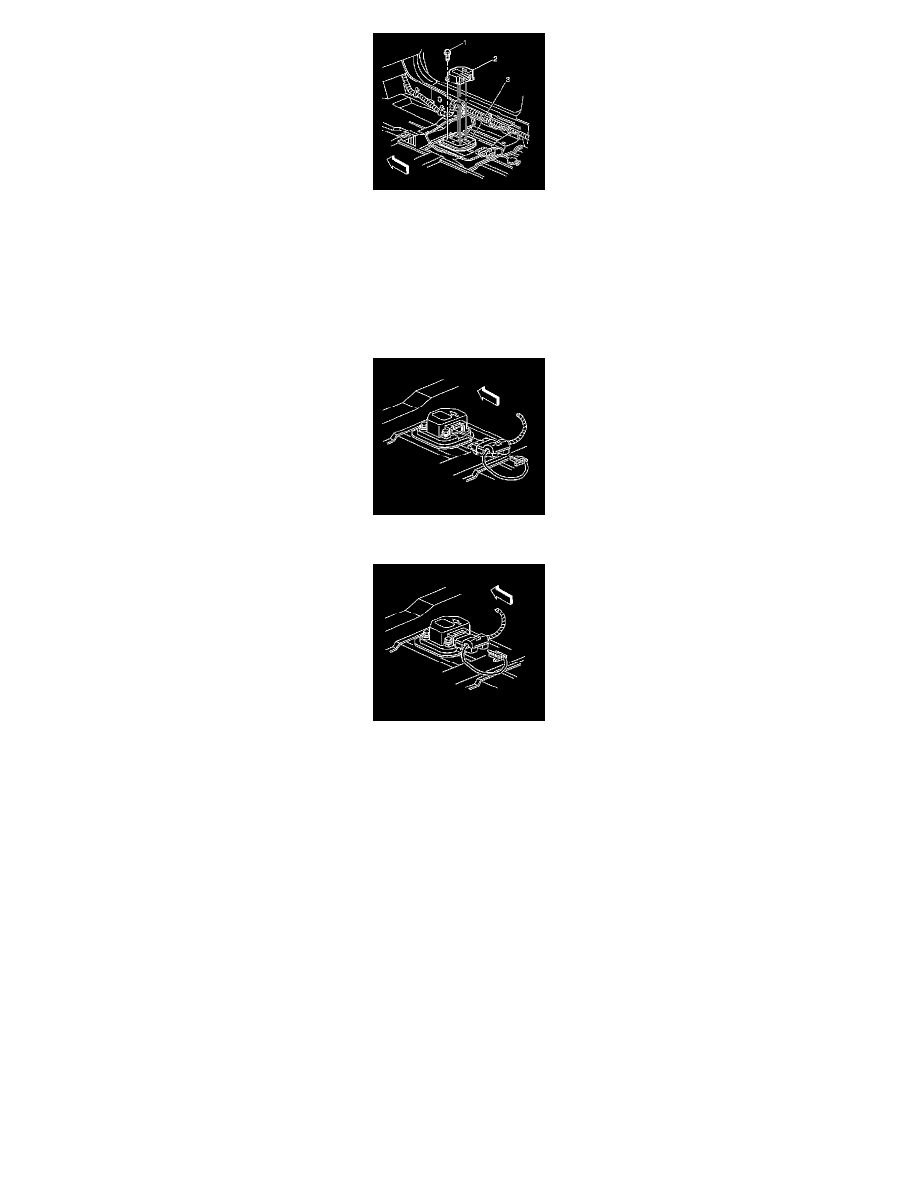
2. Install the SDM (2) horizontally to the vehicle (3).
3. Point the arrow on the SDM toward the front of the vehicle.
Notice: Refer to Fastener Notice.
4. Install the SDM mounting fasteners (1).
Tighten the fasteners to 10 N.m (89 lb in).
5. Connect the connector to the SDM.
6. Install the CPA to the SDM connector.
7. Position the carpet to cover the SDM.
8. Reposition the front and rear door weatherstrips as required.
9. Install the center pillar, lower trim panel.
10. Install the right insulator panel.
11. Install the passenger front seat.
12. Enable the SIR system. Refer to SIR Disabling and Enabling.
13. If you replaced the SDM, perform the following procedure in order to update the BCM with the new SDM part number:
Important: The AIR BAG indicator may remain ON after the SDM is replaced. After programming the SDM part number into the
BCM, cycle the ignition switch OFF and ON. This turns OFF the AIR BAG indicator and clears the DTC.
1. Install a scan tool.
2. Select the Special Functions option from the BCM Menu and press enter.
3. Select the BCM Reprogramming in BCM option and press enter.
4. Follow the procedure on the scan tool display.
5. Cycle the ignition switch OFF and ON.
14. Refer to Programming and Relearning for programming and setup information. See: Testing and Inspection/Programming and Relearning