
LaCrosse V6-3.6L VIN 7 (2006)
Headliner: Service and Repair
Headliner Replacement
Tools Required
J 38778 Door Trim Pad and Garnish Clip Remover
Removal Procedure
Important: This vehicle may be equipped with roof rail module air bags. Disable these air bags before performing any work on the
headliner.
1. Disable the SIR system. Refer to SIR Disabling and Enabling Zone 2 and to SIR Disabling and Enabling Zone 6 in Restraint Systems.
Caution: Do not attempt to repair or alter the head impact energy-absorbing material glued to the headliner or to the garnish trims. If
the material is damaged, replace the headliner and/or the garnish trim. Failure to do so could result in personal injury.
2. Remove the sunshades.
3. Remove the sunshade anchors.
4. Remove the overhead console.
5. Remove the front floor console.
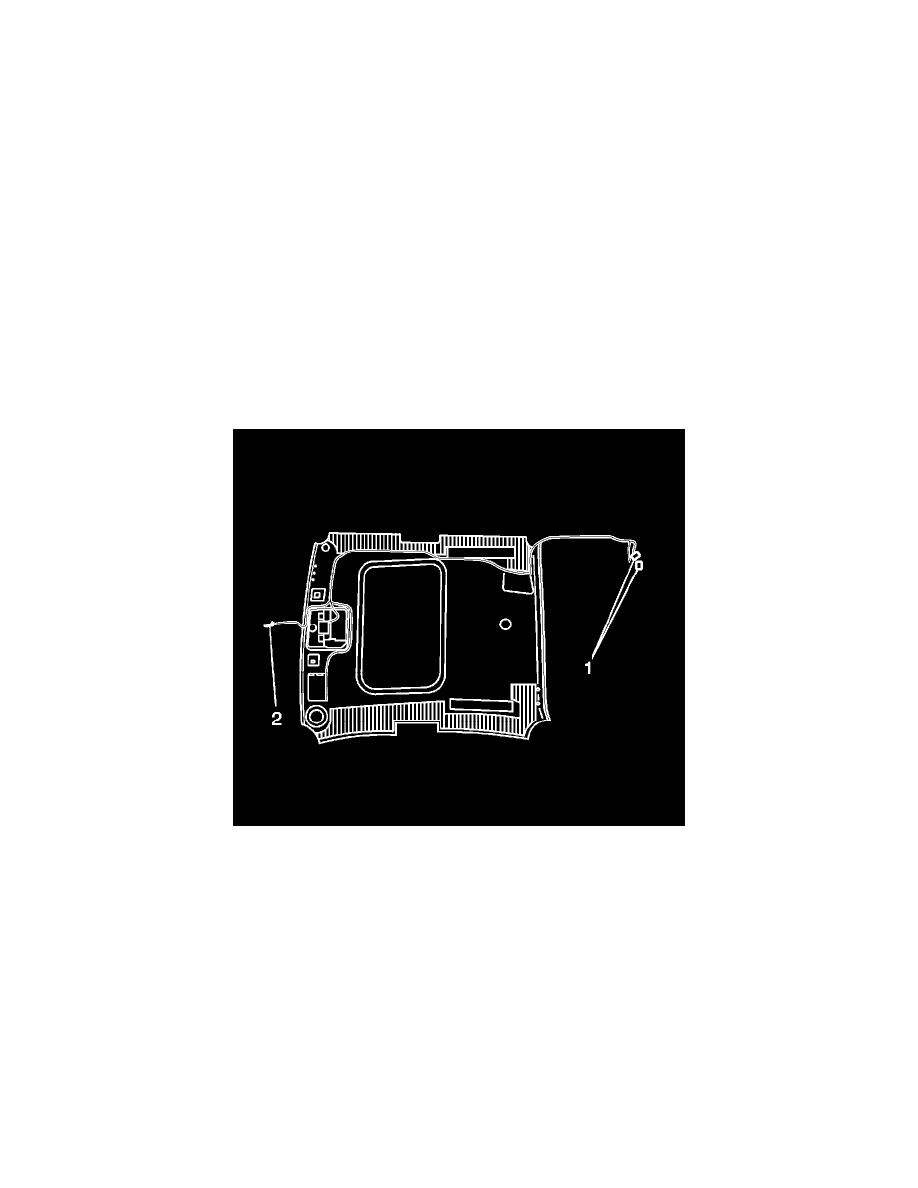
6. Disconnect the electric connector (2) to the rearview mirror.
7. Remove the bolts from the assist handles.
8. Remove the windshield pillar garnish molding.
9. Remove the upper center pillar trim panel.
10. Remove the rear quarter upper trim panels.
11. Pull down the door opening weatherstrip seal on both the front and the rear doors.
12. If the vehicle is equipped with a sunroof, remove the finish lace from the sunroof opening. Refer to Sunroof Finishing Lace Replacement in
Sunroof/Moonroof.
13. Using J 38778, remove the push-in retainers, located over the rear seat, from the headliner
14. Remove the rear window trim panel as necessary to access the headliner harness connectors.
15. Disconnect the headliner electric harness connectors, located under the right side of the rear window shelf.
16. Disconnect the rear courtesy lamps in the headliner.
17. Recline the right front seat back to a horizontal position.
Important: Protect interior surfaces from sharp edges of headliner during removal enlist aid to assist with removal of headliner.
18. Remove the headliner from the vehicle through the right front door.