
Lucerne V6-3.8L VIN 2 (2006)
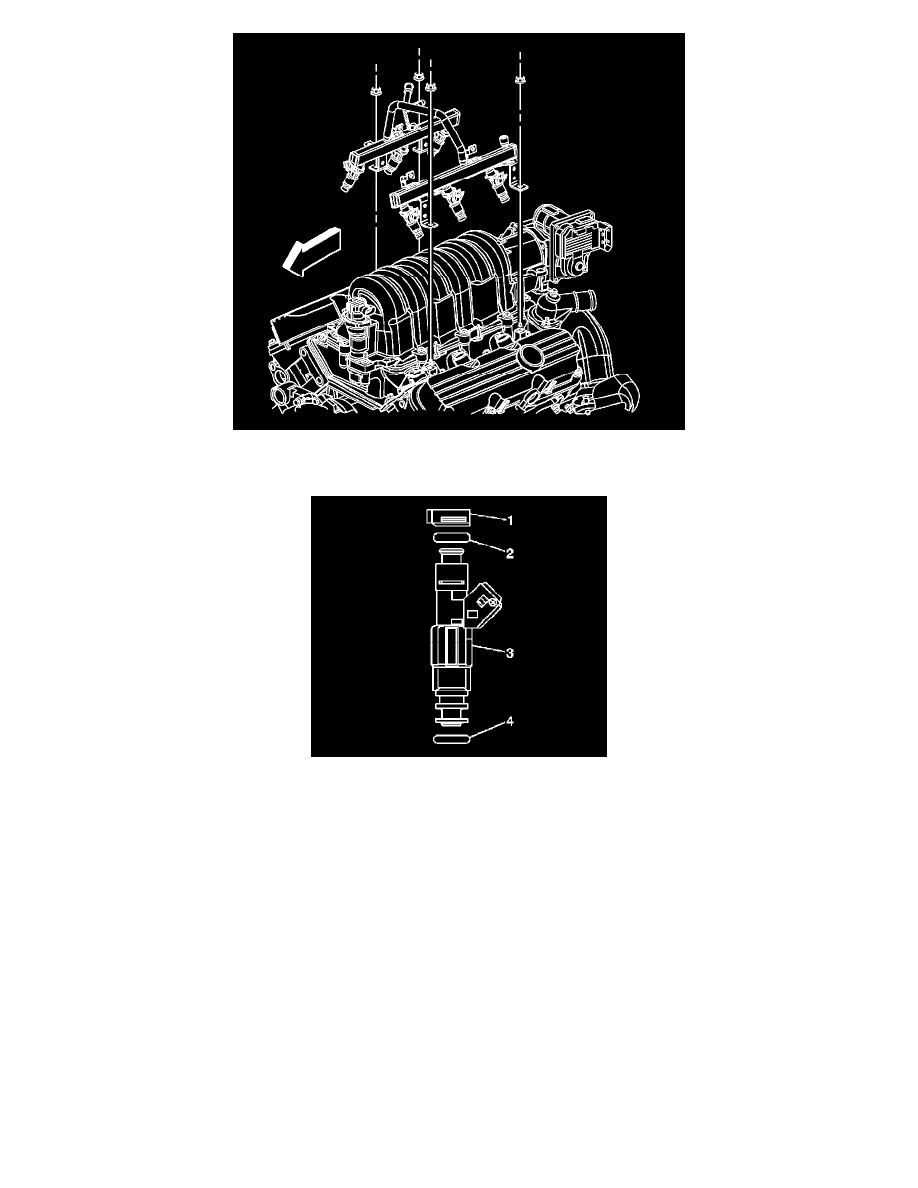
19. Remove the fuel rail nuts.
20. Gently lift the fuel rail up with equal force on both sides of the fuel rail.
21. If replacing the fuel rail, perform the following steps otherwise proceed to step 6 in the installation procedure.
22. Remove the fuel injector retainers (1).
23. Remove the fuel injectors (3).
24. Remove and discard the fuel injector upper O-ring seals (2).
25. Remove and discard the fuel injector lower O-ring seals (4).
INSTALLATION PROCEDURE
CAUTION: In order to reduce the risk of fire and personal injury that may result from a fuel leak, always install the fuel injector O-rings in
the proper position. If the upper and lower O-rings are different colors (black and brown), be sure to install the black O-ring in the upper
position and the brown O-ring in the lower position on the fuel injector. The O-rings are the same size but are made of different materials.
NOTE:
-
Use care when servicing the fuel system components, especially the fuel injector electrical connectors, the fuel injector tips, and the injector
O-rings. Plug the inlet and the outlet ports of the fuel rail in order to prevent contamination.
-
Do not use compressed air to clean the fuel rail assembly as this may damage the fuel rail components.
-
Do not immerse the fuel rail assembly in a solvent bath in order to prevent damage to the fuel rail assembly.