
Lucerne V6-3.8L VIN 2 (2006)
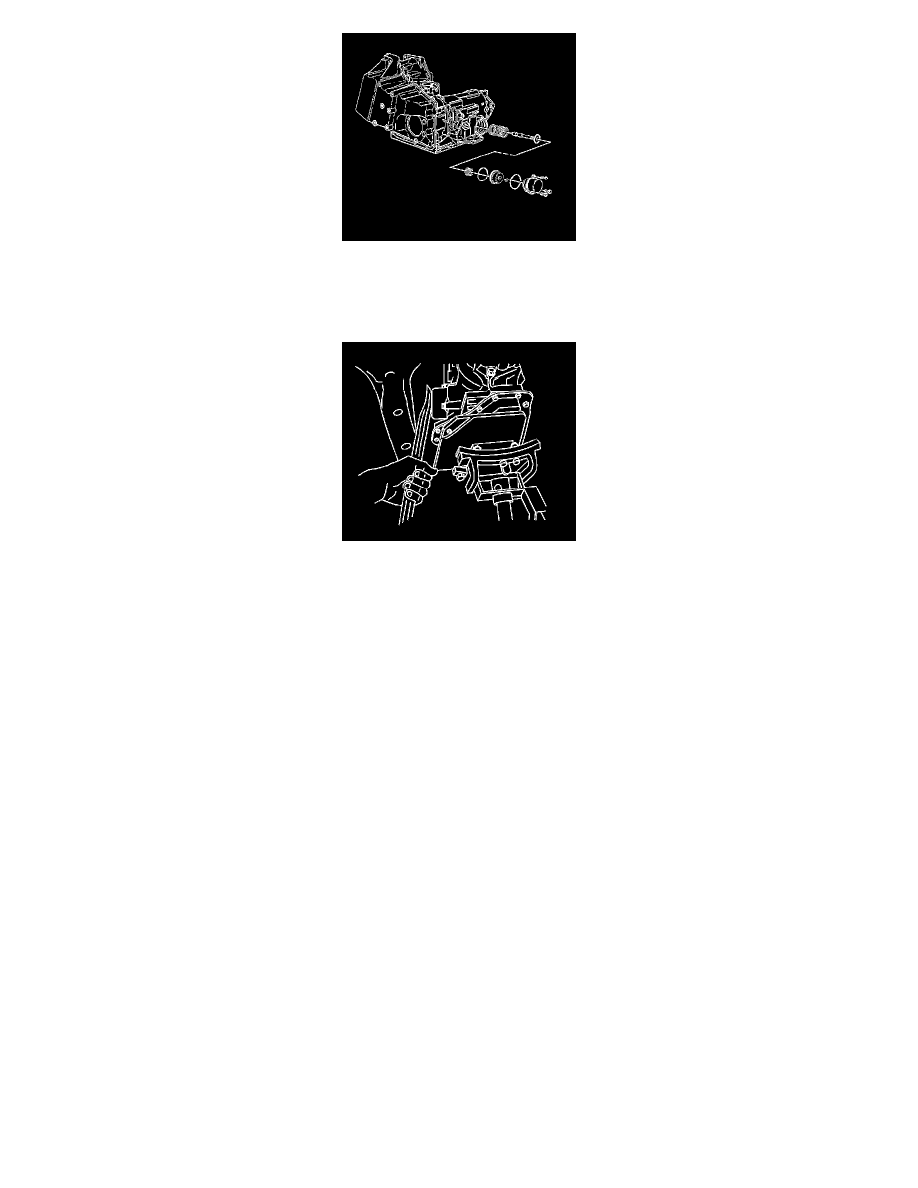
1. Install the servo spring.
2. Install the servo piston assembly.
3. Install the forward servo cover O-ring.
4. Install the forward servo cover.
5. Using a long screwdriver in order to pry against the vehicle frame. Hold the servo assembly compressed.
Notice: Refer to Fastener Notice in Service Precautions.
6. Install the 3 forward servo cover attaching bolts.
^
Tighten the forward servo cover attaching bolts to 12 Nm (106 inch lbs.).
7. Remove the drain pan from under the forward servo cover.
8. Align the rear transaxle mount and bracket then Install the mount and bracket bolts. Refer to Transmission Mount Bracket Replacement - Rear.
9. Remove the transaxle support stand.
10. Install the power steering pressure hose.
11. Install the power steering return hose.
12. Install the power steering gear heat shield.
13. Lower the vehicle.
14. Fill the transaxle to the proper level. Refer to Fluid Capacity Specifications.
15. Inspect the transaxle fluid level.
Important: It is recommended that transmission adaptive pressure (TAP) information be reset.
16. Resetting the TAP values using a scan tool will erase all learned values in all cells. As a result, The ECM, PCM or TCM will need to relearn TAP
values. Transmission performance may be affected as new TAP values are learned.
Reset the TAP values. Refer to Transmission Adaptive Functions.