
Rainier 2WD L6-4.2L VIN S (2005)
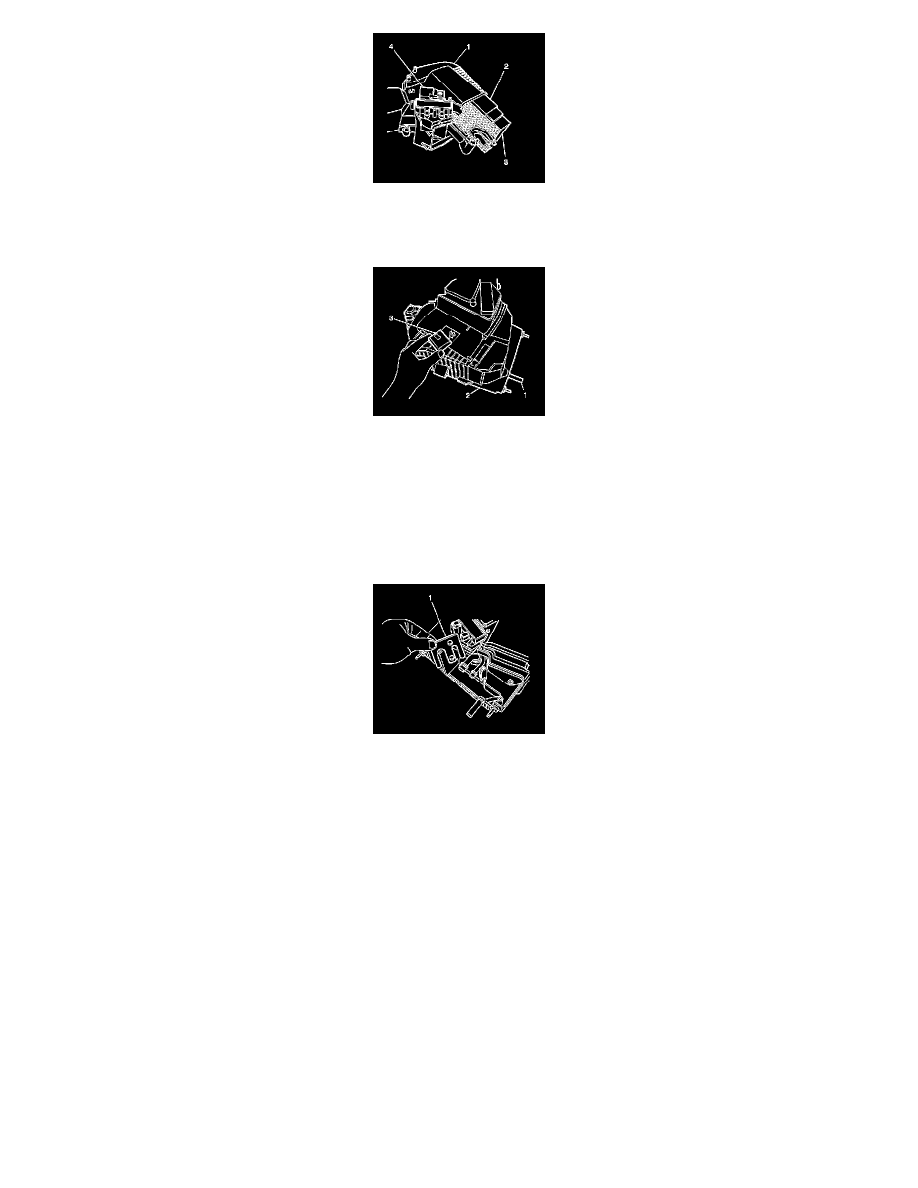
2. Transfer the foam insulator (2) to the replacement evaporator core-auxiliary (3).
3. Transfer the thermal expansion valve-auxiliary to the replacement evaporator core-auxiliary.Install the evaporator core-auxiliary (3) to the rear
HVAC module-auxiliary (1).
4. Install the HVAC module-auxiliary case sump (2).
5. Install the screws to the HVAC module-auxiliary case sump.
Tighten the screws to 2 N.m (18 lb in).
NOTE: Refer to Fastener Notice in Service Precautions.
6. Install the blower motor control processor-auxiliary.
7. Install the backing plate (1) to the evaporator core-auxiliary.
8. Install the evaporator block-auxiliary.
9. Install the inverted TORX studs to the evaporator block-auxiliary.
Tighten the TORX studs to 2 N.m (18 lb in).
10. Install the heater core-auxiliary.
11. Install the HVAC module assembly.
12. Leak test the fittings of the component using the J 39400-A.