
Rendezvous AWD V6-3.5L VIN L (2006)
Trunk / Liftgate Weatherstrip: Service and Repair
Weatherstrip Replacement - Liftgate
Removal Procedure
1. Open the liftgate.
2. Remove the endgate sill plate. Refer to Door Sill Plate Replacement - Liftgate (Rendezvous) (See: Interior Moulding / Trim/Scuff Plate/Service
and Repair) .
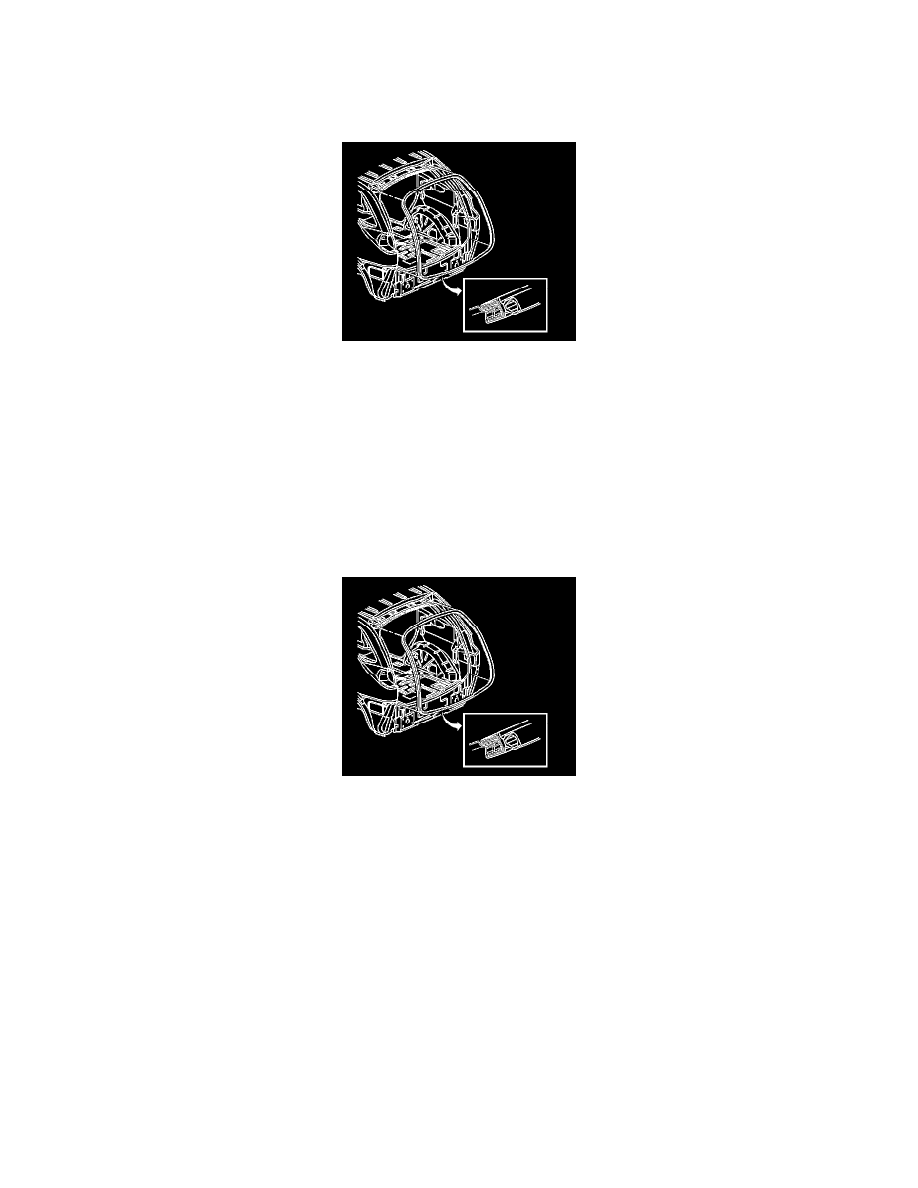
3. Pull the liftgate weatherstrip from the liftgate opening pinch-weld flange.
4. Clean all the adhesive from the liftgate opening pinch-weld flange using GM P/N 8984 adhesive remover or equivalent.
Installation Procedure
Important: A mastic/sealer/glue is inside of the new liftgate weatherstrips. If a new weatherstrip is being installed, weatherstrip adhesive
should not be used.
If the liftgate weatherstrip is reused, weatherstrip adhesive should be used.
1. Install the liftgate weatherstrip starting at the top center of the liftgate opening. Position the liftgate weatherstrip to the pinch-weld flange, and
working down the right and left sides towards the bottom center, being careful not to stretch the liftgate weatherstrip while installing it.
2. Install the butt joint seam at the center of the bottom pinch-weld flange.
3. Use a rubber mallet to ensure full engagement of the liftgate weatherstrip to the pinch-weld flange.
4. Spooning of the liftgate weatherstrip may be required to complete the installation of the liftgate weatherstrip.
5. Install the endgate sill plate. Refer to Door Sill Plate Replacement - Liftgate (Rendezvous) (See: Interior Moulding / Trim/Scuff Plate/Service and
Repair) .
6. Close the liftgate.