
Rendezvous AWD V6-3.5L VIN L (2006)
Global Positioning System Module: Service and Repair
COMMUNICATION INTERFACE MODULE REPLACEMENT
REMOVAL PROCEDURE
IMPORTANT: The vehicle communication interface module (VCIM) has a specific set of unique numbers that tie the module to each vehicle. These
numbers, the 10-digit station identification and the 11-digit electronic serial number, are used by the National Cellular Network and OnStar(R) to
identify the specific vehicle. Because these numbers are tied to the vehicle identification number of the vehicle, you must never exchange these parts
with those of another vehicle.
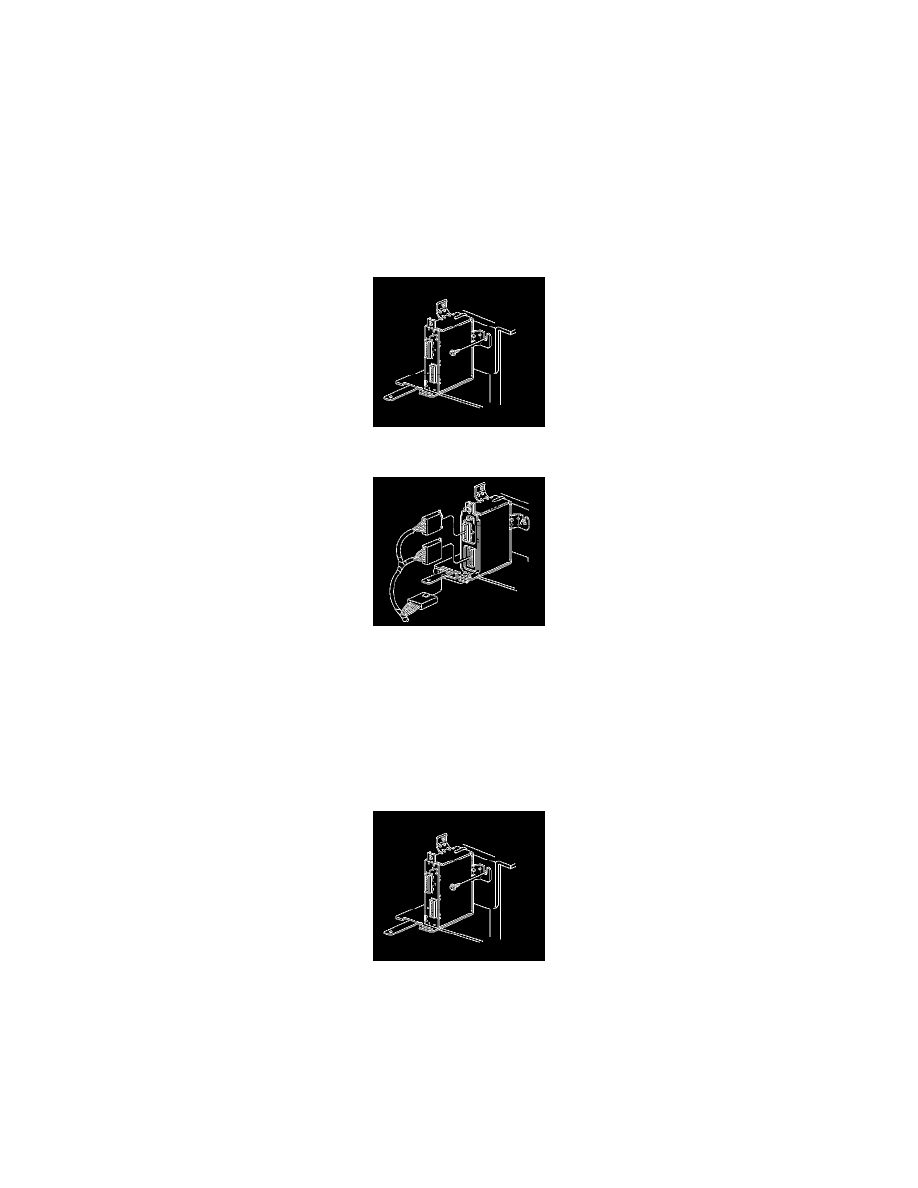
1. Remove the right insulator panel.
2. Remove the instrument panel compartment.
3. Remove the screws securing the VCIM bracket to the instrument panel metal brace.
4. Disconnect the electrical connectors.
5. Disconnect the cell antenna coaxial cable from the VCIM.
6. Remove the VCIM from the bracket and the vehicle.
IMPORTANT: The old VCIM must be returned for core credit.
INSTALLATION PROCEDURE
1. When replacing a VCIM, record the 11-digit electronic serial number (ESN) and the 10-digit station identification (STID) number from the label
on the new VCIM.
2. Connect the electrical connectors to the module.
3. Connect the cell antenna coaxial cable to the VCIM.
4. Install the screws that secure the bracket to the instrument panel brace.
Tighten the screws to 10 N.m (89 lb in).
NOTE: Refer to Fastener Notice in Service Precautions.
5. Install the I/P compartment.
6. Install the right insulator panel.