
Rendezvous FWD V6-3.4L VIN E (2005)
1. Remove any dirt, grease, and other contaminants from the mounting surface.
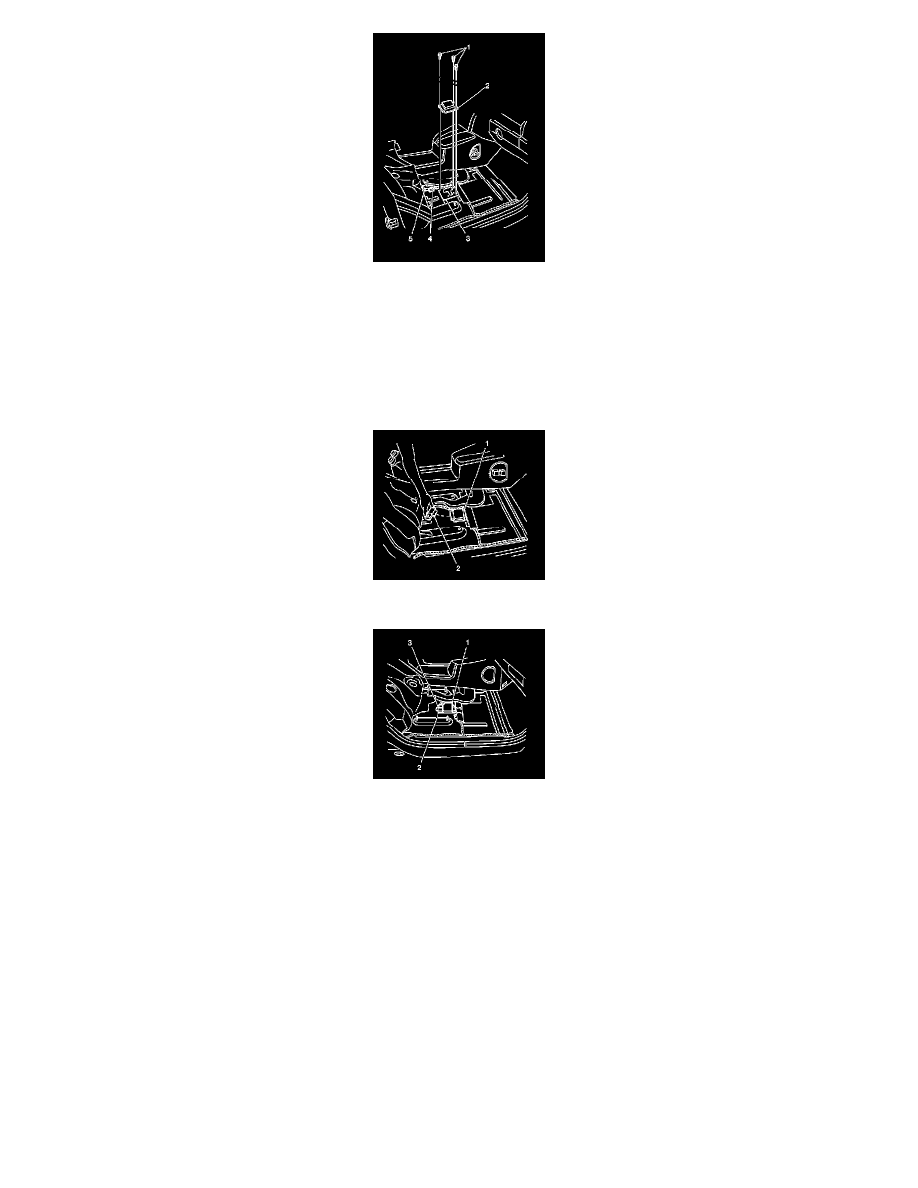
2. Install the SDM (2) horizontally to the vehicle.
3. Point the arrow on the SDM toward the front of the vehicle.
4. Install the SDM mounting fasteners (1).
Tighten the fasteners to 10 N.m (89 lb in).
NOTE: Refer to Fastener Notice in Service Precautions.
5. Install the SDM wiring harness connector (2) to the SDM (1).
6. Install the CPA (3) to the SDM wiring harness connector (2).
7. Place the carpet to cover the SDM. Install the carpet retainer.
8. Install the right side insulator panel.
9. Install the right side cowl trim panel.
10. Install the passenger front seat.
11. Enable the SIR system. Refer to SIR Disabling and Enabling Zone 9.
12. Reprogram the BCM. See: Testing and Inspection/Programming and Relearning
IMPORTANT: The AIR BAG indicator may remain ON after the SDM has been replaced. DTC B1001 may set requiring the SDM part number to
be set in multiple modules. If the indicator remains ON after enabling the SIR system, perform the diagnostic system check and follow the steps
thoroughly to ensure that the SDM is set properly.See: Testing and Inspection/Initial Inspection and Diagnostic Overview/Diagnostic System Check -
Vehicle