
Riviera V6-3.8L SC VIN 1 (1995)
Ball Joint: Service and Repair
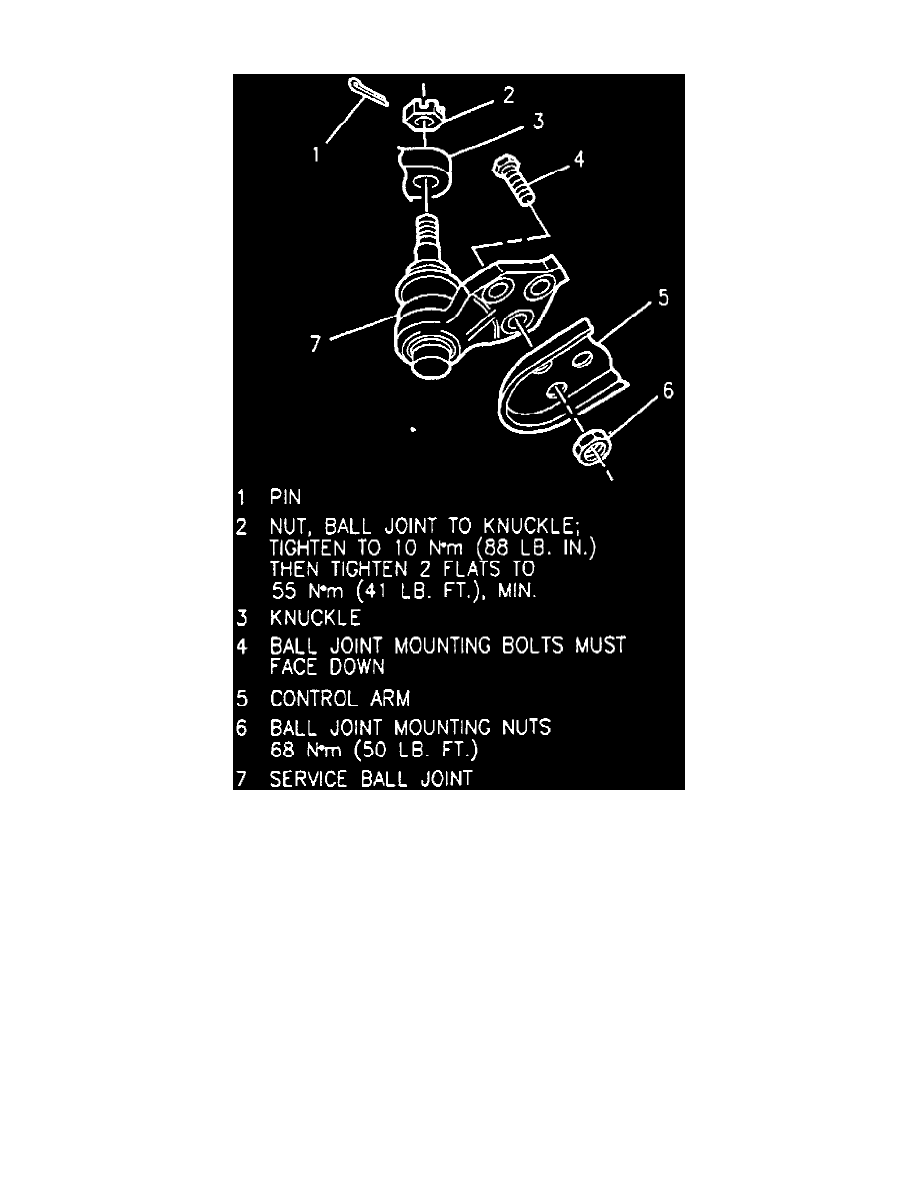
Fig. 2 Ball Joint Replacement
1. Raise and support vehicle, then remove tire and wheel assembly.
2. Remove cotter pin from ball joint and loosen nut.
3. Using tool No. J-36226, or equivalent, separate ball joint from steering knuckle, Fig. 2.
4. Loosen stabilizer shaft link nut.
5. Drill out three rivets or grind off rivet heads retaining ball joint. Do not damage drive axle seals when drilling or grinding.
6. Remove ball joint from knuckle and control arm.
7. Reverse procedure to install. Tighten ball joint and stabilizer shaft nuts to specifications.