
Skylark L4-138 2.3L SOHC VIN 3 MFI QUAD 4 (1992)
Power Window Motor: Service and Repair
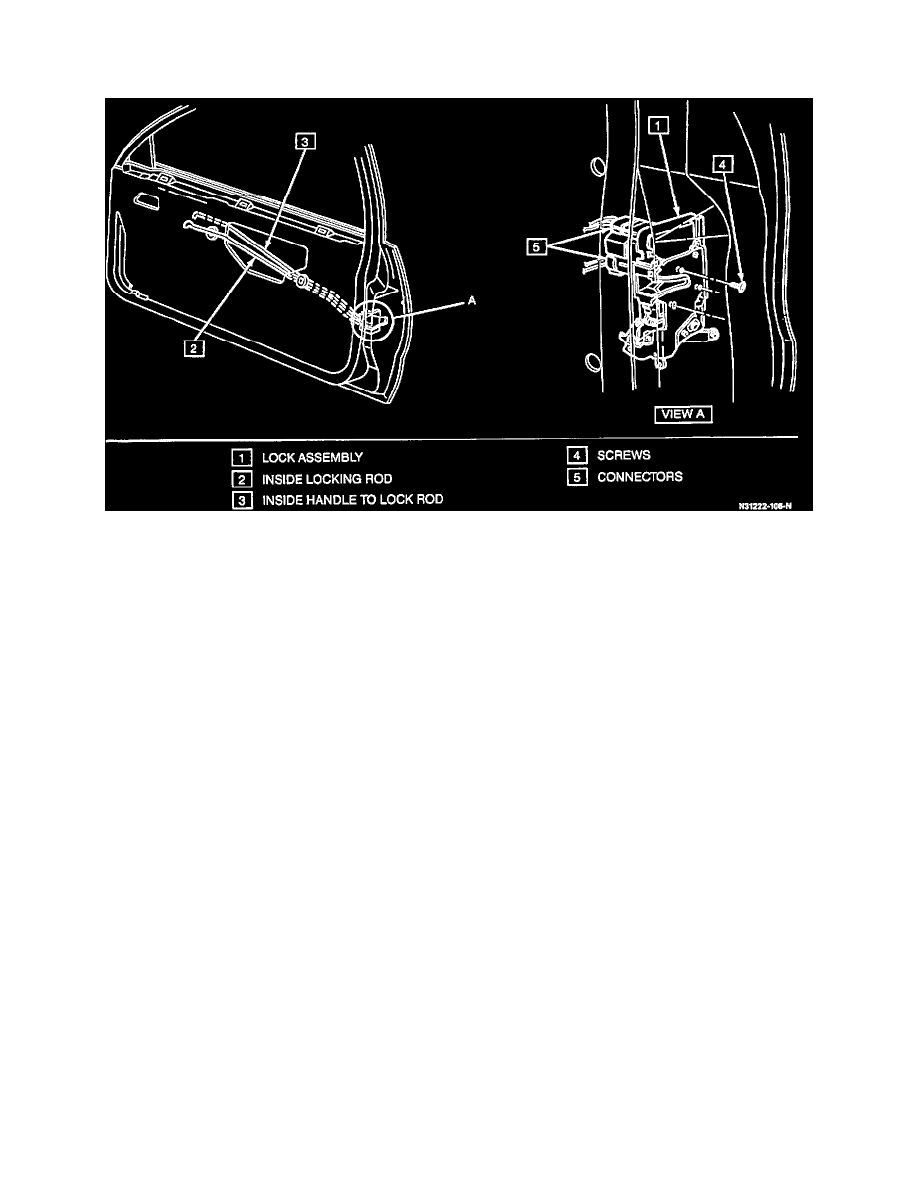
Lock Assembly
Door Lock Assembly
Remove or Disconnect
1. Door trim panel.
2. Water deflector.
3. Inside locking rod (2), inside handle to lock rod (3).
4. Outside door handle to lock rod, and lock cylinder rod.
5. Three screws (4).
6. Lock (1).
7. Electrical connectors (5).
Install or Connect
1. Electrical connectors (5).
2. Lock (1).
3. Three screws (4).
NOTICE: It is required that while performing step 2 the lock assembly be held tight against door facing while installing screws. All screws must be
driven at a 90 degree angle to door facing to prevent cross threading or stripping of screws or door lock attaching holes. It is also required to tighten
screws to 7 N.m (62 lbs. in.). DO NOT OVER TIGHTEN.
4. Outside door handle to lock rod, and lock cylinder to lock rod.
5. Inside handle to lock rod (3), and inside locking rod (2).
6. Water deflector.
7. Door trim panel.
DO NOT ATTEMPT REPAIRS TO CORRECT LOCK DISCREPANCIES. MAKE CORRECTIONS THROUGH REPLACEMENT OF
LOCK ASSEMBLY.