
Skylark L4-144 2.4L DOHC VIN T SFI (1997)
Camshaft Gear/Sprocket: Service and Repair
Installation
NOTE: GM does not provide timing chain timing marks, or information to perform timing chain service without the special tools shown in this
procedure.
TOOL REQUIRED
^
J 36800 Camshaft Sprocket Timing Alignment Pin
^
J 39579 Camshaft Sprocket Wrench
CAUTION: Failure to follow this procedure could result in severe engine damage.
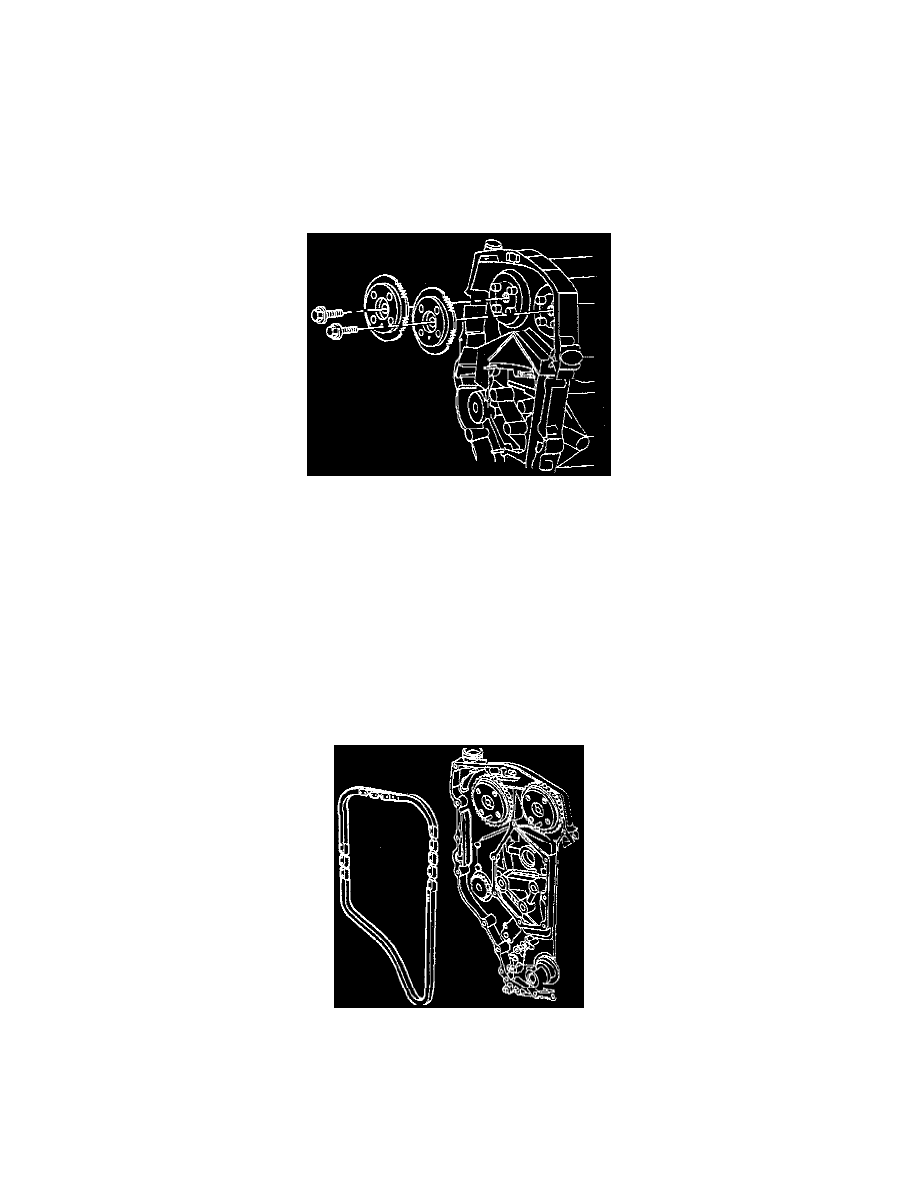
1. Install the intake camshaft sprocket onto the camshaft with the marked surface showing.
2. Install the intake camshaft sprocket Retaining bolt and washer. Tighten the bolt to 70 Nm (52 lb ft) while holding the sprocket with the camshaft
sprocket wrench.
3. Use Adhesive/Sealant Compound GM P/N 12345493 or equivalent on the camshaft sprocket bolt.
4. Install the camshaft sprocket timing alignment pin through the holes in the camshaft sprockets into the holes in the timing chain housing in order to
position the camshaft for correct timing.
5. If the camshafts are out of position and must be rotated more than 1/8 turn in order to install the alignment dowel pins, use the following
procedure:
a. The crankshaft must be rotated 90 degrees clockwise off of the TDC in order to give the valves adequate clearance to open.
b. Once the camshafts are in position and the dowels installed, rotate the crankshaft counter clockwise back to the top dead center.
WARNING: Do not rotate the crankshaft clockwise to TDC. Valve or piston damage could occur.
NOTE: The side of the timing chain that was marked during removal must be showing when the chain is installed.
6. Install the timing chain over the exhaust camshaft sprocket, around the idler sprocket and around the crankshaft sprocket.