
Skylark V6-3100 3.1L VIN M SFI (1996)
Note the AMOUNT and LOCATION of the "high spot" on the rotor and mark the closest wheel stud relative to this location.
Remove the rotor.
Select the appropriate Brake Align(R) Runout Correction Plate for this vehicle using the Application Chart. Make sure the selection corrects the amount
of runout that was diagnosed.
Never attempt to stack two or more Correction Plates together on one hub.
Never attempt to re-use a previously installed Correction Plate.
Following the Brake Align(R) procedures and diagram, install the Correction Plate onto the vehicle between the hub and the rotor. The V-notch in the
Correction Plate is to be installed and aligned with the noted location of the "high spot" on the vehicle hub and marked wheel stud.
Install the rotor onto the vehicle with the Correction Plate placed between the hub and the rotor. Be sure to install the rotor onto the hub in the same
location as identified in Step 7.
The rotor should then be secured onto the hub and tightened to the proper specification. The rotor should be dial indicated once more to assure that the
rotor is now within specification.
The brake system is now ready for the remaining service and assembly. Once the caliper has been installed, check to ensure that the rotor rotates freely.
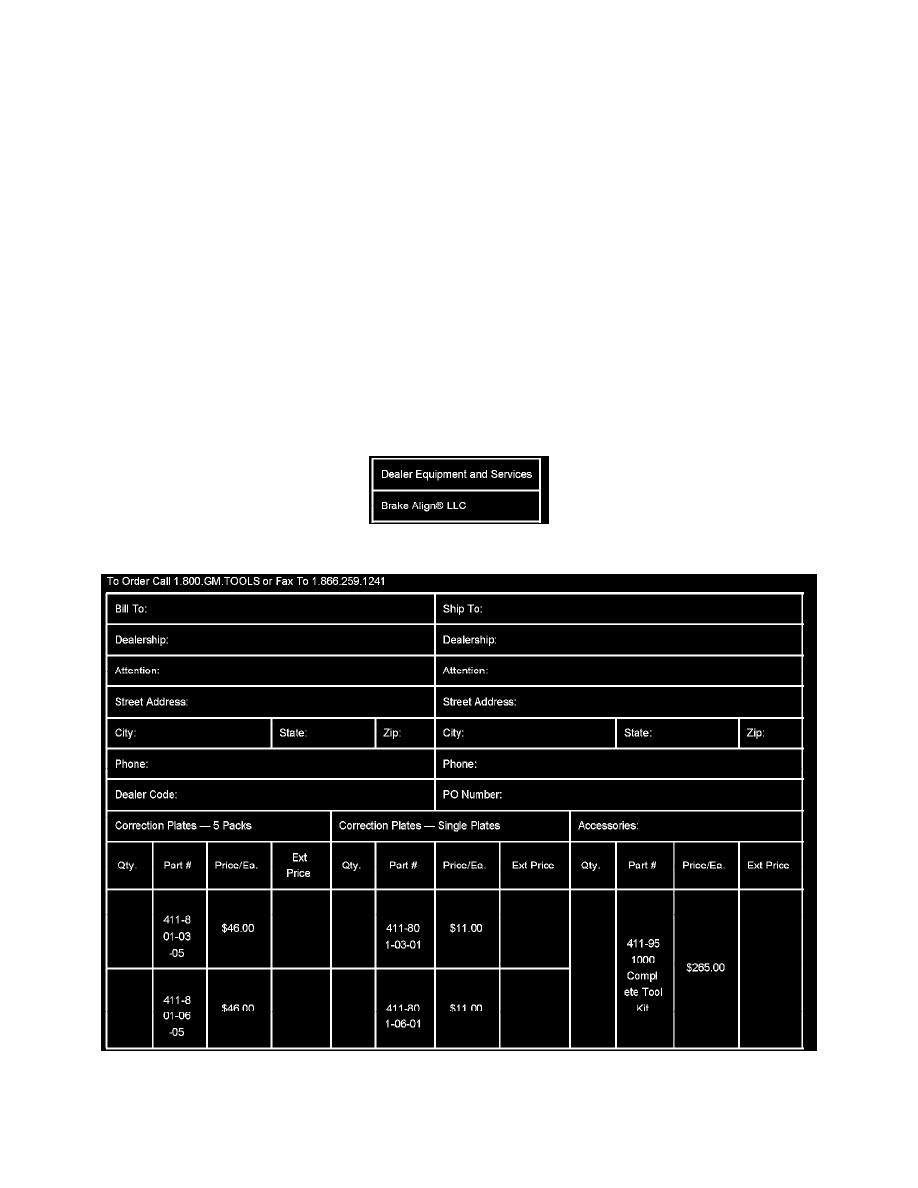
Parts Information
Brake Align(R) Runout Correction Plates are available through the suppliers shown.