
Skylark V6-3100 3.1L VIN M SFI (1996)
Oil Pan: Service and Repair
REMOVAL PROCEDURE
^
Tools Required
-
J28467-A Engine Support Fixture
-
J28467-90 Engine Support Fixture Adapter
-
J36462 Engine Support Adapter Leg
-
J39505 Torque Wrench Adapter
1. Disconnect the battery ground (negative) cable. Refer to Battery Negative Cable Disconnect/Connect in Starting and Charging.
2. Remove the engine mount struts from the engine. Refer to Engine Mount Strut Replacement (Left) and Engine Mount Strut Replacement (Right).
3. Remove the A/C compressor mounting bolts and set the compressor aside. Refer to A/C Compressor and/or Bracket in Heating and Air
Conditioning.
4. Install the J28467-A, J28467-90 and J36462.
5. Raise and suitably support the vehicle. Refer to Vehicle Lifting.
6. Disconnect the three-way catalytic converter pipe from the right (rear) exhaust manifold. Refer to Catalytic Converter Replacement (3100 L82
(VIN M)) in Emission Control System.
7. Drain the engine oil. Refer to Engine Oil and Oil Filter Replacement (Without Oil Cooler) or Engine Oil and Oil Filter Replacement (With Oil
Cooler).
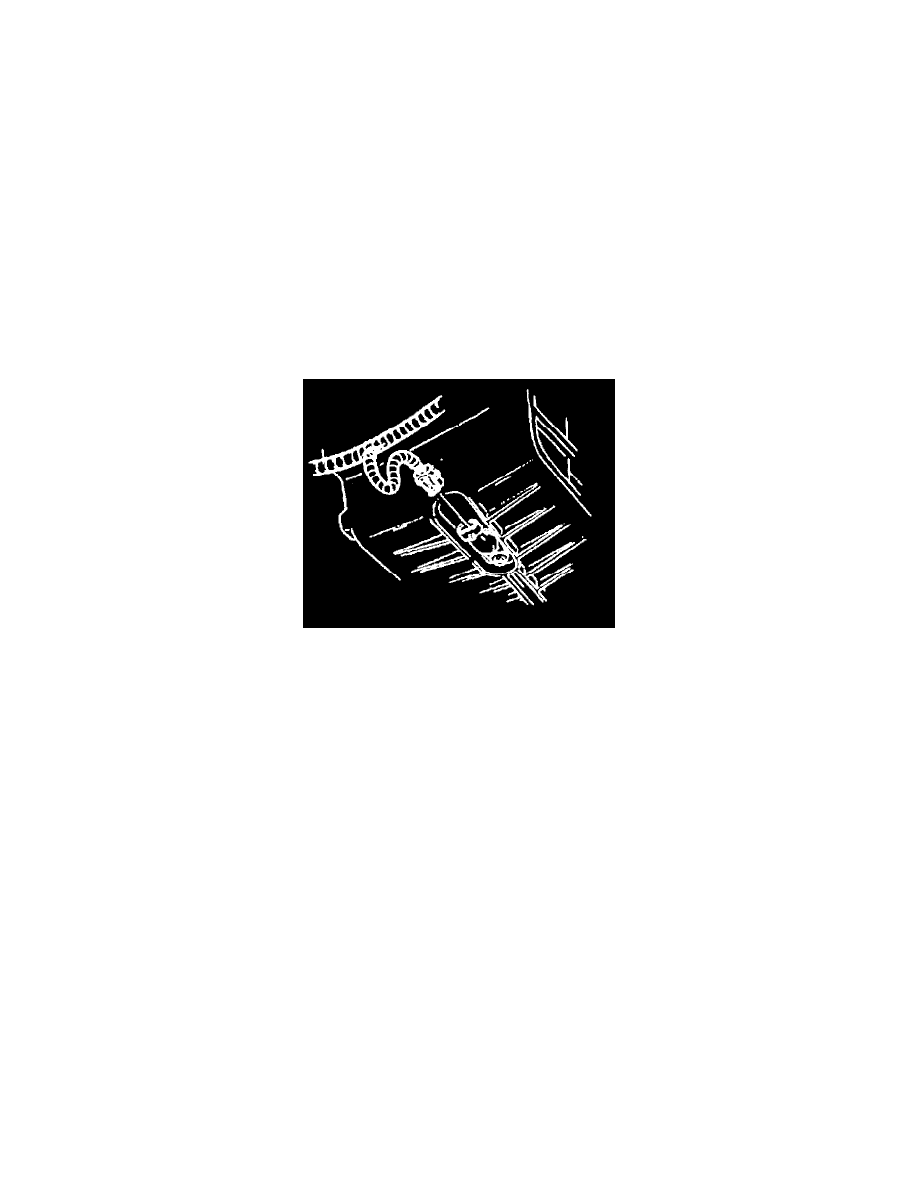
8. Remove the oil level sensor wiring harness connection.
9. Remove the starter motor. Refer to Starter Motor Replacement (3100 L82 (VIN M) with PG260 F1) in Starting and Charging.
10. Remove the transaxle brace from the oil pan. Refer to AT Brace Replacement in Automatic Transmission/Transaxle.
11. Remove the transaxle mount lower nuts. Refer to AT Mount Replacement Automatic Transmission/Transaxle.
12. Remove the engine mount lower nuts. Refer to Engine Mount Replacement.
13. Raise the engine using the J28467-A, J28467-90 and J36462 in order to gain access for oil pan removal.
14. Remove the engine mount bracket with the engine mount from the oil pan. Refer to Engine Mount Bracket Replacement