Skylark V6-3100 3.1L VIN M SFI (1996)

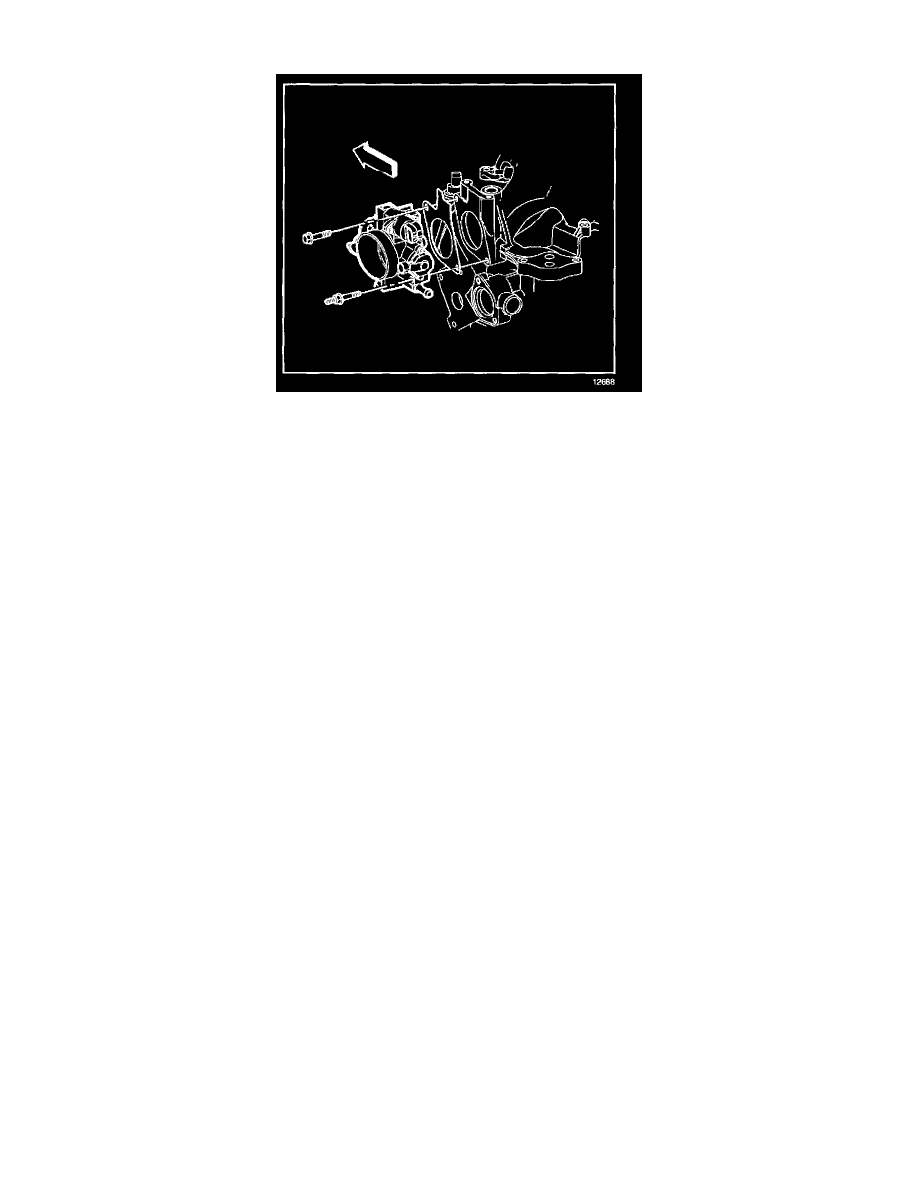
Throttle Body: Service and Repair
REMOVE OR DISCONNECT
1. Remove the air intake tube.
2. Remove the IAC valve, and TP sensor, electrical connectors.
3. Remove the fuel pipe clip at accelerator control cable bracket
4. Remove the accelerator control cable bracket.
5. Remove the accelerator control and cruise control cables.
6. Remove the engine coolant pipe nut to gain access to throttle body attaching studs.
7. Remove the nuts and bolts holding the throttle body to the intake manifold.
8. Remove the throttle body assembly.
INSTALL OR CONNECT
CAUTION:
^
Do Not use solvent of any type when cleaning the gasket surfaces on the intake manifold and the throttle body assembly, as damage to the
gasket surfaces and throttle body assembly may result.
^
Use care in cleaning the gasket surfaces on the intake manifold and the throttle body assembly, as sharp tools may damage the gasket surfaces.
1. Clean the gasket surface on the intake manifold and the throttle body assembly.
2. Install a new gasket, if necessary.
3. Install the throttle body assembly.
4. Install the throttle body retaining nuts and bolts (3).
-
Tighten the throttle body retaining nuts and bolts to 28 Nm (21 lb. ft.).
5. Install the engine coolant pipe nut.
6. Install the IAC valve, and TP sensor, electrical connectors.
7. Install the accelerator control and cruise control cables.
8. Install the accelerator control cable bracket.
9. Install the fuel pipe at accelerator control cable bracket.
10. Install the air intake tube.
11. Inspect and check for complete throttle opening and closing positions by operating the accelerator pedal. Also check for poor carpet fit under the
accelerator pedal.
12. Inspect the throttle, it should operate freely without binding between full closed and wide open throttle.
