
Astro Van 2WD V6-4.3L VIN W (2001)
Console: Service and Repair
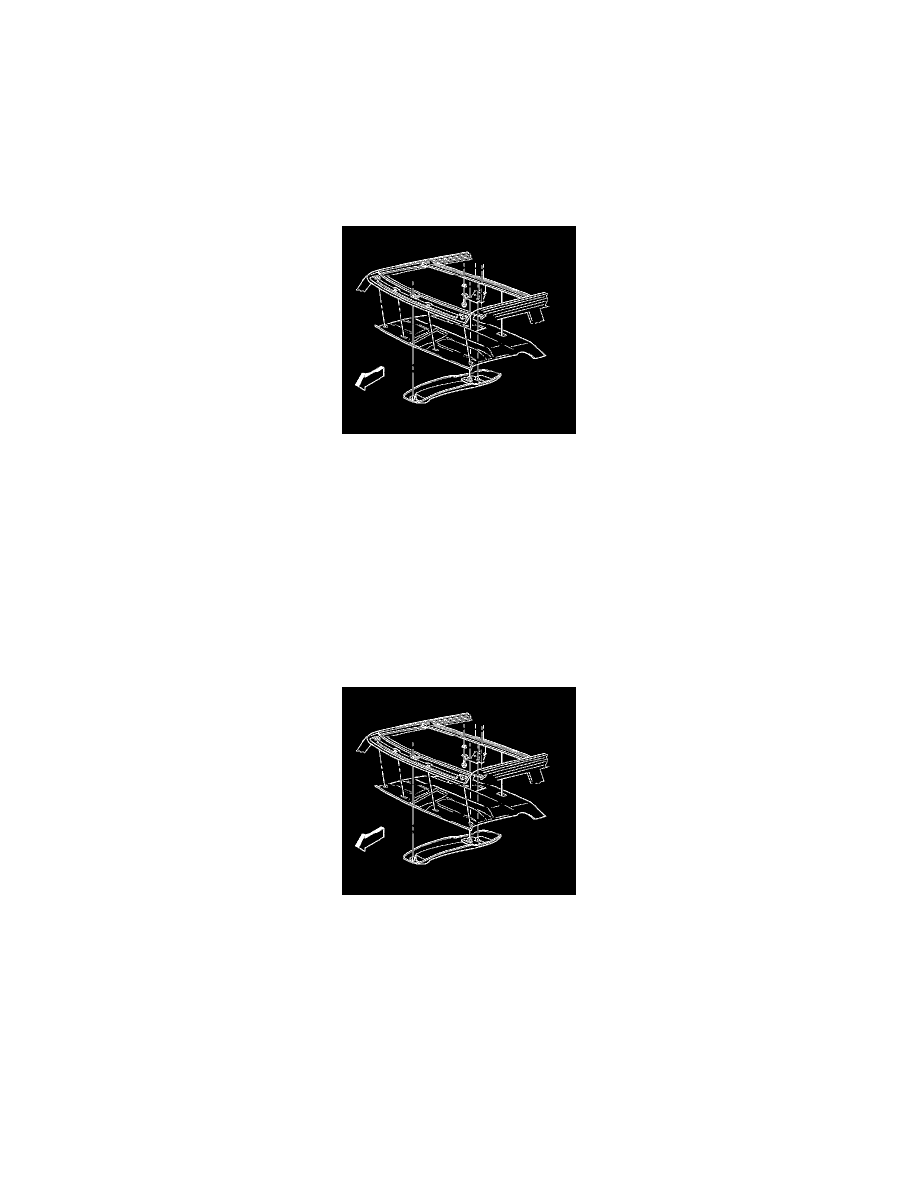
Roof Console Replacement
Removal Procedure
Because the compass system is so complex and susceptible to outside influences, examine the system thoroughly before performing any repairs.
Diagnose the system in an area free from potential interference, such as an open field. Recalibrate the system before performing any other repairs in
order to verify the existence of a problem. Refer to Electronic Compass Calibration See: Instrument Panel, Gauges and Warning
Indicators/Compass/Service and Repair in Instrument Panel, Gages and Console.
1. Remove the retaining screws from the overhead console.
1. Remove the dome lamp lens from the overhead console.
2. Remove the front screws from the overhead console.
3. Remove the rear screws from the overhead console.
2. Disconnect the electrical connectors.
3. Remove the overhead console as follows:
1. Swing the overhead console downward.
2. Pull the overhead console forward in order to clear the rear mounting tabs.
Installation Procedure
1. Install the rear part of the overhead console by inserting the mounting tabs into the roof panel.
2. Connect the electrical connectors.
Notice: Refer to Fastener Notice in Cautions and Notices.
3. Install the overhead console retaining screws.
Tighten the screws to the overhead console to 2 Nm (18 lb.in.).
1. Install the rear screws to the overhead console.
Tighten the rear screws to the overhead console to 2 Nm (18 lb.in.).
2. Install the front screws to the overhead console.