
Astro Van 2WD V6-4.3L VIN W (2001)
2. Install the driver's seat belt upper mounting bolt. Refer toDriver or Passenger Seat Shoulder Belt Guide Adjuster Replacement in Seat Belts.
Notice: Refer to Fastener Notice in Cautions and Notices.
3. Install the garnish molding retaining screw.
Tighten the garnish molding retaining screw to 2 Nm (18 lb.in.).
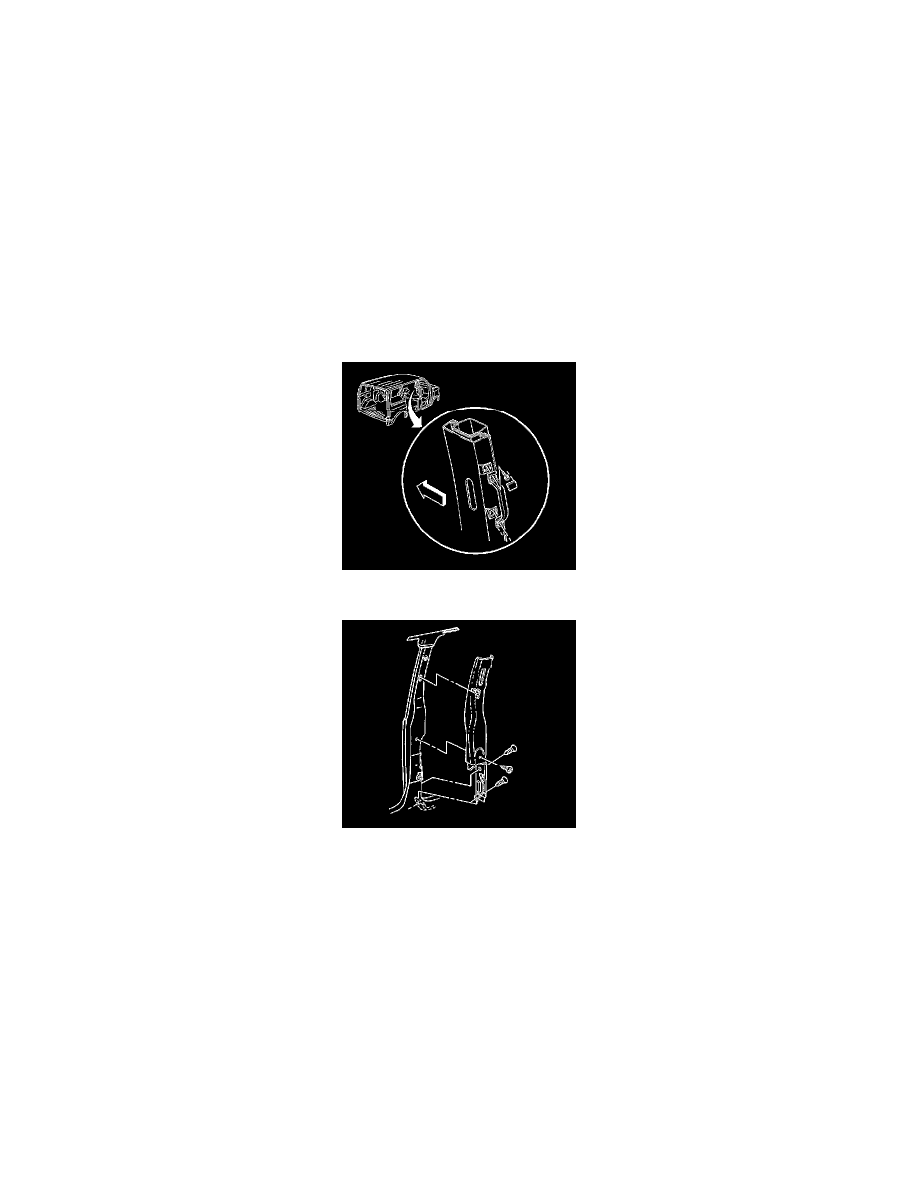
Center Pillar Garnish Molding Replacement - Right Side
Center Pillar Garnish Molding Replacement - Right Side
Removal Procedure
1. Remove the garnish molding screws.
2. Remove the front passenger's seat belt upper retainer. Refer to Driver or Passenger Seat Shoulder Belt Guide Adjuster Replacement in Seat
Belts.
3. Remove the bolts that retain the assist handle to the pillar.
4. Pull back on the garnish molding to release the fasteners.
5. Remove the garnish molding.
6. Disconnect the electrical connector from the rear side door stepwell lamp.
Installation Procedure
1. Connect the electrical connector to the rear side door stepwell lamp.