
Astro Van 2WD V6-4.3L VIN W (2001)
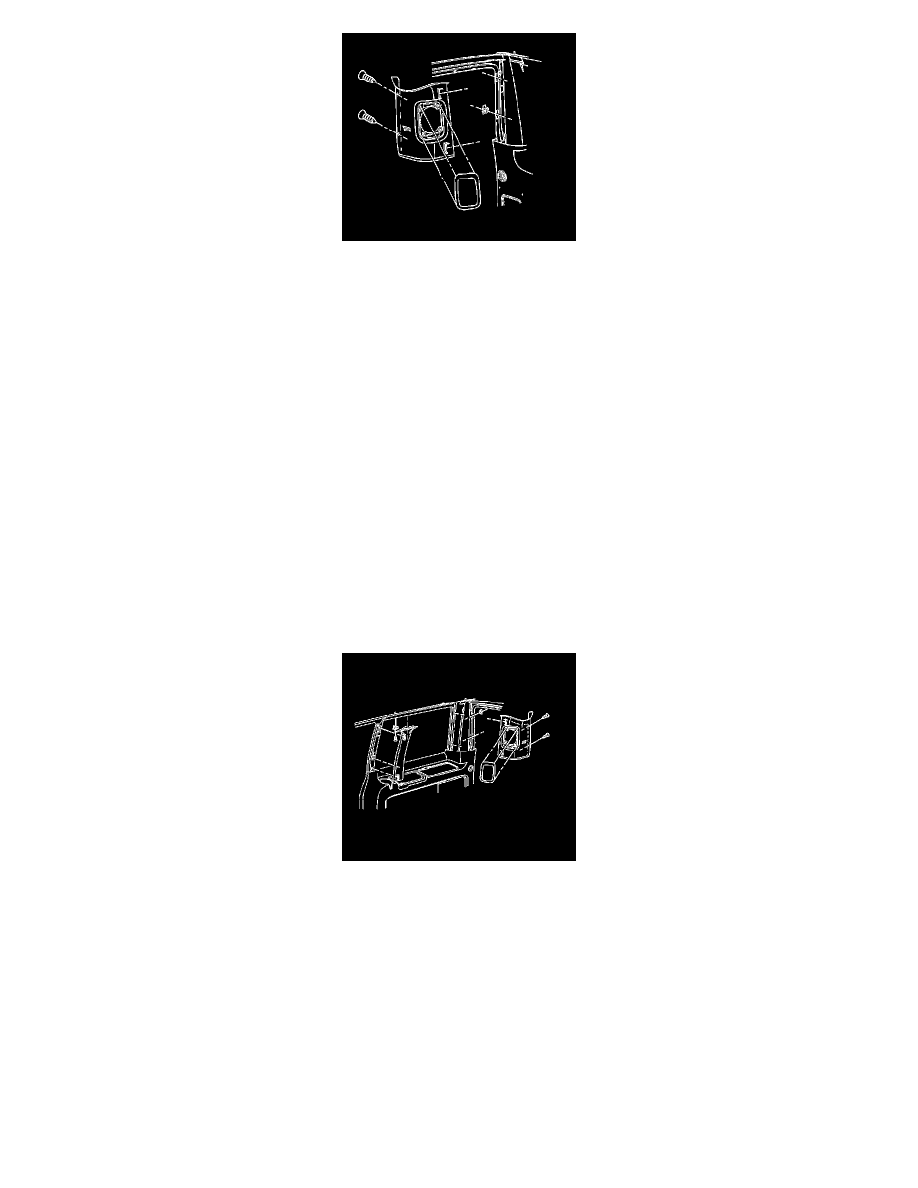
2. Install the panel to the vehicle:
1. Align the retaining clips with the holes in the body.
2. Press the panel down in order to seat the fasteners into place.
Notice: Refer to Fastener Notice in Cautions and Notices.
3. Install the screws to the panel in the rear door opening.
Tighten the screws to the panel in the rear door opening to 2 Nm (18 lb.in.).
Fourth Pillar Trim Replacement - Right Side
Fourth Pillar Trim Replacement - Right Side
Tools Required
J 38778 Door Trim Pad and Garnish Clip Remover
Removal Procedure
1. Open the rear door(s).
2. Remove the screws from the panel in the rear door opening.
3. Use J 38778 in order to release the fasteners that retain the panel to the vehicle.
4. Disconnect the speaker electrical connector, if equipped.
Installation Procedure
1. Connect the speaker electrical connector, if equipped.