Astro Van 2WD V6-4.3L VIN W (2001)

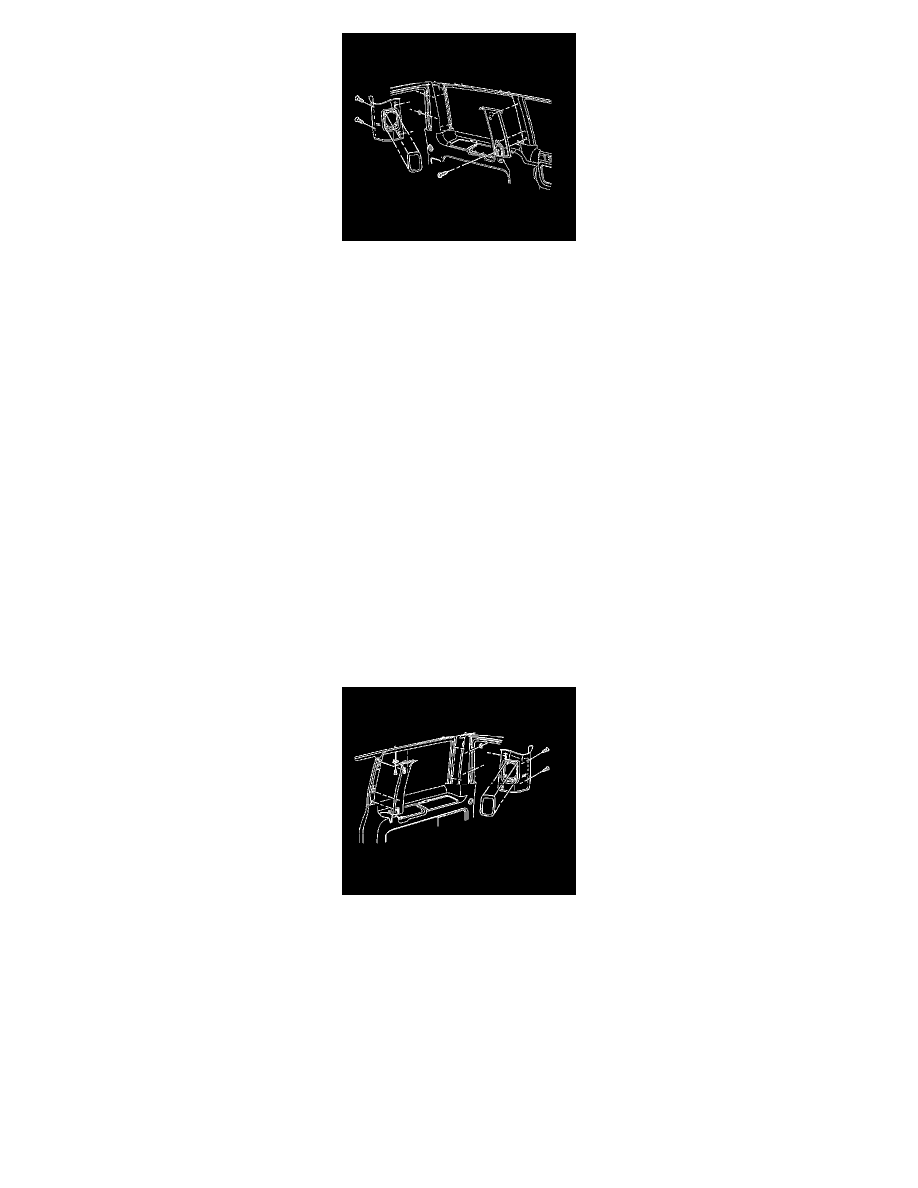
1. Install the panel to the vehicle:
1. Align the retaining clips with the holes in the body.
2. Press the panel in order to seat the fasteners into place.
Notice: Refer to Fastener Notice in Cautions and Notices.
2. Install the retaining screw.
Tighten the retaining screw to 2 Nm (18 lb.in.).
3. Install the seat belt upper mount. Refer to Driver or Passenger Seat Shoulder Belt Guide Adjuster Replacement in Seat Belts.
Third Pillar Trim Replacement - Right Side
Third Pillar Trim Replacement - Right Side
Tools Required
J 38778 Door Trim Pad and Garnish Clip Remover.
Removal Procedure
1. Remove the C- pillar retaining screw.
2. Use the J 38778 in order to release the fasteners that retain the panel to the vehicle.
Installation Procedure
