
Astro Van 2WD V6-4.3L VIN W (2001)
Seat Track: Service and Repair
Power Seat Adjuster Mechanism Replacement
Removal Procedure
1. Remove the bucket seat from the vehicle. Refer to Bucket Seat Replacement (See: Service and Repair/Bucket Seat Replacement).
2. Place the seat on a clean, prepared surface.
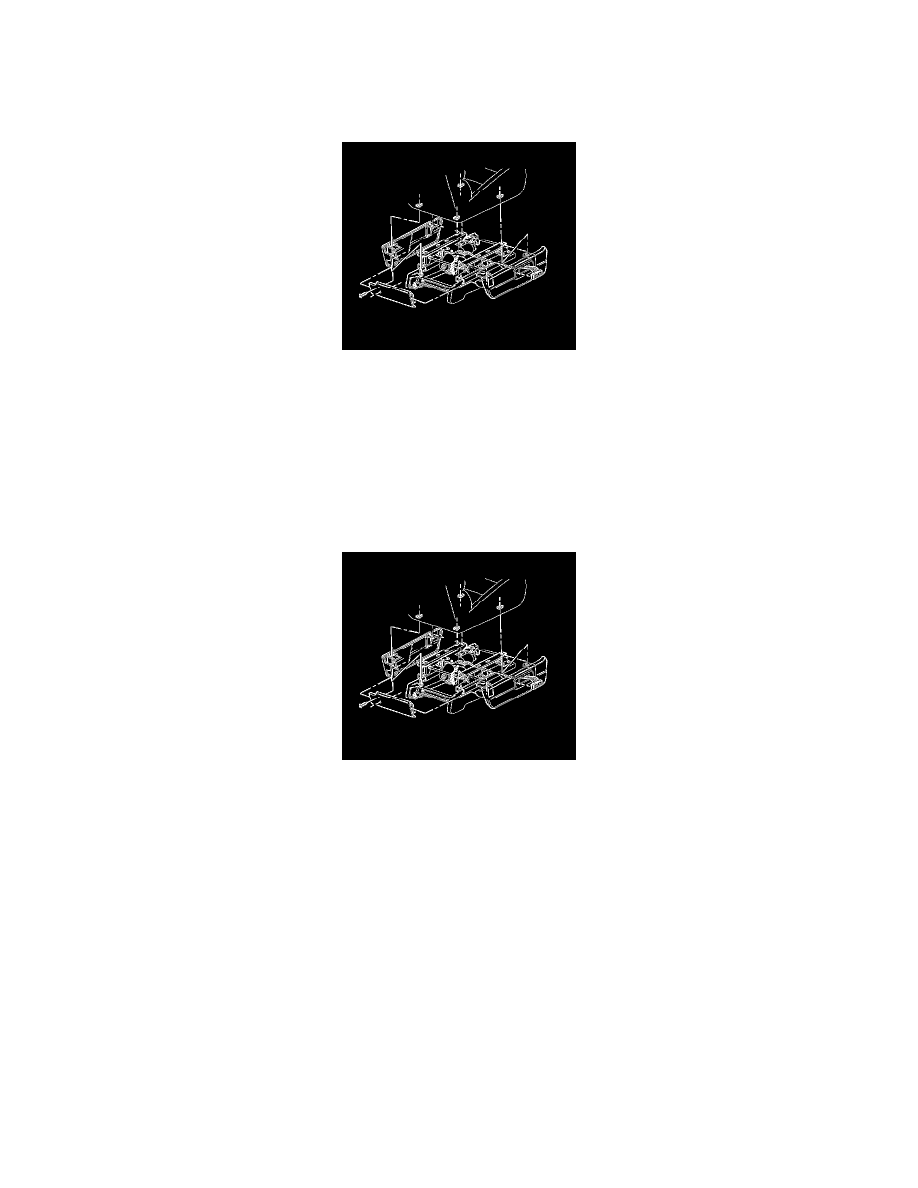
3. Remove the 8 nuts that retain the riser to the adjuster.
4. Remove the riser from the adjuster.
5. Remove the 4 bolts that retain the adjuster to the seat.
6. Position the seat trim panel(s) in order to disconnect the power seat switch connector.
7. Partially separate the adjuster from the seat in order to remove the seat trim panels from the assembly.
8. Remove the adjuster from the seat.
Installation Procedure
1. Position the seat trim panel L bracket flanges between the adjuster and the seat.
Ensure that the holes in the L bracket flanges are indexed with the fastener holes on the adjuster and the seat.
2. Connect the electrical connector on the back of the power seat switch.
Notice: Refer to Fastener Notice in Cautions and Notices.
3. Install the 4 bolts that retain the adjuster to the seat.
Tighten the bolts that retain the adjuster to the seat to 30 Nm (22 lb.ft.).
4. Position the riser to the adjuster.
5. Install the 8 nuts that retain the riser to the adjuster.
Tighten the nuts that retain the adjuster to the seat to 9 Nm (7 lb.ft.).
6. Install the seat to the vehicle. Refer to Bucket Seat Replacement (See: Service and Repair/Bucket Seat Replacement).