
Astro Van 2WD V6-4.3L VIN W (2001)
Tighten the set screw on the side of the duct to 2 N.m (18 lb in).
7. Install the left fourth pillar garnish molding. Refer to Trim Replacement - Fourth Pillar Left in Interior Trim.
Air Outlet Duct Replacement - Left Defogger
REMOVAL PROCEDURE
IMPORTANT: Do not remove the instrument panel.
1. Roll the instrument panel down. Refer to IP Carrier Replacement in Instrument Panel, Gages and Console.
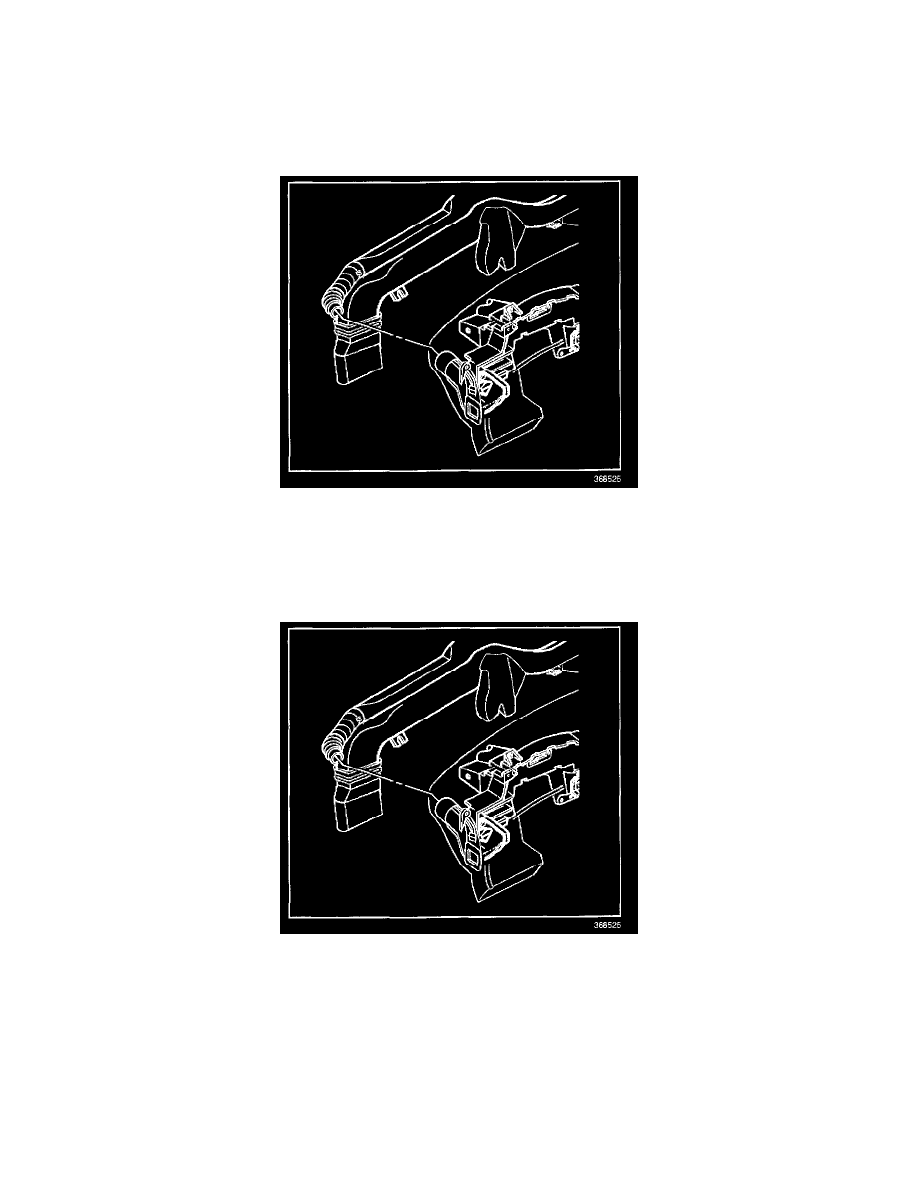
2. Remove the duct from the left side floor air outlet.
3. Remove the duct from the left body side window defogger outlet.
4. Remove the duct from the vehicle.
INSTALLATION PROCEDURE
1. Install the duct to the vehicle.
2. Install the duct to the left body side window defogger outlet.
3. Install the duct to the left side floor air outlet.
4. Roll the instrument panel up. Refer to IP Carrier Replacement in Instrument Panel, Gages and Console.
Air Outlet Duct Replacement - Left Floor
REMOVAL PROCEDURE