
Astro Van 2WD V6-4.3L VIN W (2001)
Windshield Moulding / Trim: Service and Repair
Windshield Reveal Molding Replacement
Removal Procedure
The windshield reveal molding is a one piece molding. The windshield reveal molding fills the cavities between the body and the windshield and can not
be reused if stretched or damaged.
1. Open the doors.
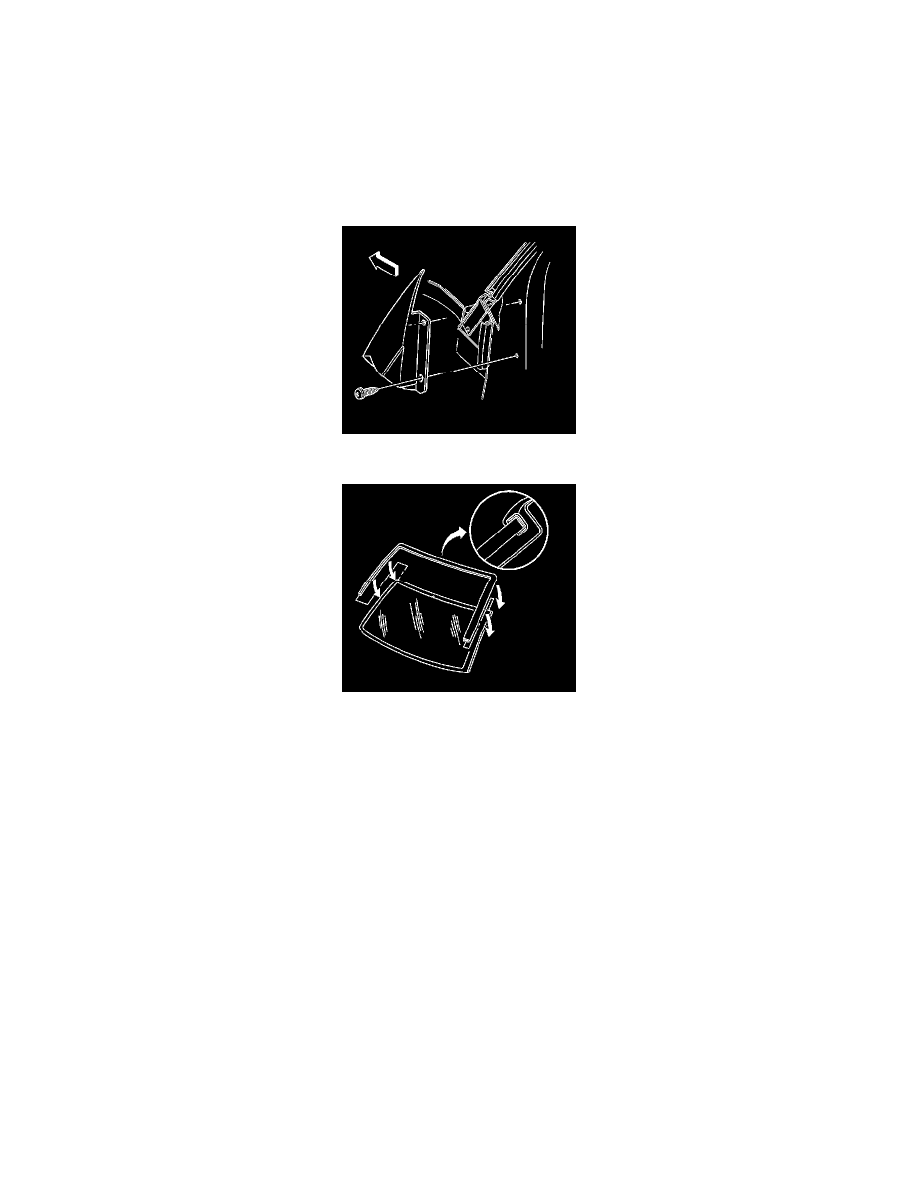
2. Remove the screws that retain the right and left sides of the windshield frame filler panel
3. Use a flat-bladed tool in order to carefully pry up one end of the windshield reveal molding.
4. Grasp the windshield reveal molding at the lower corner.
5. Slowly pull the windshield reveal molding away from the body until the entire molding has been removed. If the windshield reveal molding get
stretched or damaged it can not be reused.
Important: Do not cut between the windshield and the pinchweld flange.
6. Cut the urethane from the cavity with a utility knife in order to clean the excess urethane from the reveal molding cavity.
Installation Procedure
The windshield reveal molding must be prefit to the windshield and cavity before installation.
1. Apply primer to the reveal molding cavity.