
Astro Van AWD V6-4.3L VIN X (2003)
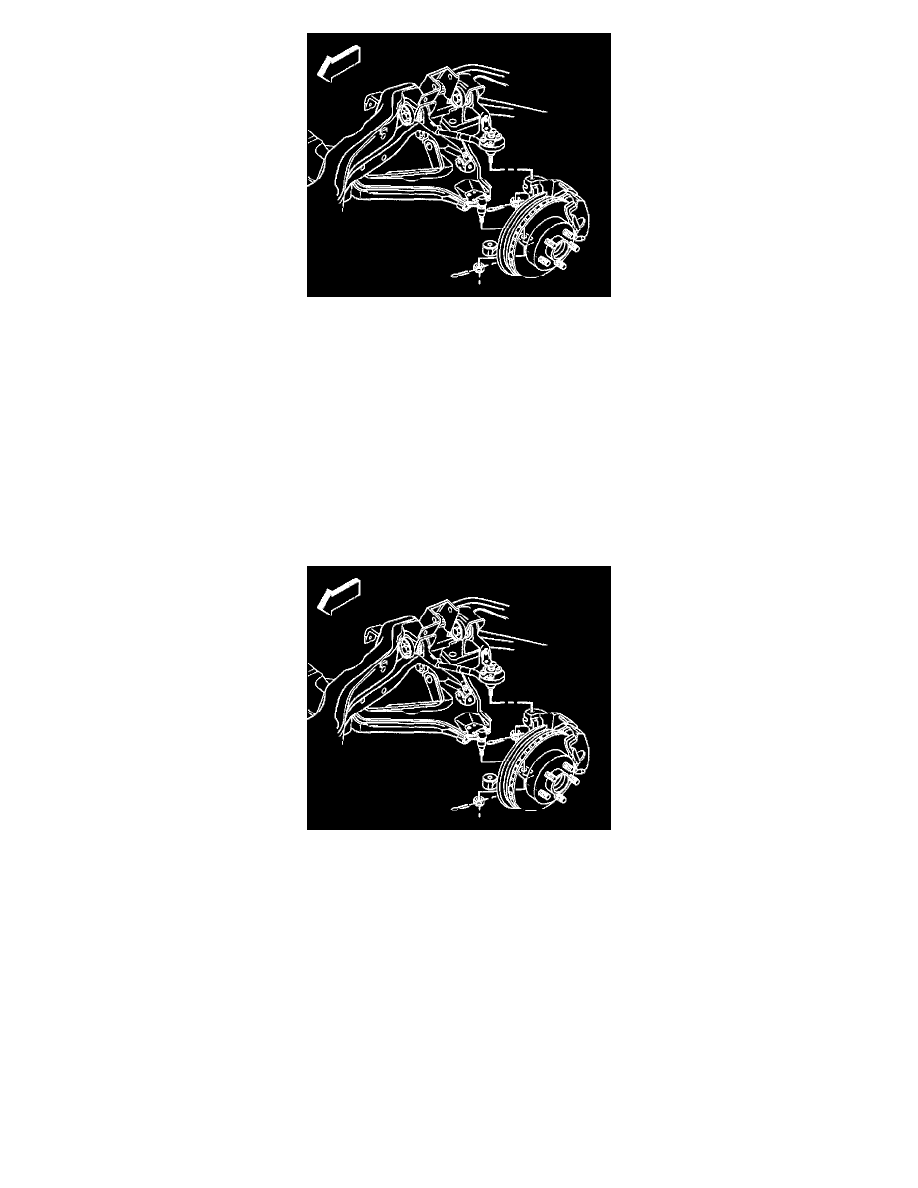
7. Remove the upper ball joint cotter pin and retaining nut.
8. Install the J 36607 to the upper ball joint and the steering knuckle.
9. Disconnect the upper ball joint from the steering knuckle using the J 36607.
10. Remove the lower ball joint cotter pin and retaining nut.
11. Using a pry bar, placed on top of the upper control arm and on the bottom of the frame, pry downward.
12. With the aid of a helper, carefully hammer on the steering knuckle in the area of the lower ball joint stud in order to release the stud from the
steering knuckle.
13. Place a pry bar on the top of the upper control arm and on the bottom of the frame, and pry downward.
14. With the aid of an assistant, carefully hammer on the steering knuckle in the area of the lower ball joint stud in order to release the stud from the
steering knuckle.
15. Remove the steering knuckle.
16. Remove the seal from the steering knuckle.
Installation Procedure
1. Install the seal into the steering knuckle using the J 36605.
2. Install the steering knuckle to the upper and lower ball joints.
3. Install the lower ball joint to steering knuckle retaining nut.
Notice: Refer to Fastener Notice in Service Precautions.
4. Install the upper ball joint to steering knuckle retaining nut.
-
Tighten the lower ball joint retaining nut to 128 Nm (95 ft. lbs.).
-
Tighten the upper ball joint retaining nut to 98 Nm (72 ft. lbs.).
5. Install the new cotter pins. Tighten the nuts up to an additional 1/6 amount in order to insert the cotter pin through the upper and lower ball joint
studs. Bend the cotter pin ends flat against the nut.