
Astro Van L AWD V6-262 4.3L VIN W CPI (1992)
1)
Remove the rear air conditioning duct if equipped or the interior roof molding.
2)
Remove the screws from the quarter panel side moldings to gain access to the weatherstrip flange.
3)
Remove the lower carpet sill plate.
4)
Remove the weatherstrip from the flange.
5)
Clean the flange with a release agent or equivalent.
6)
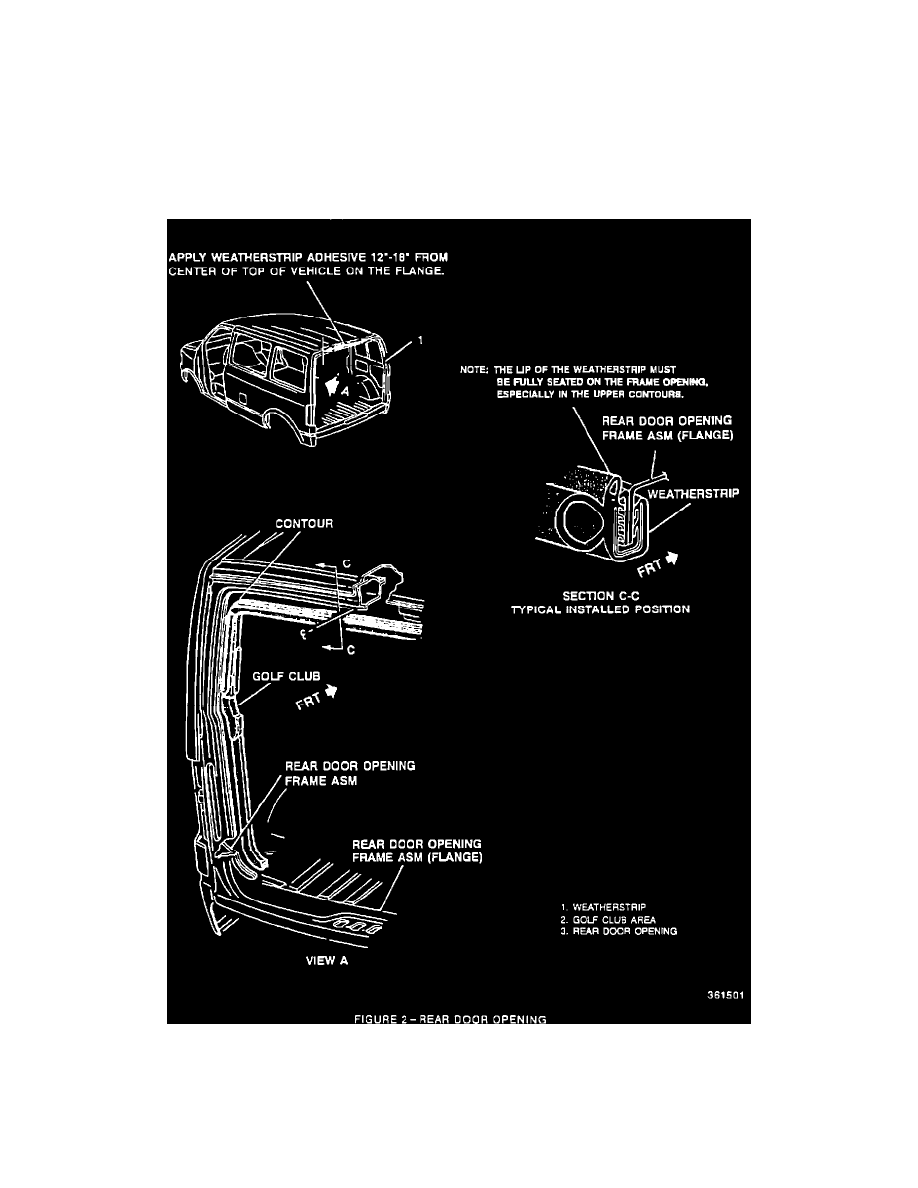
Apply weatherstrip adhesive (p/n 12345097 or equivalent) to the flange area, 12-18 inches from the centerline of vehicle. Apply weatherstrip
adhesive to the contours of the flange (Figure 2). Add 3 to 4 inches to each side of the center.
7)
Install the weatherstrip to the flange in the following order (Figure 1 and 2):
a)
Attach to flange at the "Golf Club" area and align the "Golf Club" joint with the bottom edge of the striker, repeat steps for the other side.