
Astro Van L AWD V6-262 4.3L VIN W CPI (1992)
-
Tighten nuts (39) to 35 N-m (26 lbs.ft.).
8.
Connect support brace (47), washers (52 and 53)
-
Tighten bolts (53) to 128 N-m (94 lbs.ft.).
9.
Connect electrical connections.
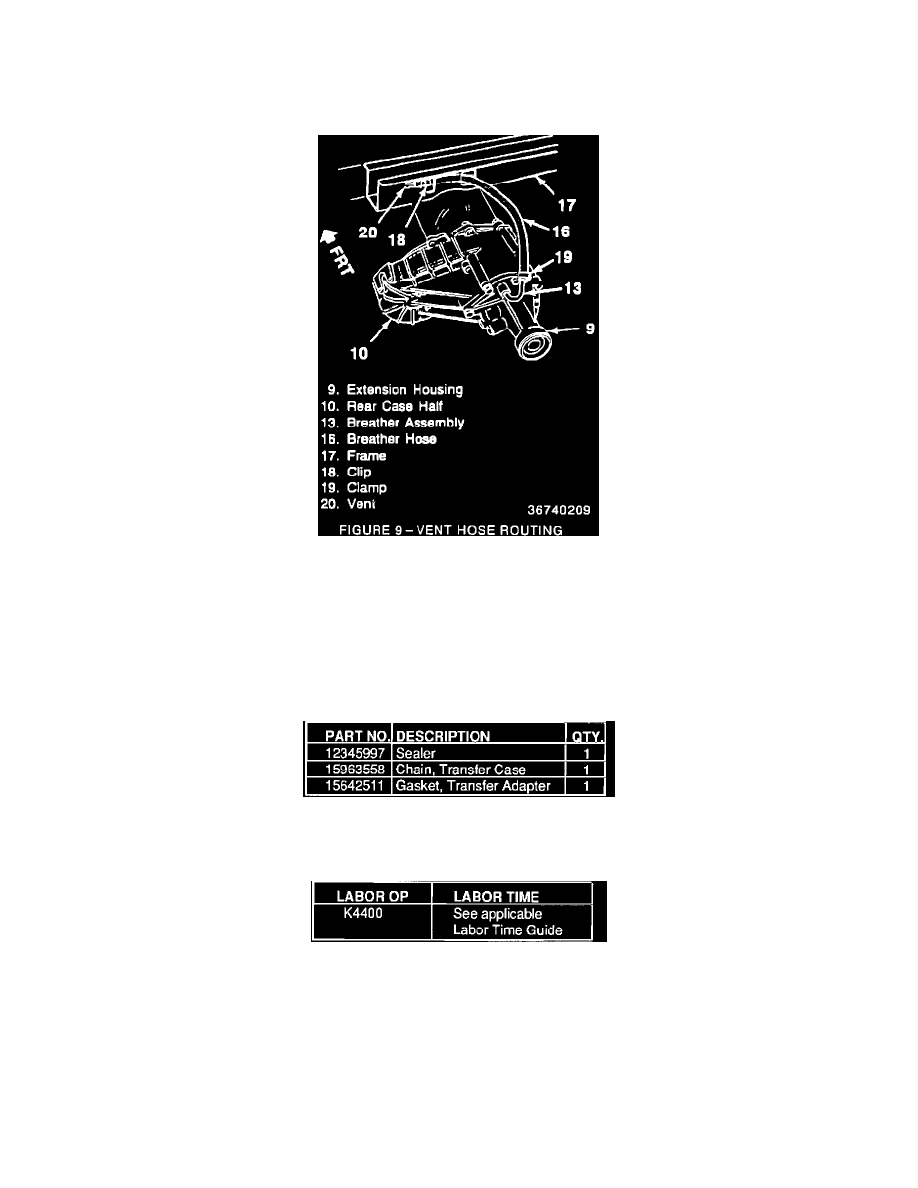
10.
Connect breather hose (16) to vent tube (13).
-
The breather hose must be free of kinks and routed correctly as shown in Figure 9.
11.
Install front and rear propeller shafts. Refer to Section 4A.
12.
Remove filler plug (41) from transfer case.
13.
Fill transfer case with Dextron II E automatic transmission fluid (GM P/N 12345881) until oil level is at the bottom of filler plug hole (1.5 qts., 1.4
liter).
14.
Install fill plug (41).
-
Tighten fill plug (41) to 9 N-m (80 lbs.in.).
15.
Lower the vehicle.
16.
Connect the negative battery cable to the battery. Refer to Section 0B.
SERVICE PARTS INFORMATION:
Parts are currently available from GMSPO.
WARRANTY INFORMATION:
For vehicles repaired under warranty, use: