
Astro Van L AWD V6-262 4.3L VIN W CPI (1992)
Window Regulator: Service and Repair
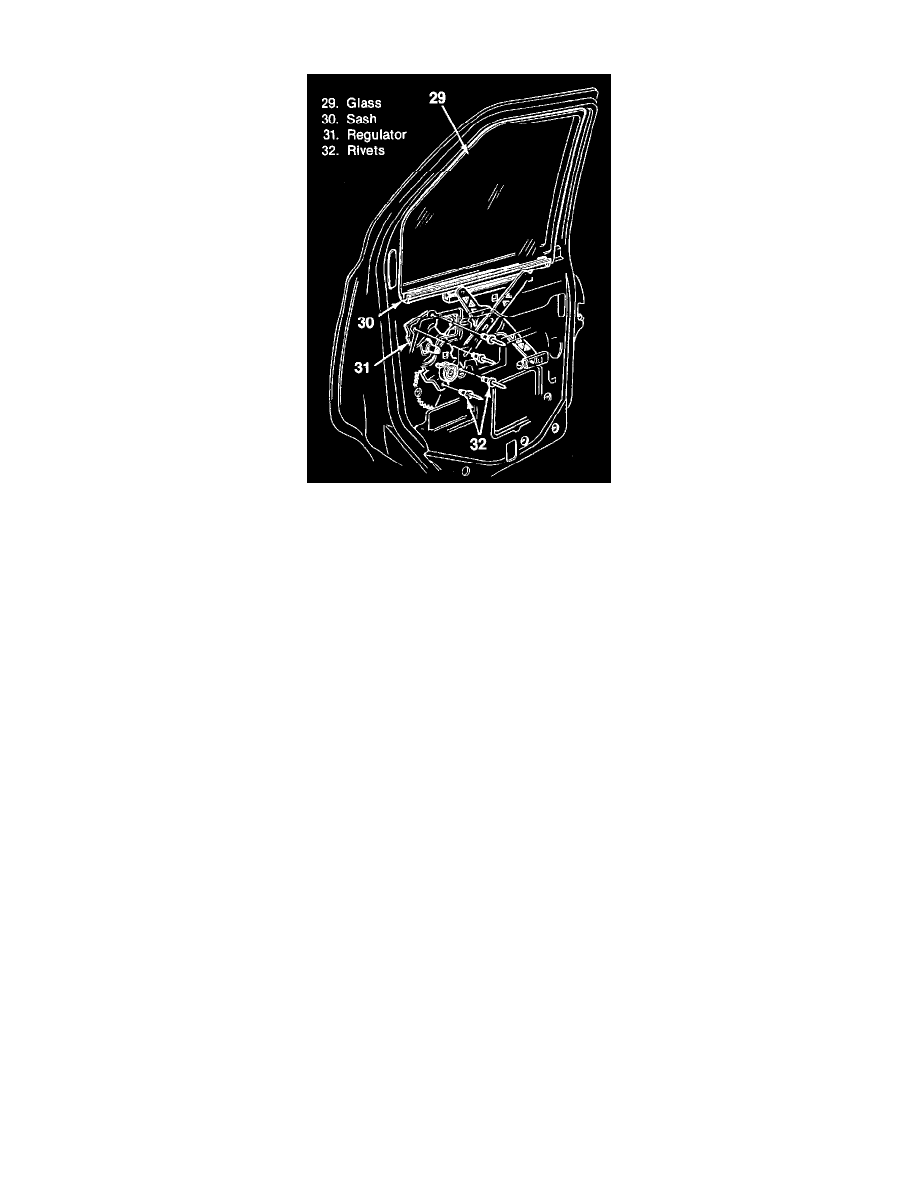
Window Regulator Components
Remove or Disconnect
1. Negative battery cable.
2. Trim panel. Refer to Trim Panel. See: Body and Frame/Doors, Hood and Trunk/Doors
3. Armrest bracket and water deflector. Refer to Arm rest Bracket and Water Deflector. See: Body and Frame/Doors, Hood and Trunk/Doors
Note: Roll the window up, and apply cloth backed body tape from the window over the top of the door to the other side of the window to hold the glass
in position when the regulator is removed.
4. Wiring harness from the regulator motor (if equipped).
5. Regulator to door rivets.
^ Use a 6-mm (1/4-inch) drill bit to remove the head from the rivet.
6. Regulator from the door.
A. Push the regulator into the door and slide it forward, then rearward to remove the regulator arms from the sash and the regulator rail.
B. Fold the regulator arms together and remove the regulator from the access hole.
Install or Connect
Tool Required: M 39010 Heavy Duty Riveter
1. Regulator to the door.
A. Place the regulator into the door through the access hole.
B. Place the regulator arm rollers into the sash and the regulator rail.
C. Push the regulator through the regulator door opening and align the holes in the regulator with the holes in the door.
2. Regulator to door rivets using M 39010.
3. Armrest bracket and water deflector. Refer to Armrest Bracket and Water Deflector.
4. Trim panel. Refer to Trim Panel.
^
Remove the tape from the door and window.
5. Negative battery cable.